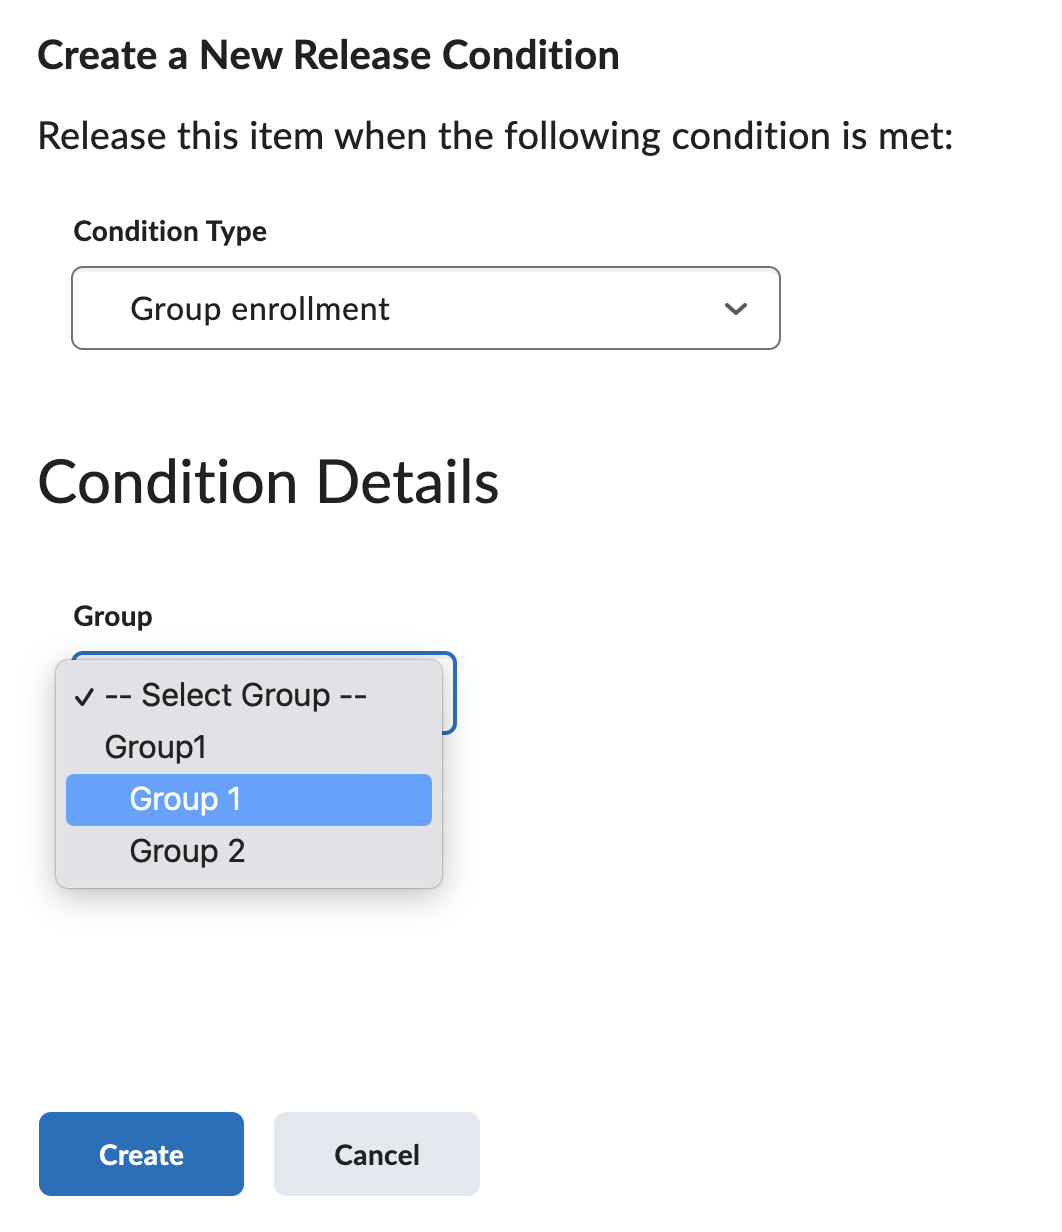
You can restrict the quiz to be available to a specific group. So if you had five different versions of a quiz, you can assign each group to their own quiz.
If you had everyone doing the same quiz at the same time, but in groups, you can sort your gradebook by group, and then when you see the first grade come in from a group, manually assign it to the rest of the students in that group.
————————————————————————————————–
I hope that helps. Feel free to send your ideas for how you use groups!
Setting up an organized gradebook isn’t the same as in Blackboard. If you are used to Bb, there are going to be some headaches and confusion.
Some things are organizationally nice. For example, you can assign items to belong to grading categories, and they stay grouped that way in the grading spreadsheet. Not only that, but items in a grading category will get a subtotal column auto created for you, which I think can be particularly helpful if you are keeping track of attendance in your gradebook. (Note: the attendance tool in Brightspace does not report into the grade book. This is something I manually setup.)
To create new categories or items (columns), you will want to go to “Grades” -> “Manage Grades” and then “New”.
To decide on your categories, you should refer to your course syllabus. You should have something like:
Class Participation/Attendance – 15%
Quizzes – 20%
Midterm – 20%
Project(s) – 25%
Final – 20%
You can see that every item listed that has multiple items nested (Class Participation/Attendance, Quizzes and possibly Project(s)) will be your categories. Since there will only be one midterm and one exam, you cou hold them as just singleton items that are not in a category, OR you could make a category called exams and add them both to that.
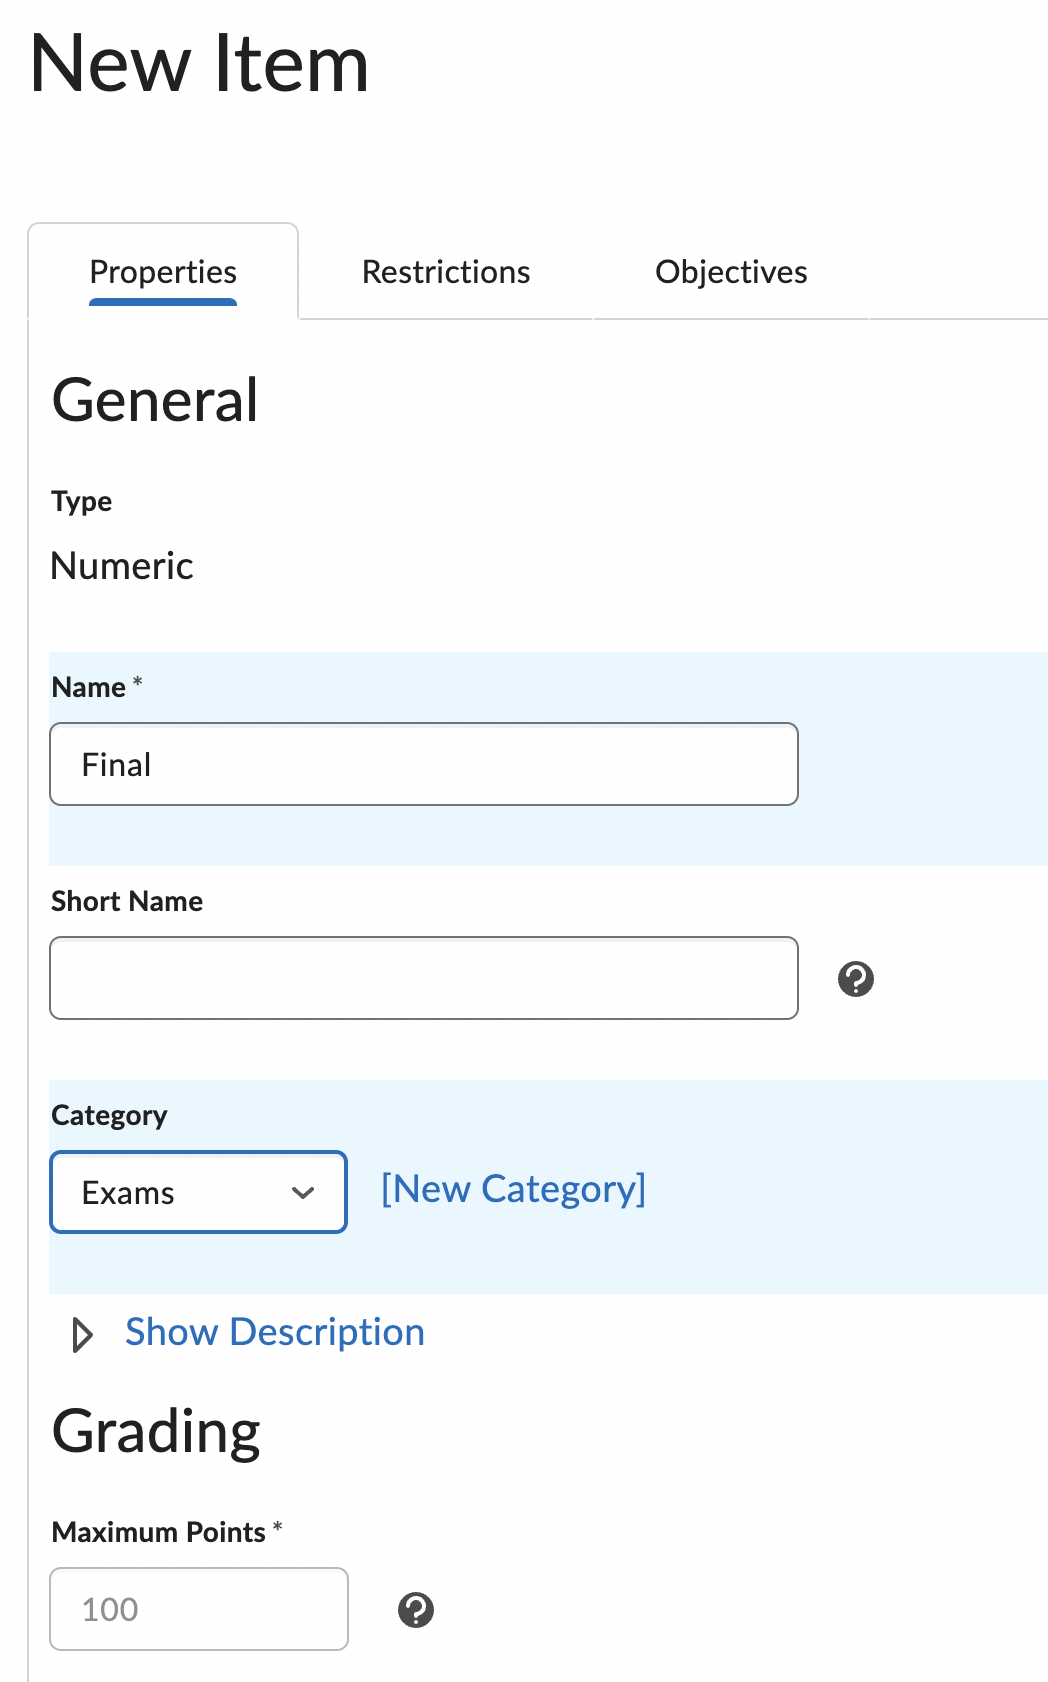
First make the Categories, then the Items inside the categories.
Since you indicated in the Category that all items would have a total value of 100, the maximum points fills in automatically for all associated items and is a graded out field.
Resulting spreadsheet with grades filled in:
Note: I manually filled in these grades and you are able to do that. If you want these grades to auto populate from an actual brightspace exam, you will want to go to your Exams/Quizzes area from the NavBar and create or find the exam you want to use, and associate it with the right Grade Item.
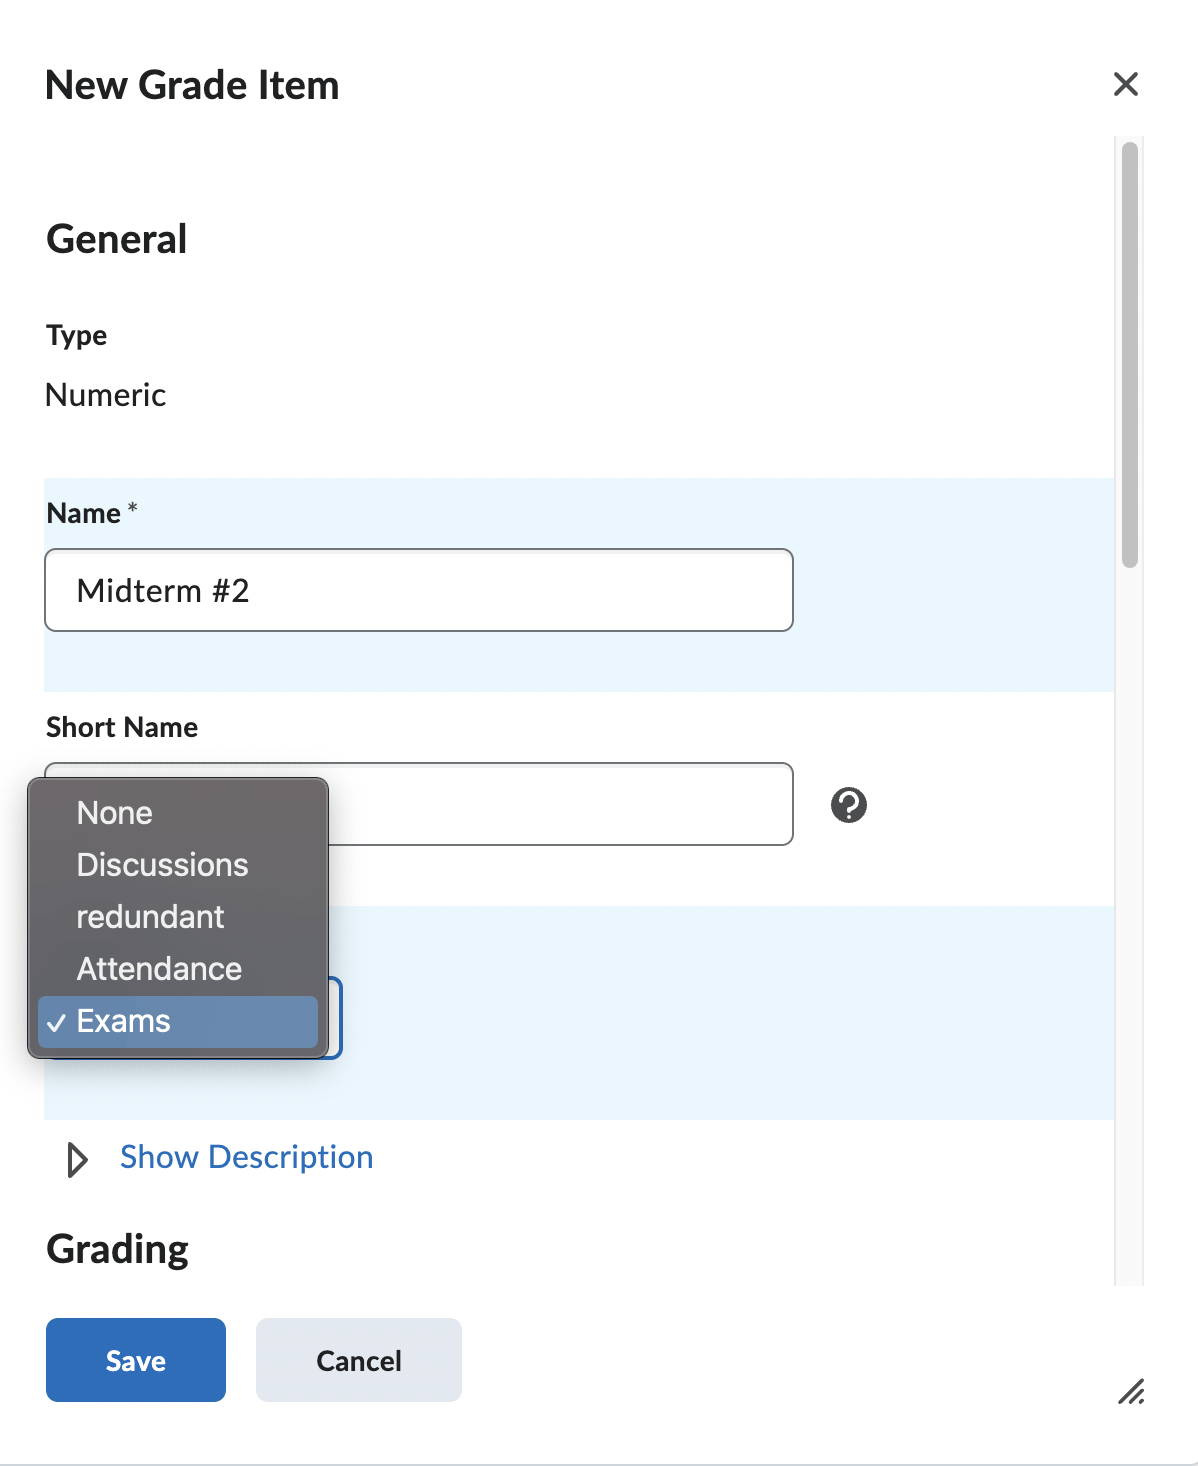
Warning: This is one of the places where Brightspace can be … shall be say, confusing? When you go to edit your exam/quiz, you will see this:
That Category pull down… even though. yes, we were just calling things items and categories in the Manage Grades area, has NOTHING to do with categories in Grades.
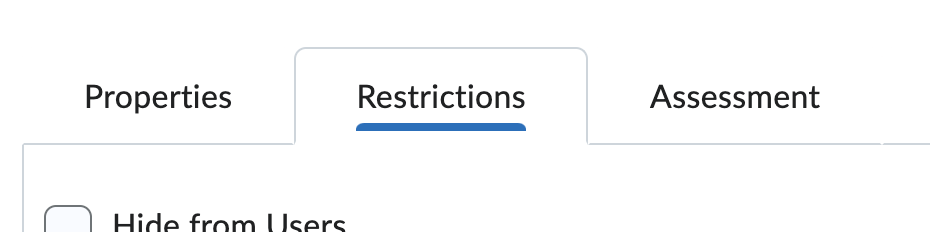
Instead, you will want to switch to the Assessment tab and find the pull down for Grade Item.
If you haven’t already setup the Items in your grade book, you do have an opportunity to select [add grade item] and throw in the item into an existing category.
Now it knows that this Quiz is from the Category “Exams” and will grade it and submit it into the grade spreadsheet appropriately. It also knows that it will be worth up to 100 points and will be equally weighted with the other exams to the 20% total value of the final grade, because that is how the category Exams is setup.
If your course was not one of the courses that was automagically moved from Blackboard to Brightspace, you may be wondering how to move it yourself.
The first thing you should look for is whether ANY version of the course you want to export has already been brought to Brightspace. You may have more than one. For example you might have a Fall 2021 copy and an empty shell for Fall 2022. If what you want is in the Fall 2021 copy, you don’t need to export anything from Blackboard – it is already there.
If absolutely no version of the course you want to bring over exists in Brightspace (perhaps something you haven’t taught in a while AND you aren’t teaching it in the fall either), pause following these directions to make a ticket for a “Bb course copy shell in Brightspace” where you will include the Course Designator & Number (example: BIO 203). After you have some place to put your export, continue with these steps. If you only have the 2022 shell in Brightspace and you don’t want to move your old course directly into 2022 (very wise move!), also complete that same ticket.
The second thing that I want you to know is that Brightspace cannot import courses that are greater in size than 2 gigs. You may not know what the size of your Blackboard course is until you export it, so perhaps don’t worry about this right away, but if after exporting the course it turns out to be too big, just remember what I started with here. If it is too big, this will probably be due to large presentations or documents that you loaded directly into your blackboard course. You will need to remove these items and host them elsewhere.
For example:
Videos can be moved to echo360 or youtube
Documents can be moved to google drive
etextbooks can be moved to google drive or check to see if they are available via the library
Exporting a course doesn’t work exactly like it used to work in Blackboard, so if you have done it in the past, read this anyway.
NOTE: For a far less verbose version of this post, please see this link.
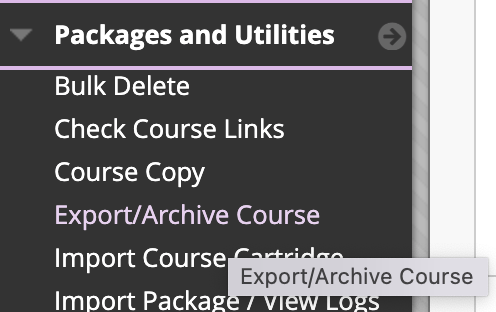
Go to your course that you want to bring into Brightspace. Go to Packages and Utilities under Course Management in the left menu. Under Packages and Utilities, select Export/Archive Course.
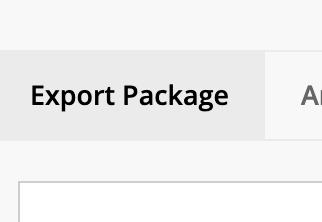
Select Export Package.
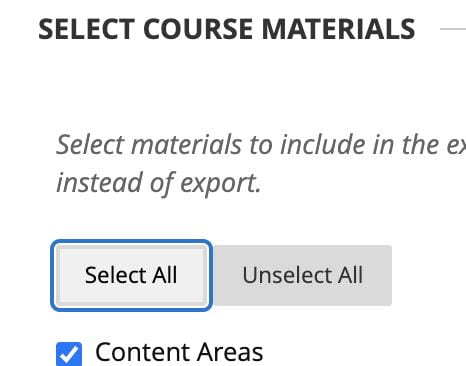
Under Select Course Materials, “select all”.
THEN UNSELECT SETTINGS — this is the new part that changed
Click Submit and wait.
Success: This action has been queued. An email will be sent when the process is complete.
When the export is finished it will show up on this page if you hit refresh.
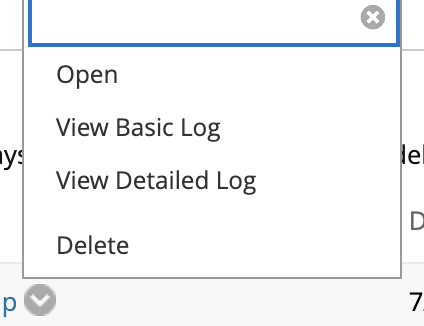
You might, like me, think “download” would be in this pull down menu:
It isn’t though. Just click on the name of your export to download it to your computer.
Enter the course you want to import the content into.
TIP: You can use your Fall 2021 course to bring in other semesters content too. That way you have one place for all versions of a particular course you have taught. Like a box of all things BIO 203 – regardless of what semester it came from.
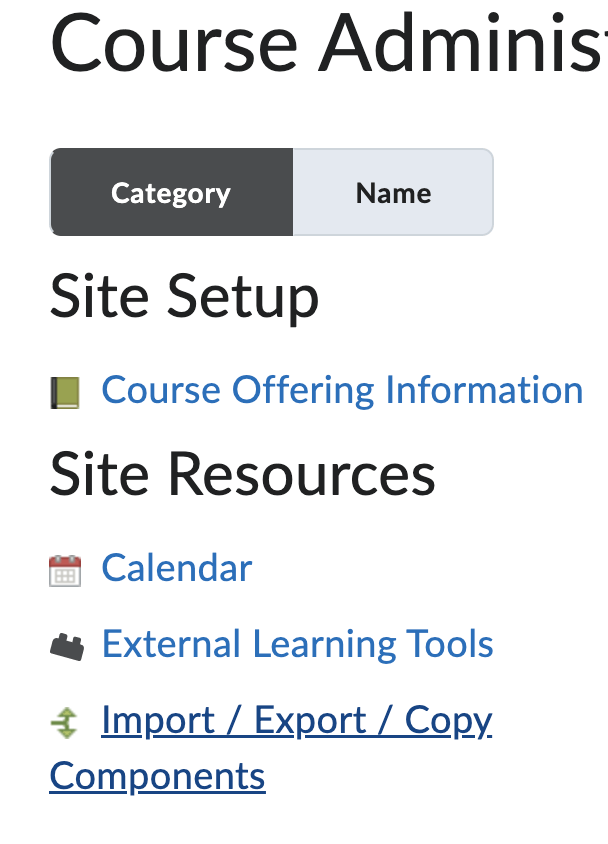
Go to Course Admin
Find the Catagory “Site Resources”
Click on Import/Export/Copy Components
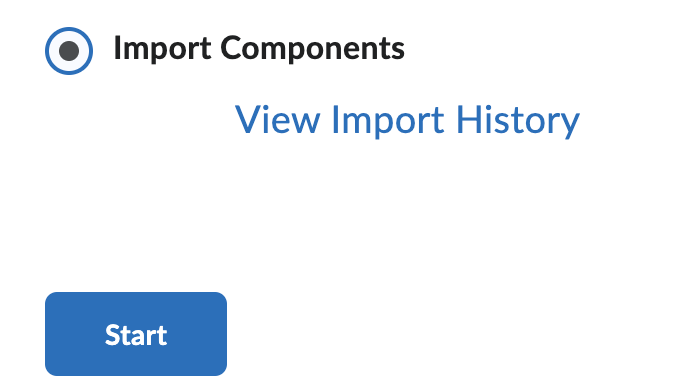
Select Import Components (at the bottom of the page) and click start.
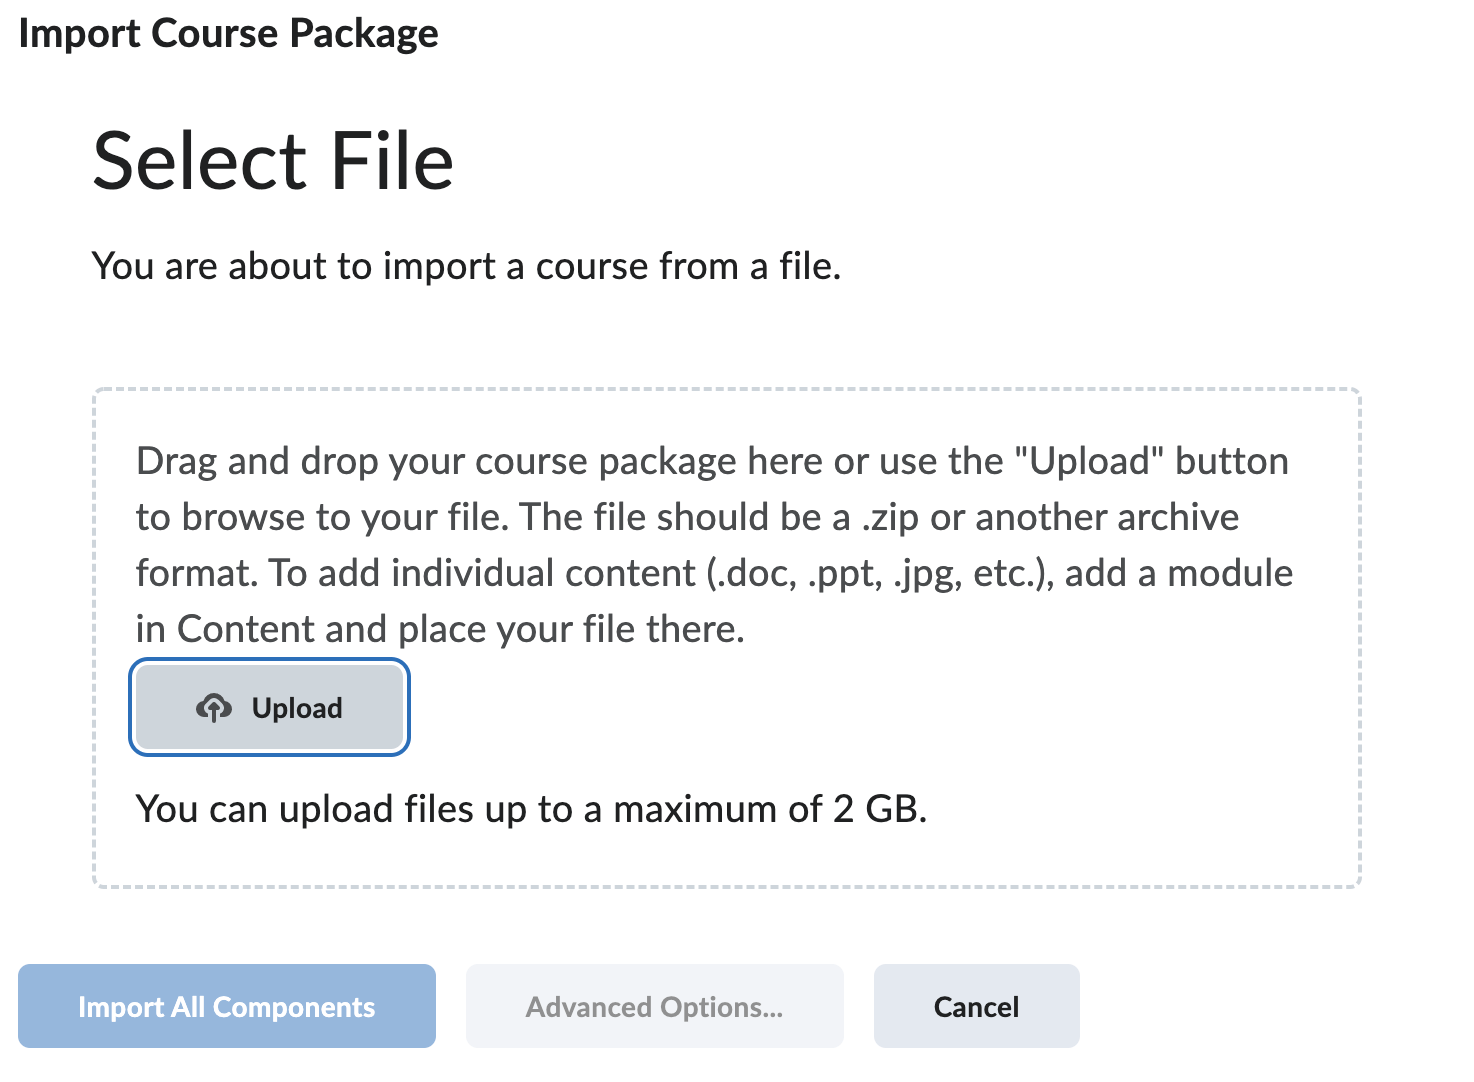
Click upload and select the zip export file you downloaded from Blackboard. If this is a big file, it will take a little time to upload and you won’t be able to select Import All Components until it has finished. If your export file was bigger than 2 gigs, see the “second thing” to know at the top of this blog post.
Assuming for a moment that you imported the content into a location that is not the “live” course you will be teaching from, go to the course that you will be teaching from and go back to the Course Admin -> Site Resources -> Import/Export/Copy Components area again, and this time select “Copy Components from another Org Unit”.
You will be able to search for the location you copied the course to, and select just the items you want to bring to the “live” course shell. This way you aren’t pulling years worth of unneeded items into the live course, just the pieces that you know you want.
TIP: Keep your non-live course storage organized by semester and year if you have the desire to bring many semesters worth of the same course over. Try to help your future self find what you would be looking for.
Don’t forget to do some housekeeping on any content you bring over to the “live” course. Check for correct dates, availability, exceptions, links, formatting, accessibility, etc.
The SUNY Center for Professional Development (CPD) is hosting the OTTER (Online Teaching: Technology & Educational Resources) Institute July 25-28, 2022. The OTTER Institute is an opportunity for online practitioners to learn more about the innovations, trends, and challenges with online education. This year we are responding to the DLE Implementation and focusing all our programming on the new Brightspace Learning Environment. See examples of best practices for course design and delivery within Brightspace. Learn about the tools and features within Brightspace that will help you create and deliver effective and engaging digital course content.
The OTTER Institute is free to all SUNY campus members. The webinars will be recorded and the recordings will be available on the DLE website (this requires SUNY Federated ID/campus login credentials).
Topics to be covered in this Brightspace Edition of OTTER include:
Design Considerations
Brightspace Document Templates
Getting Started Module
FAQs & Glossary
Rubrics
Groups
Discussions
Assignments
Quizzes
Pulse App
IM & Email
Attendance & Checklists
Awards/Certificates
Registration is open and more details can be found on the event website:
There are two different ways of sharing echo360 content in Blackboard, and therefore two different ways to reuse the content as well.
Most instructors at SBU currently link to their echo360 videos via LTI links. This has been the only way in the past to get the analytics that you needed, give the students the active learning tools and also automatically post new scheduled recordings as they happen throughout the semester. Using the LTI link is the process where you are going to a content area where you want the videos to be placed, selecting “Build Content -> Echo Cloud”.
When reusing the LTI link in a course you have copied from a previous semester, you will want to go to where the link was made (it will still be there), click on that link and reconnect it.
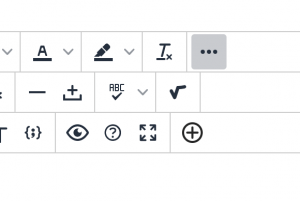
The second way and previously feature sparse method (but this has been rapidly changing!), is to embed the echo360 content into any area of your site that gives you the ability to use the Bb text editor. You can embed content using the wysiwyg editor using the button : “Add Content -> Echo360 Video Library”. It looks like a plus sign in a circle and is the last button on the bottom right.
When you have embedded content and you run a course copy, the video will still work without further tweaking. It is for this reason, and because echo360 has been working hard to bring all the features to the embed model that already exist in the LTI links, that we will be suggesting using embed going forward (at least, as soon as playlists are up and running and that could even happen this week).
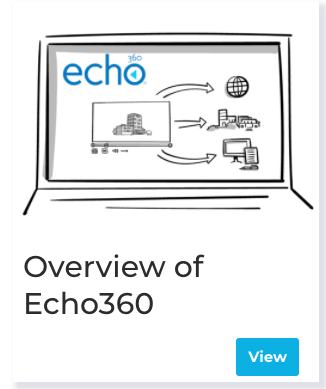
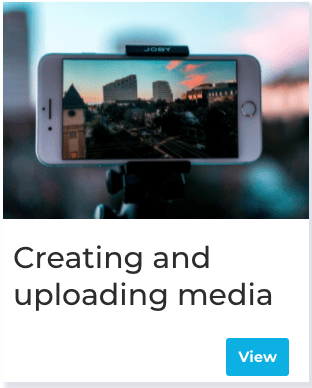
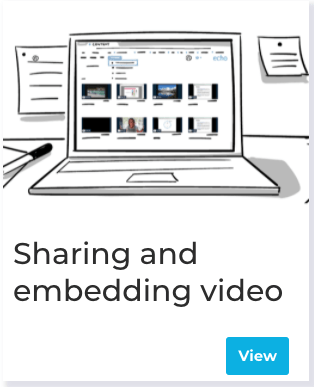
These pages are here to provide Instructors a walk-through of the more commonly used features of Echo360. The pages contain click-through infographics, videos, links to our online documentation, and Quick Reference Card links, available for viewing and download as PDFs.
Start with the Overview. Learn about the typical uses of the platform, navigation in and around Echo360, and get insight from other instructors on creating media and engaging students.
Get ready for new VoiceThread assignments! A number of courses and institutions have adopted already, and we’re looking forward to having everyone else upgrade by June. If you haven’t gotten started with the new features yet, please check out the resources here.
What’s new?
Too much to list here! Some highlights are:
A streamlined interface
More control for instructors
Editable assignments
A “student gallery” so students can easily see classmates’ VoiceThreads
If you are using VoiceThread in your Learning Management System, you can start using new assignments in your courses right away. Turn it on for some courses and leave it off for others until you feel comfortable.
If you are a VT administrator, you can require all courses to remain on the old version of assignments or move everyone to the new version immediately instead. You have full control over when and how your institution updates.
Is there any interruption?
Absolutely not! All of your older assignments will continue to work seamlessly, so you don’t need to rebuild anything or warn your students about an interruption. There is no down time as you transition, and no back-end technical work is required.
Do I have to use new assignments?
Not yet. You can start exploring and using new assignments today, but it is optional for now. You have until June 30, 2021 to migrate at your own speed, and then all remaining courses will be updated automatically.
Where can I get more training?
Join us for one of our live walkthroughs! Workshops are open to everyone, and each one will be recorded so you can watch it on demand later.
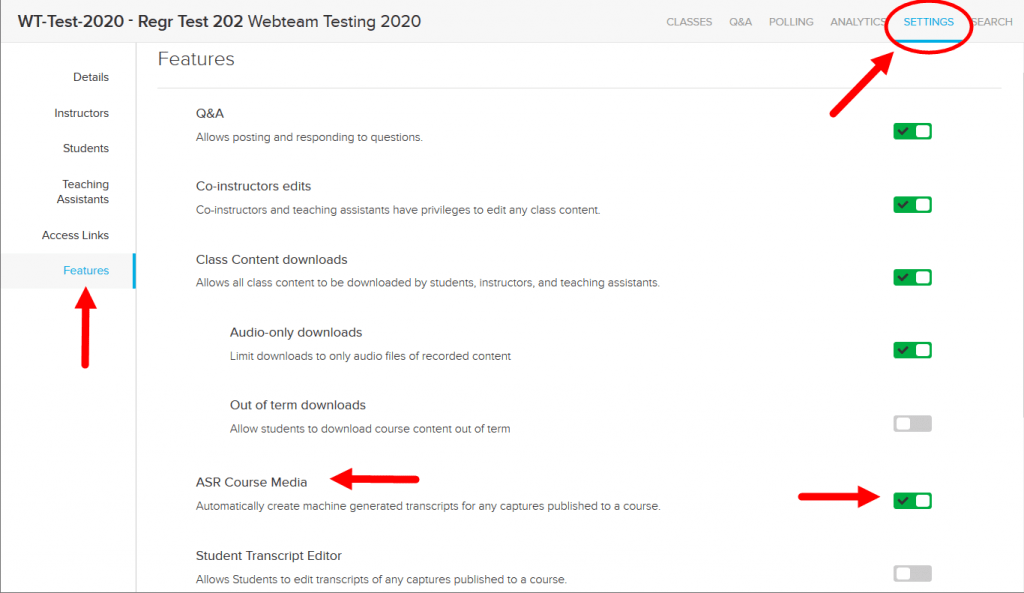
SBU will be setting Echo360 to automatically produce Automatic Speech Recognition after a recording is finished. This will bring it into line with Zoom and VoiceThread which already do this.
If the instructor would like to turn this back off, they can follow this link:


 The second way and previously feature sparse method (but this has been rapidly changing!), is to embed the echo360 content into any area of your site that gives you the ability to use the Bb text editor. You can embed content using the wysiwyg editor using the button : “Add Content -> Echo360 Video Library”. It looks like a plus sign in a circle and is the last button on the bottom right.
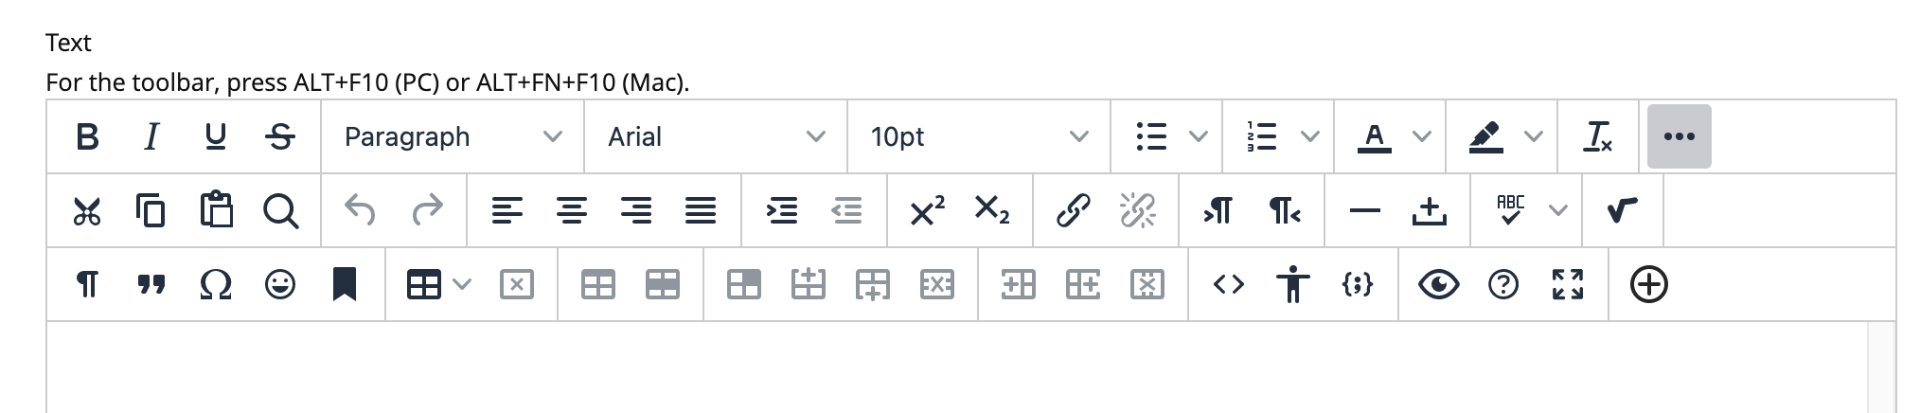


————————————————————————————————–
You can set up each group to access quizzes at different times. Here’s a link to the article that has steps on how to set up special access in quizzes, https://community.brightspace.com/s/article/000017306
————————————————————————————————–
If you had everyone doing the same quiz at the same time, but in groups, you can sort your gradebook by group, and then when you see the first grade come in from a group, manually assign it to the rest of the students in that group.
————————————————————————————————–