In class , we were instructed to go to camerasim.com, a website that allows you to see how certain settings (ISO, shutter speed, and aperture) affect your final photo. The site makes it as though you are actually looking through a viewfinder. You adjust all of your settings first and after you press the virtual shutter button, you are able to see how your photos turned out. The site also has other settings that you can play around with, such as lighting conditions, the focal length of your lens, whether or not you are using a tripod, and the distance between the subject and the background. There is also a little smiley face at the bottom of your photo which kind of appraises your photo; it has three faces smiling 🙂 , frowning 🙁 , and neutral ?.
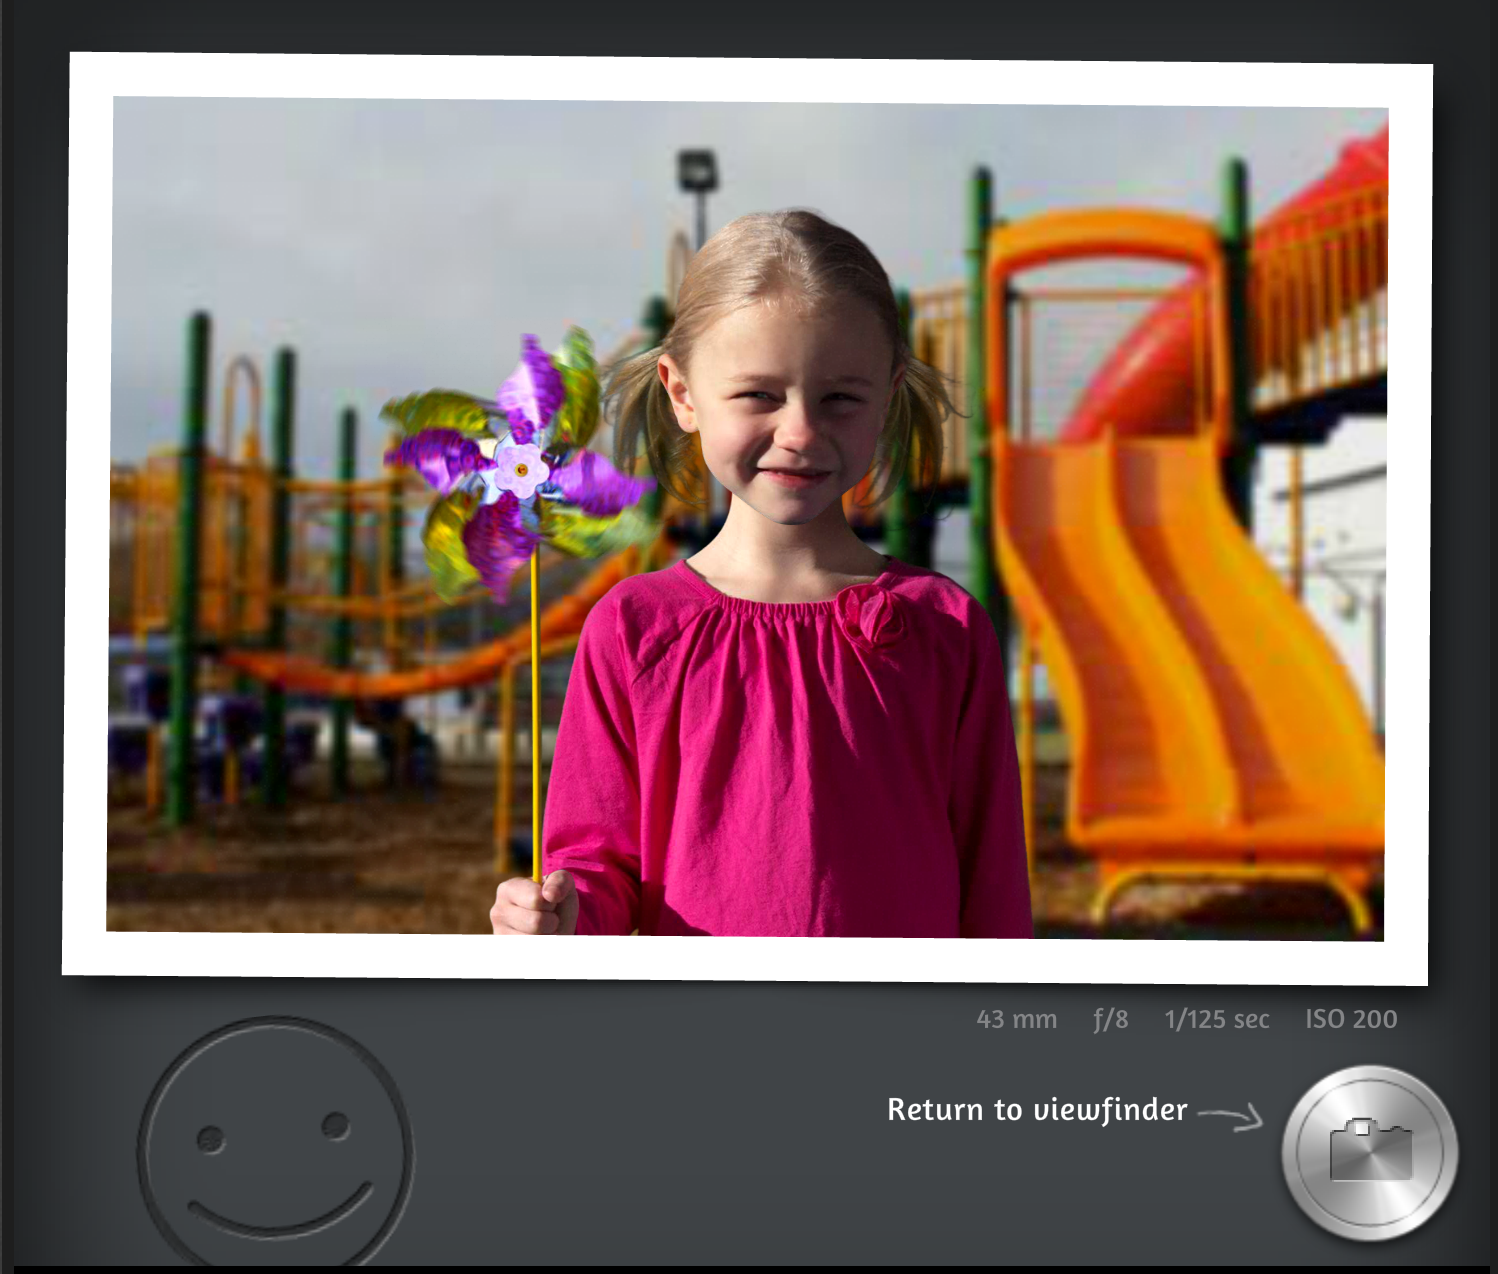
This first picture is of the default settings when you first arrive on the site.
ISO: 200
Aperture: f/8
Shutter Speed: 1/125 sec
Focal length: 43mm

ISO: 3200
Aperture: f/7.1
Shutter Speed: 1/4000sec
Focal length: 46mm
As you can see, compared to the original photo all of my setting have been changed. By increasing my ISO, the picture now has a noticeable amount of noise or grain in it. Also, by widening my aperture, the background is not in focus and has a nice blur to it. Lastly, by significantly increasing my shutter speed, I was able to freeze the motion of the girl and her pinwheel.

ISO: 1600
Aperture: f/5.0
Shutter Speed: 1/4000 sec
Focal length: 46mm
For this photo, the focal length and the shutter speed remained the same, as will the following photos. In this photo, I changed the ISO to 1600 which caused me to have some noise/grain in it, but not as much as before. Although I changed to a wider aperture, the background does not have more blur than the last photo when it should, in theory. This is because I also decreased the distance from the girl to the background.
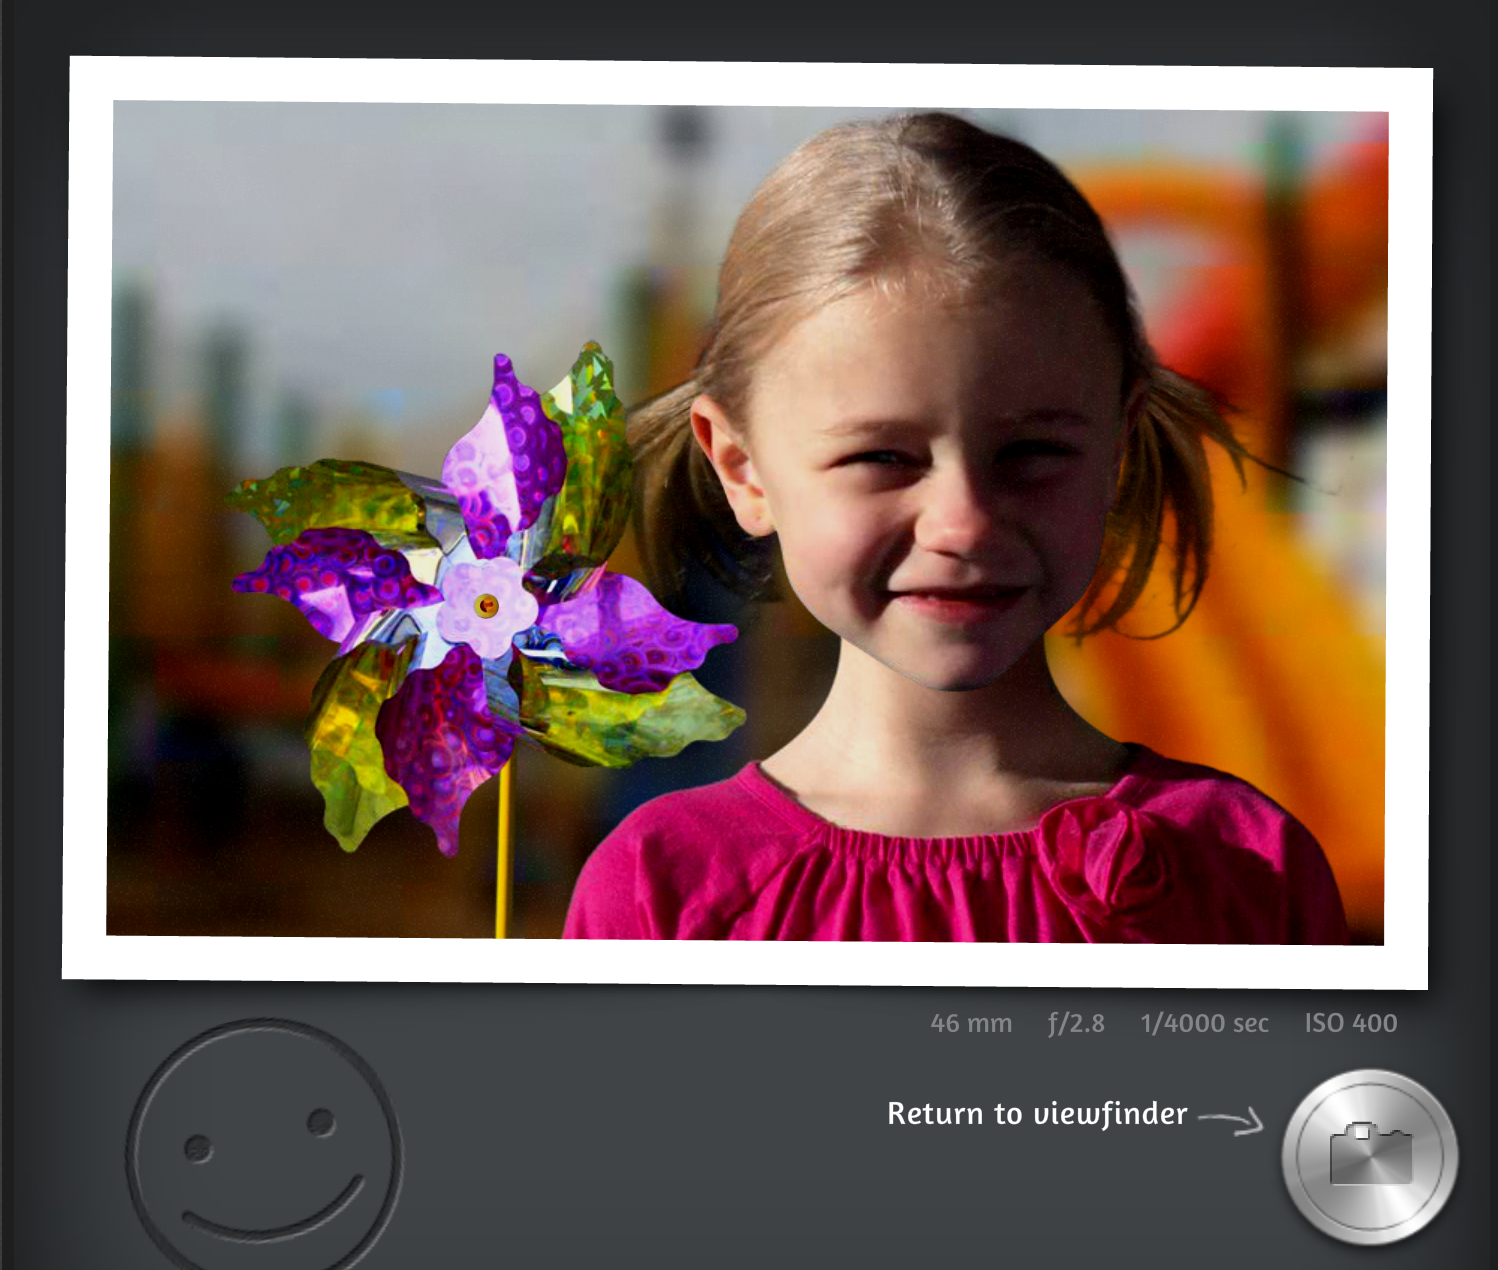
ISO: 400
Aperture: f/2.8
Shutter Speed: 1/4000 sec
Focal length: 46mm
In this last photo, I decreased my ISO to 200 and widened my aperture to 2.8, and increased the distance from the subject to the background. By widening my aperture and increasing the distance, I achieved a nice background blur. Also, by reducing my ISO, I was able to get a clear, noise-free photo.