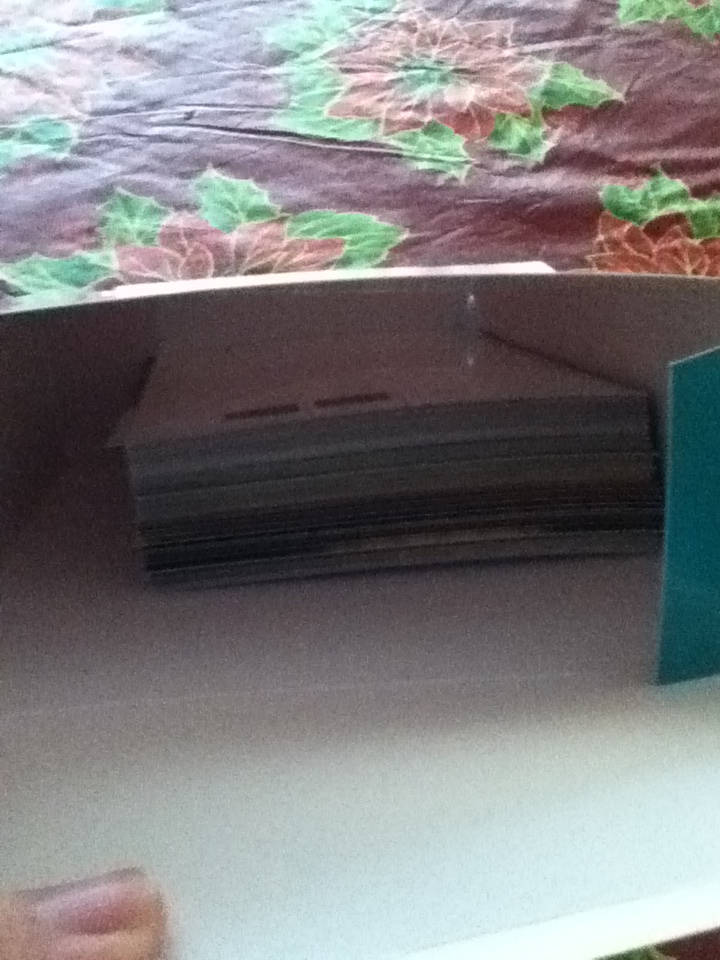
I got my photographs the day after I sent them to Walgreens online.
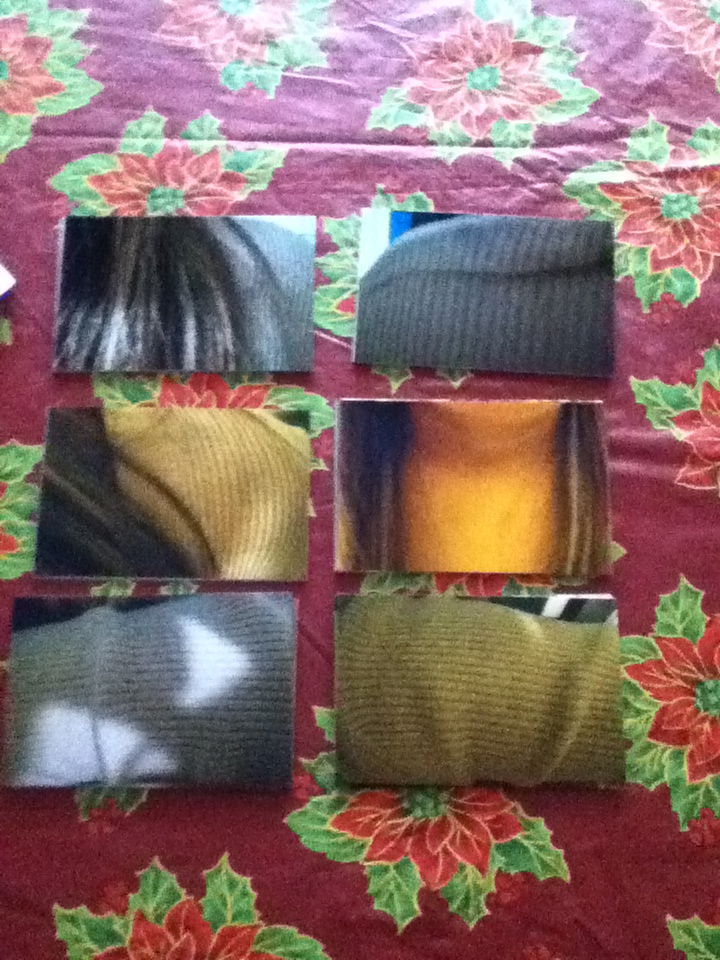
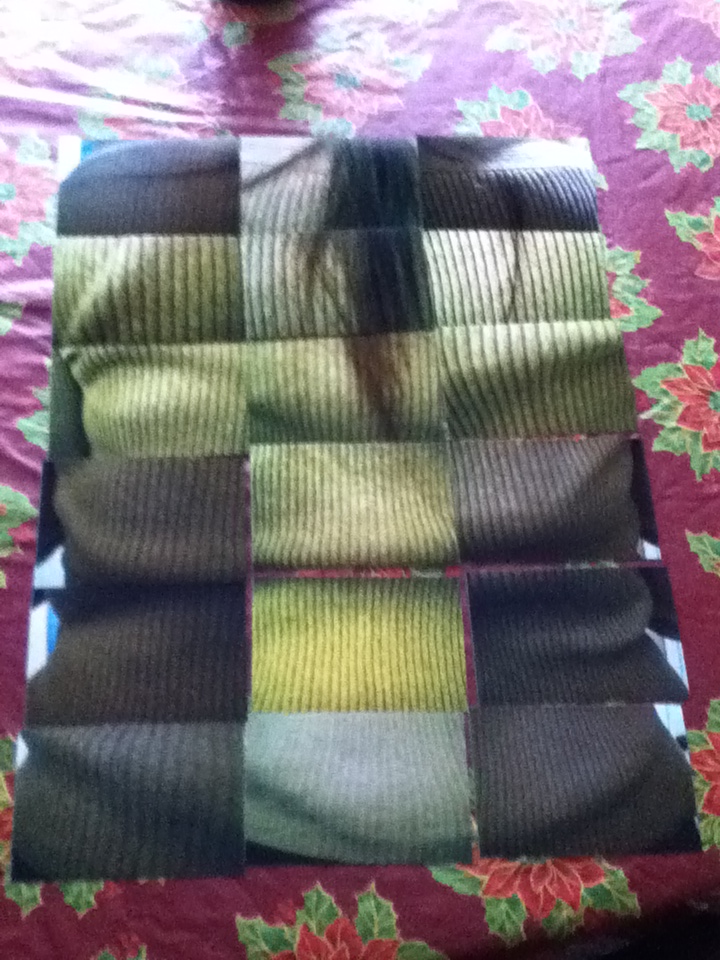
Once I was able to find time to work on the final project, I took my photographs and sorted them out into different categories. The different categories range from the head, to the sides and the arms.
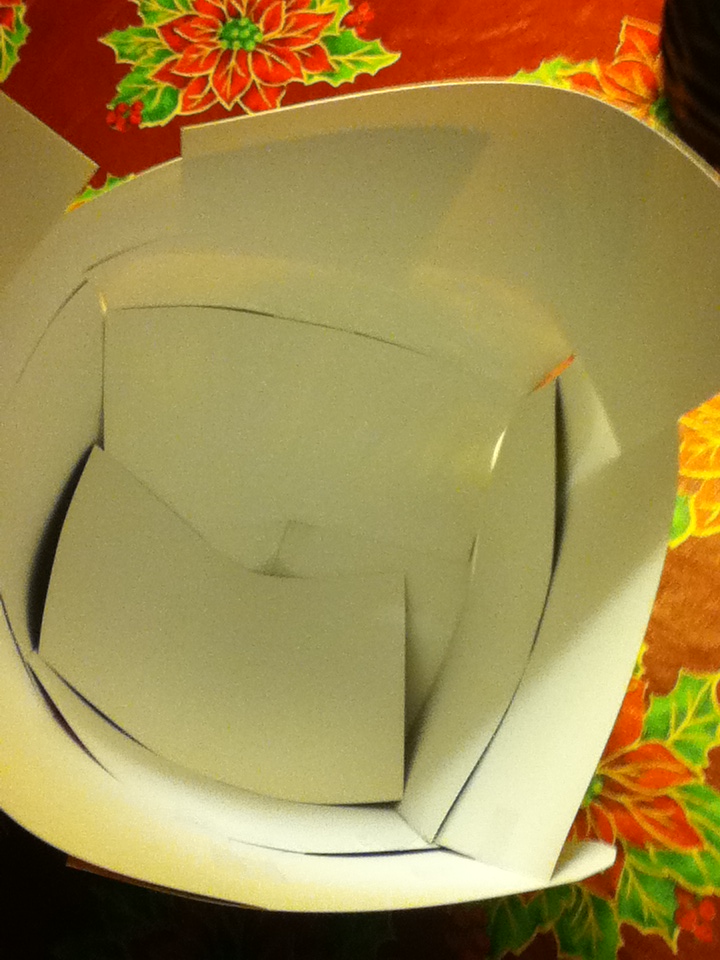
My process for creating this project involved taping the photographs together from the back and arranging them on the mannequin. The photo below shows an example of that process.

The reason why I chose to tape from the back of the photographs rather than the front is because I have learned from my first project of this course that the tape can be distracting to the viewer. So I made my effort to show as little tape as possible. I believe there are a few pieces of tape that are visible from gaps, but I feel that it is less distracting than if every piece of tape was seen on the figure. As I was going through the process of arranging the photographs on the mannequin I made a few tweaks to my project. One of those change involves the hands of the mannequin. I will not be presenting the project with the hands because I wasn’t able to completely cover the hands with the photographs I have.

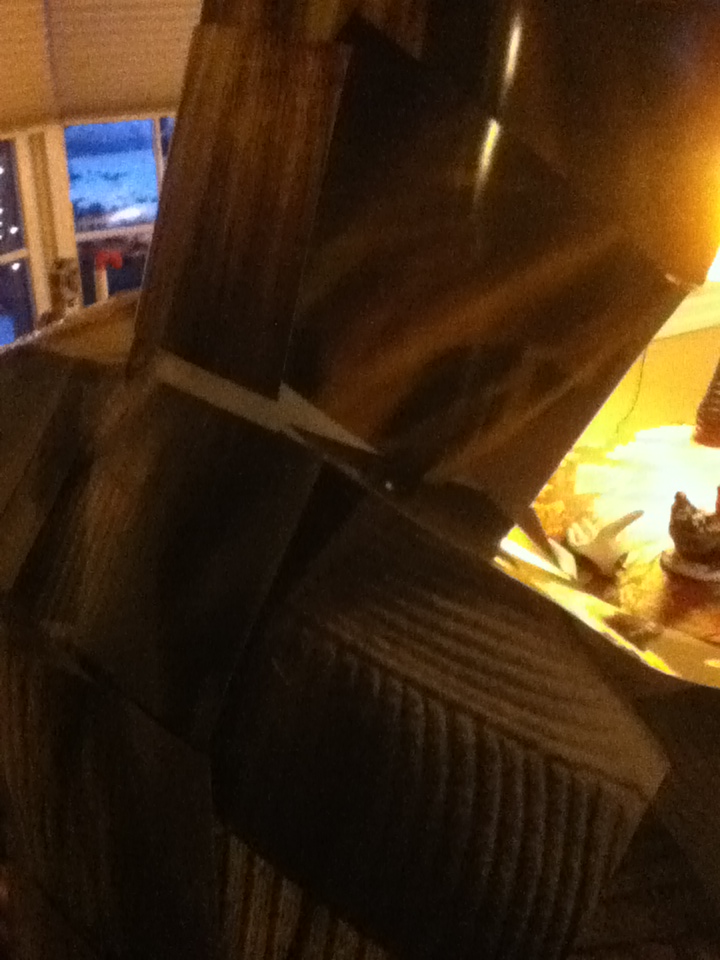
As I started with the head, I noticed that the head was bigger than expected. So I had to improvise and eventually used a few cup holders to increase the height of the head.

I knew the hardest part would be assembling the head because I figured that it would be difficult to bend photographs into a spherical shape. It was hard because I was taping the photographs from the back and was trying to make them stay. The head doesn’t look perfect, but it gets the idea across.

When I got to the torso of the figure, it became a little bit easier to arrange the photographs. One task that I did that made it easy was that I placed the front and back torso in the way that it should look on the mannequin.
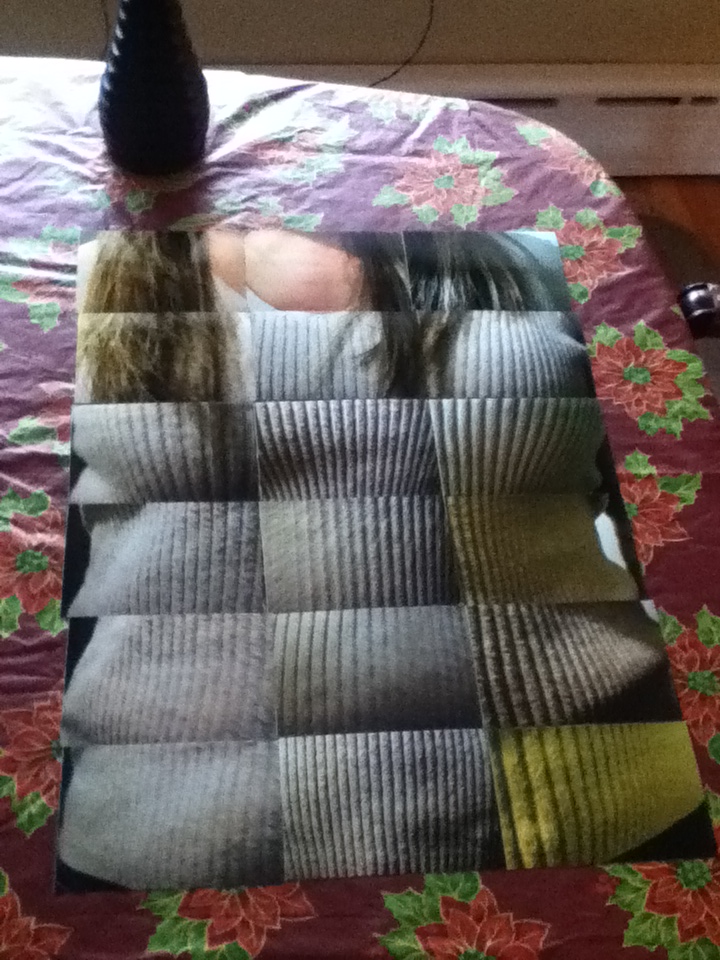
During the process of adding photographs on the piece, I cut off the background so that the focus would only be on the actual figure. If I were to create this in a two dimensional setting, I would use the background to make one picture. My figure is three dimensional so the background is not necessary. While I was working on this project, I realized that I took to many pictures. I have 122 pictures in total but some had to be discarded because of the size that I had to work with.

I finished applying the photographs this morning and so far, it looks good. There are some aspects that could use some improvement, but overall, I am happy with how it turned out.


Once I was able to find time to work on the final project, I took my photographs and sorted them out into different categories. The different categories range from the head, to the sides and the arms.
agario unblocked
ent categories range from the head, to the sides and the arms.
agario unblocked