Category Archives: Task
Task 3: Lighting Ratios
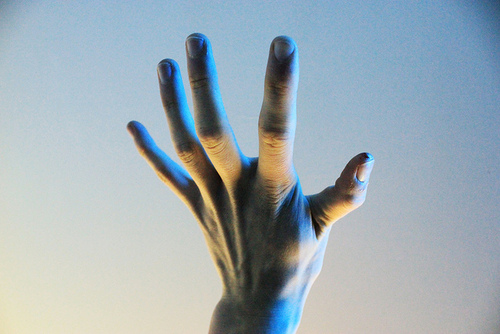
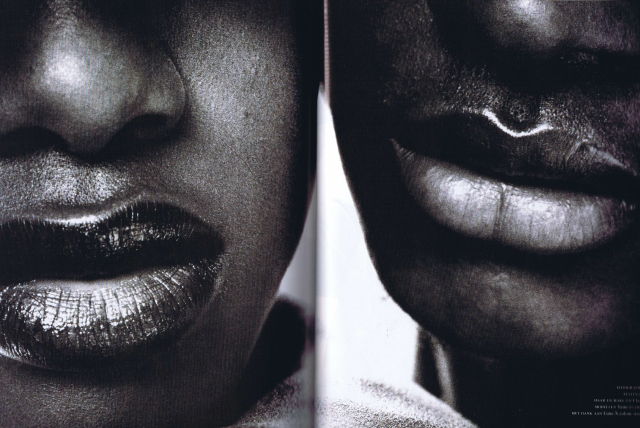
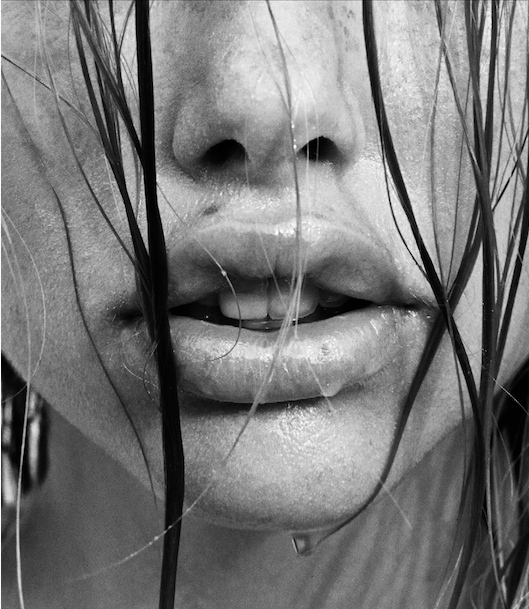
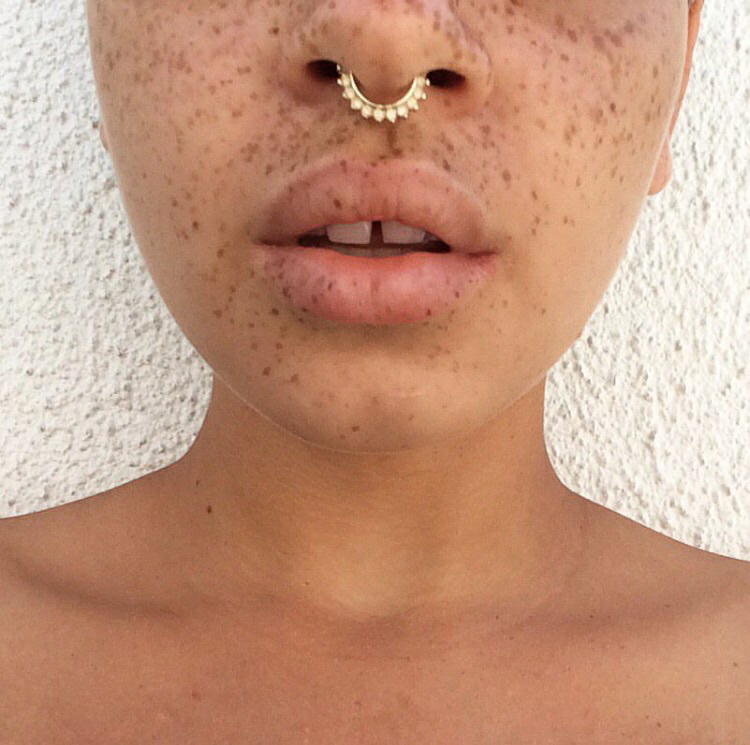
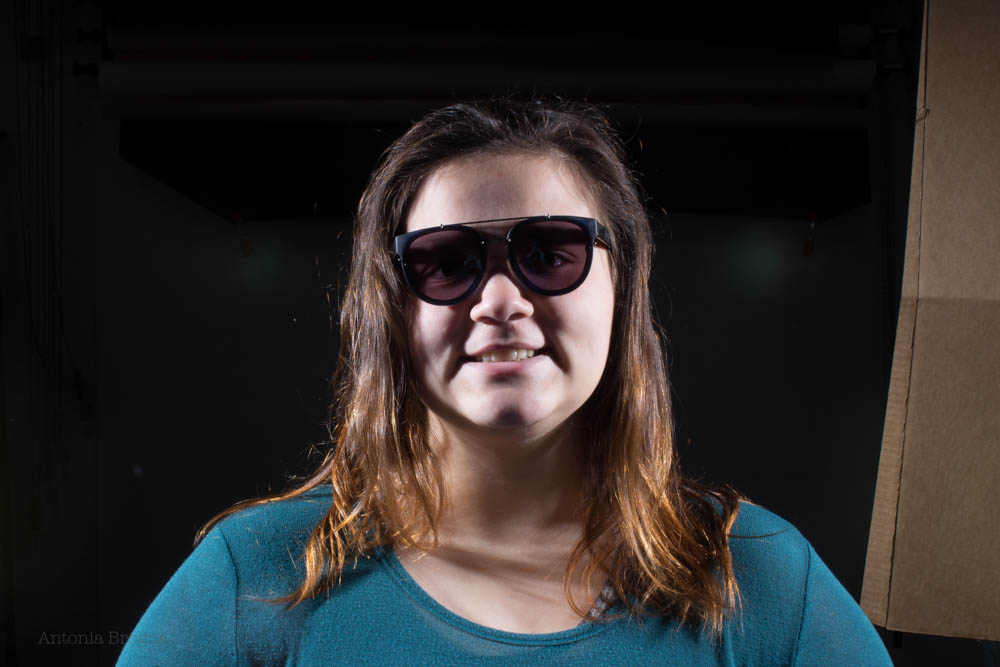
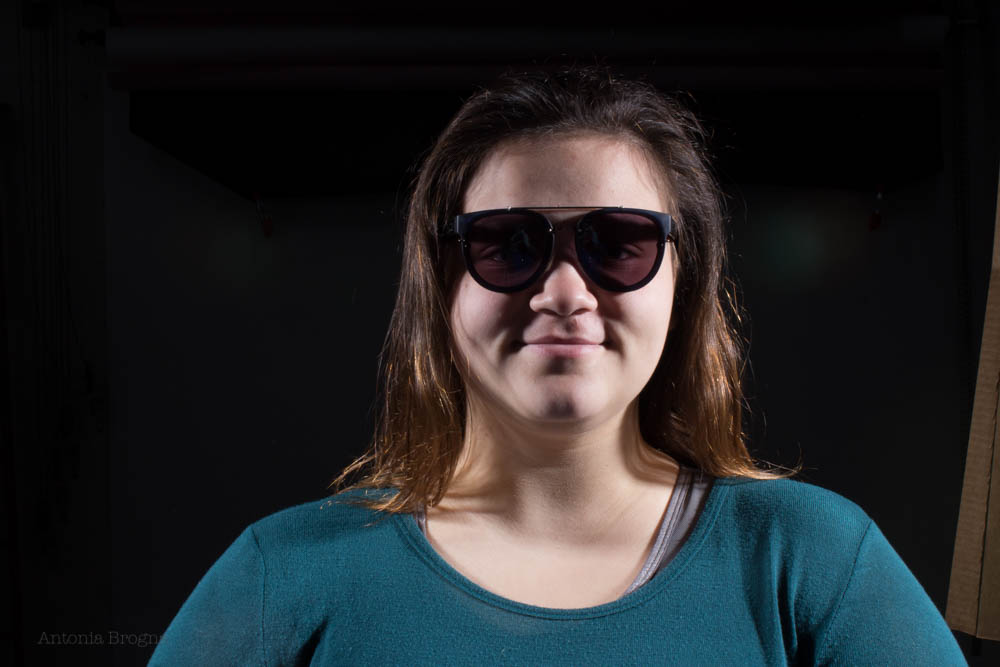
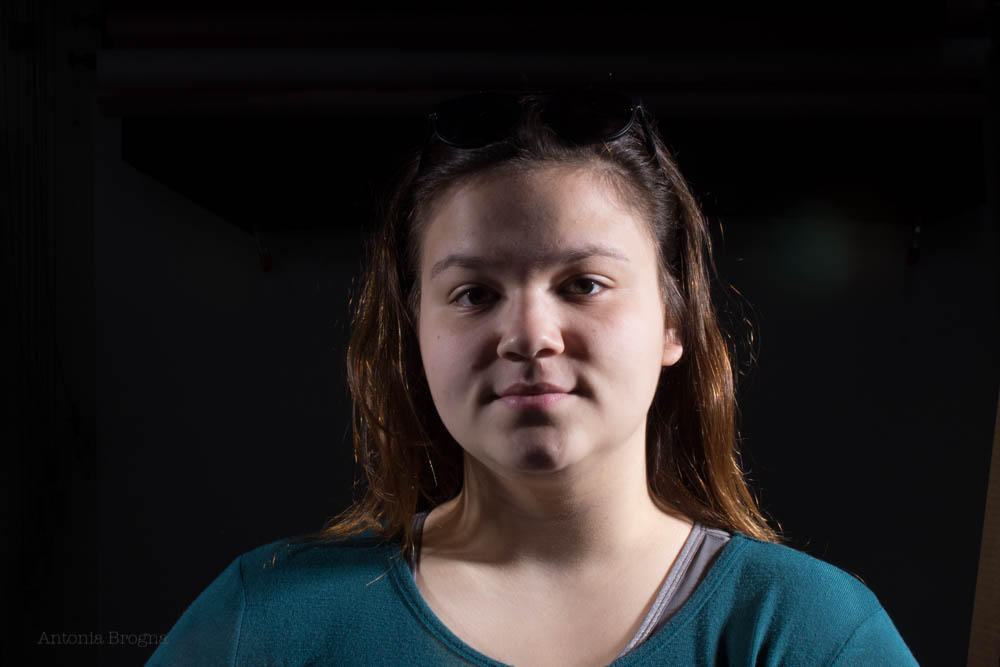
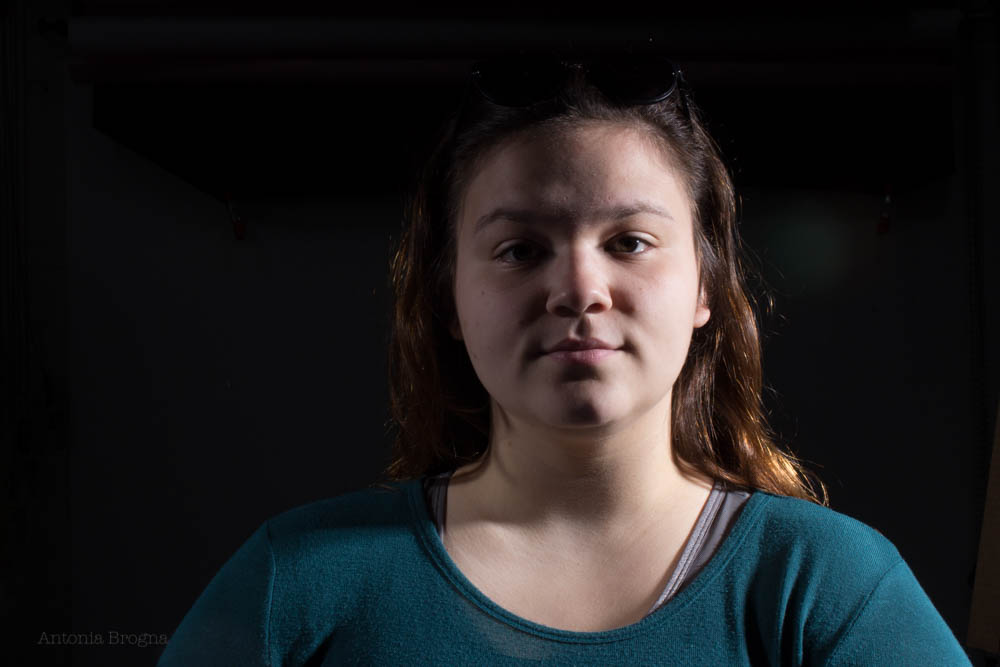
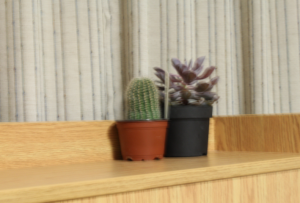
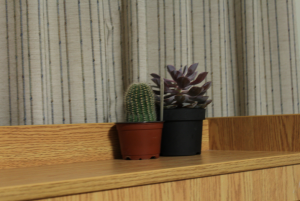
For this task, we set up two lights shining onto the model. One light (the fill light) was kept at a steady reading of 4, while the other was (the key light) decreased in between shots to create the ratios.
Task 1: A Look into the Life of Margaret Bourke-White
Get it, Life? Because she was a photographer for Life Magazine… well, if you didn’t get it before, now your do.
PowerPoint: Margaret Bourke White by Antonia Brogna-1i8q08q
Task 4: Final Project Proposal
Semester and Year: Fall 2016
Course: ARS281
Student Name: Antonia Brogna
Date: November 22, 2016
| PROJECT TITLE (Project 6: Final Projects Series): Arrow |
| PROJECT DESCRIPTION:
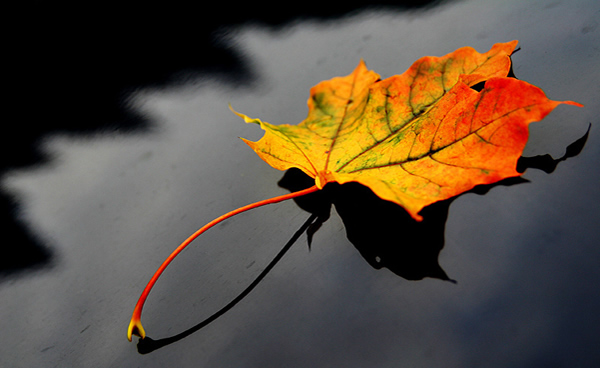
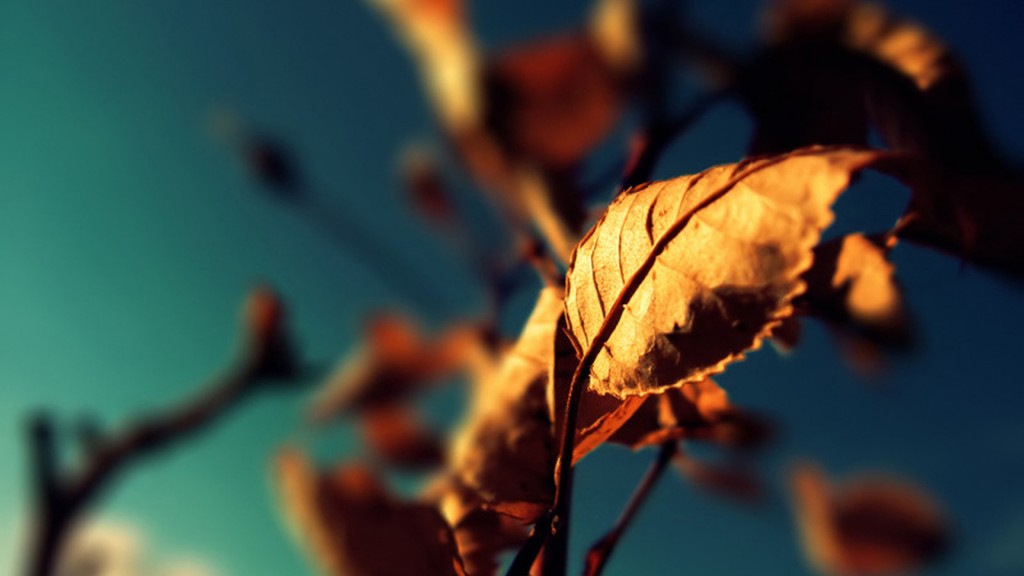
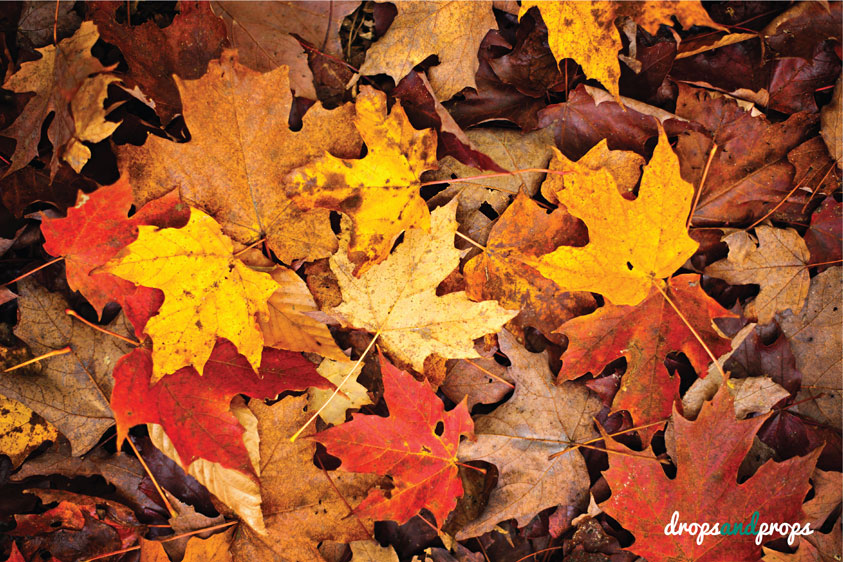
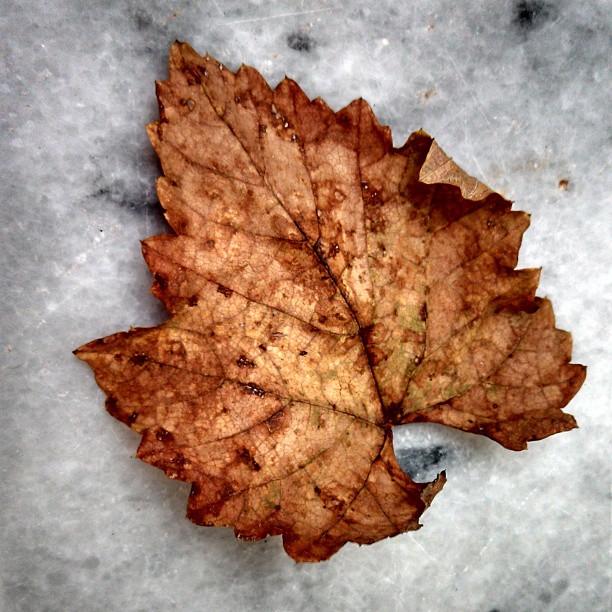
(250 word description of the project you are proposing) Describe the theme and subject of your project in depth. Describe what your project will be about. You may give some insight into the background of your work in relation to this proposed project. Some of my favorite photographs to take are up-close, zoomed in shots. For this project, I would like to focus on zoom shots of leaves and nature as they are undergoing the transition from season to season. I find this transition to be fascinating, as the human race tends to find changing leaves so beautiful even though they are technically dying. The colors and textures can be extremely rich, and it can be visually interesting when most of an area is dead but one bright, living thing has survived. The idea behind this project is to explore the idea of transition, and how it does not always occur all at once or in the same manner for everything. Transition can manifest itself in different ways, and I’d like to demonstrate this using close-up images of various leaves, branches, flowers and other flora as they are going through the transition process.I plan on focusing especially on light, texture and color in relation to the subject, as well as keeping the subject in their natural position to accurately portray the transition. |
| OUTCOMES:
What are the practical outcomes; produced artifacts? (bullet points, or listed items) Describe exactly what you will produce; what are the physical outcomes to your work? Be concrete and literal. How many images? How big? Where?
|
| METHODS AND MATERIALS:
Identify and describe the production methods, media, materials and the process involved in making your project; specify special equipment, printing, lighting and relevant tools. (bullet points, or listed items)
|
| REFERENCES:
Identify and list the relevant study references for your research: artists, artworks, exhibitions; art historical precedence and contemporary works; books, essays and publications. |
| RESEARCH JOURNAL AND SUPPORTING MATERIAL
To accompany this form and your practical work: a journal of research, including documentation of your work process, such as the references above, sketches, ideas, documentation, notes, samples etc. to be posted on your Research Journal Blog Website. |
Task 3: Light Painting
Some more photographic experiments, this time with friends~
We were supposed to give light painting a try. There are so many different ways to go about doing this, so here are some methods I attempted:
One
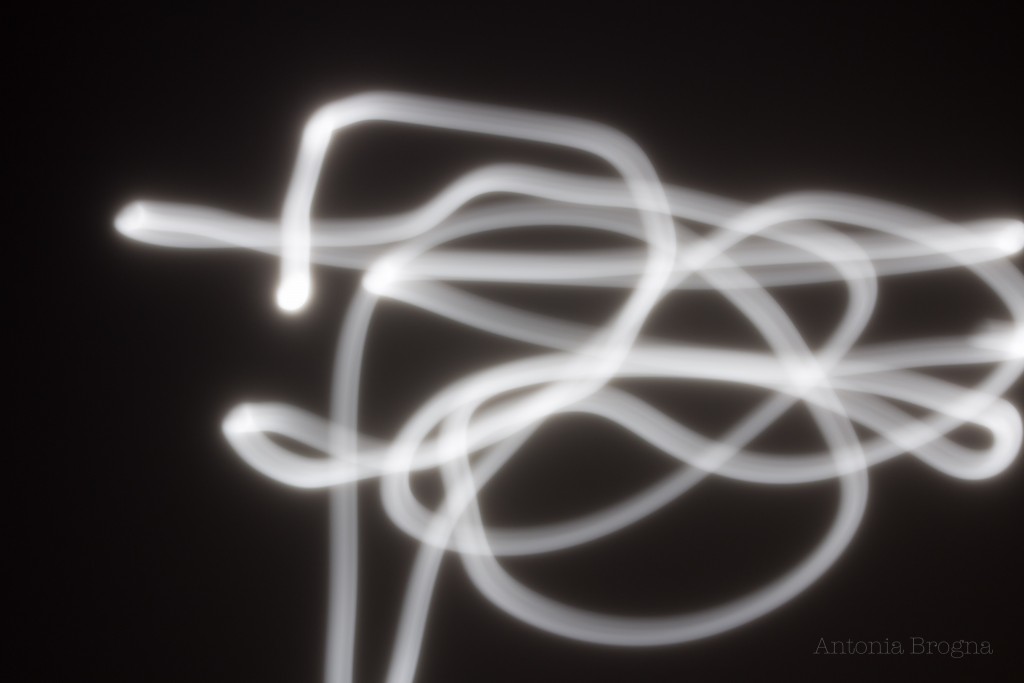
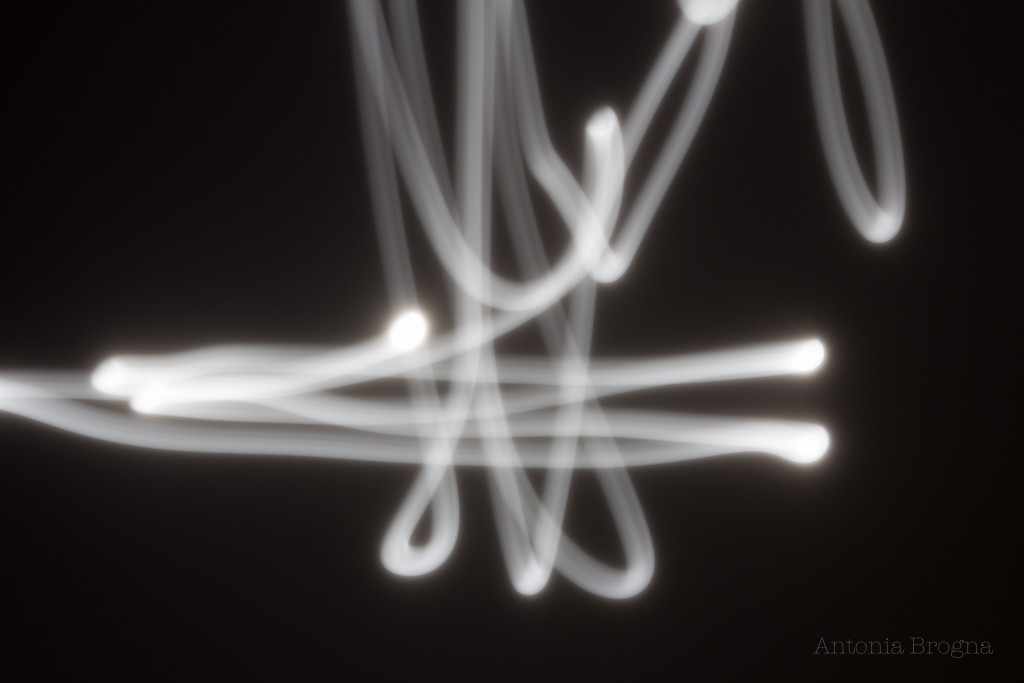
For these takes, I used the moon as my light source because it was so bright. Since the moon was stationary, I moved the camera around to make designs. The moon was so bright that I had to use a very low ISO. Luckily, it didn’t pick up any extraneous lights.
Two
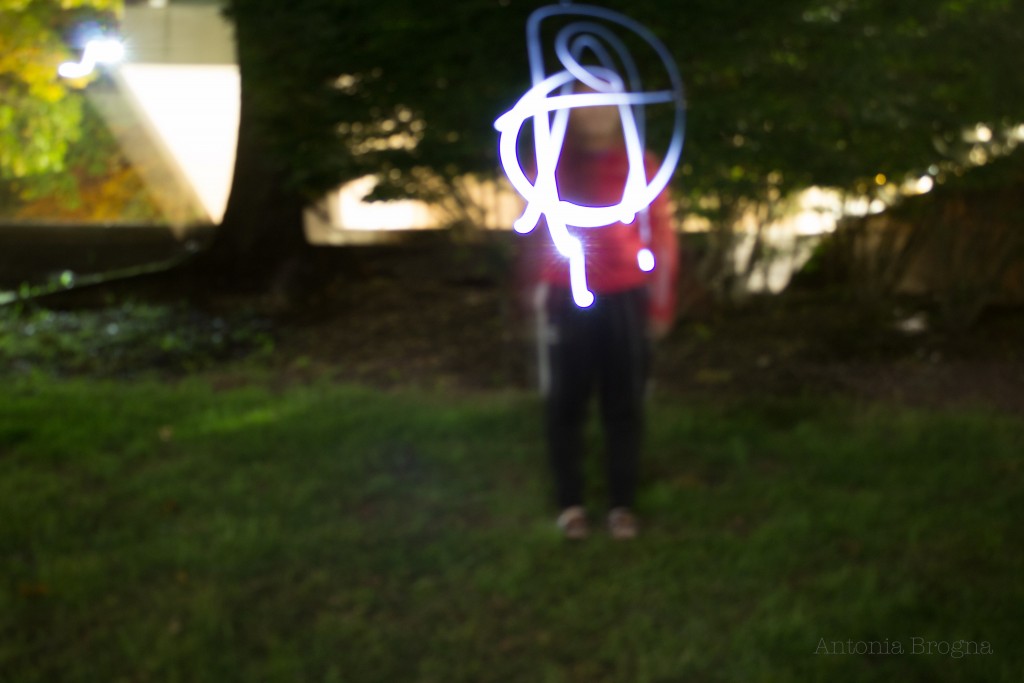
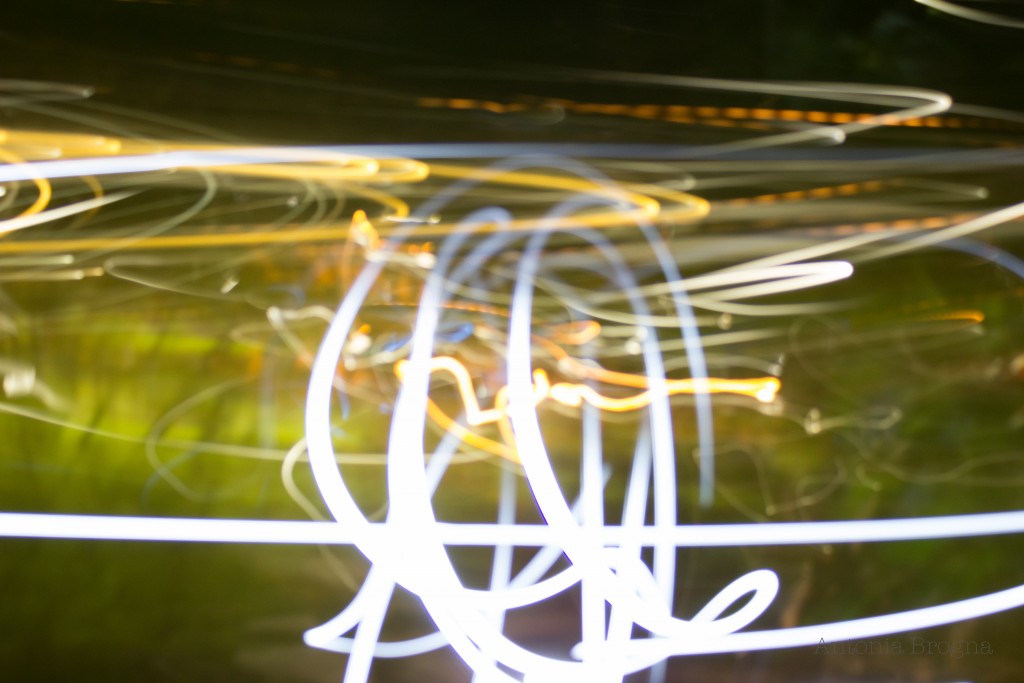
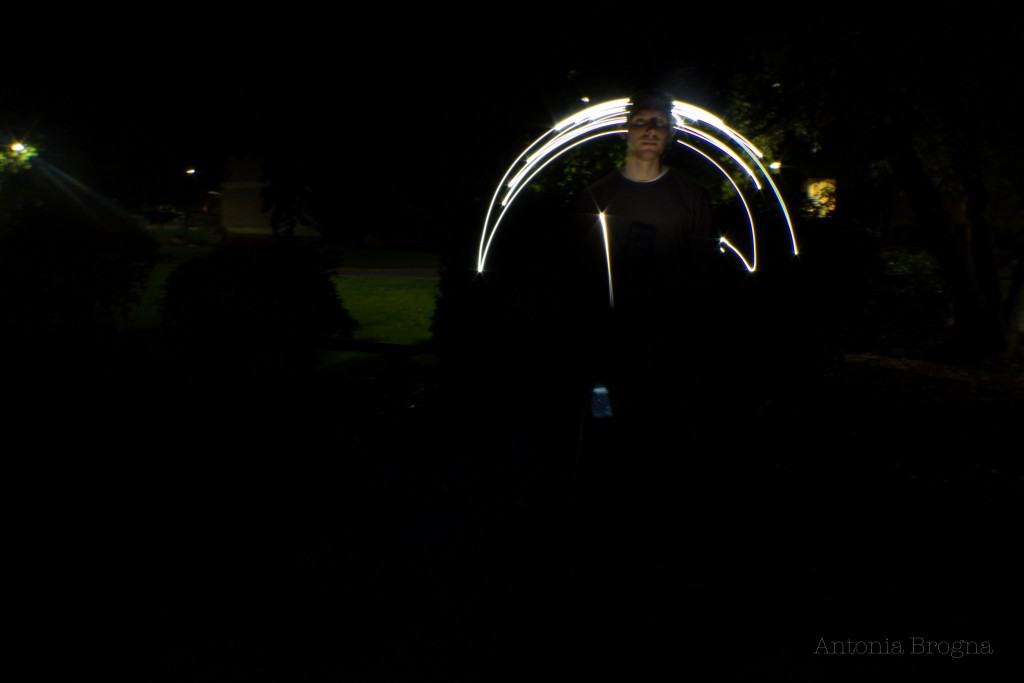
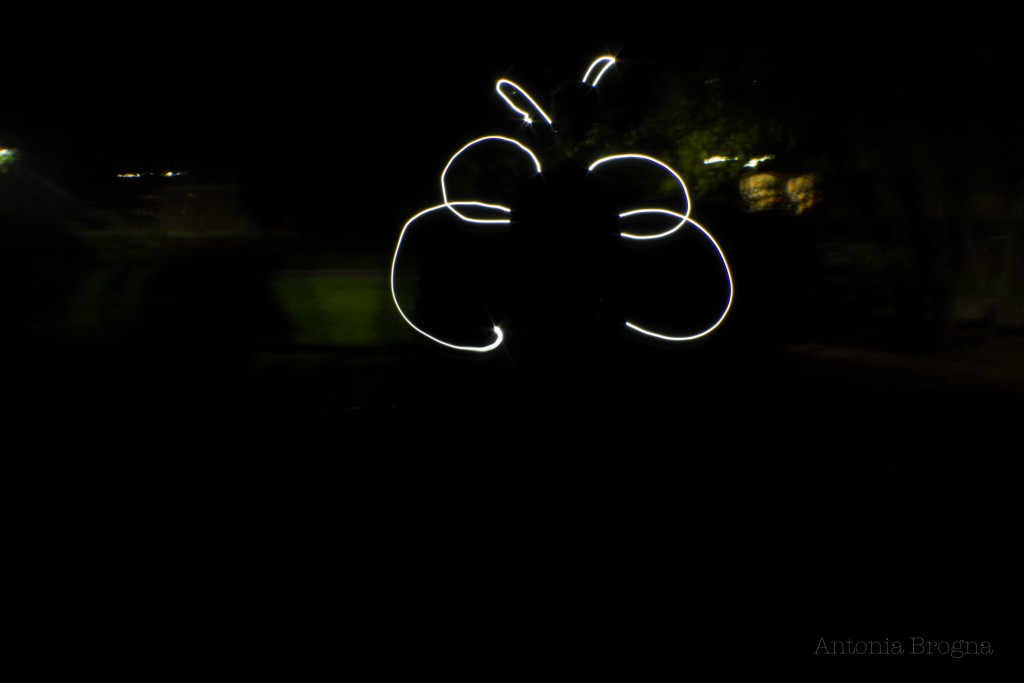
In these shots, I introduced a person. I had my friend Alyssa stand still but move just her arm, which held her phone. The background, however, was too illuminated. For the second photo, even though I had my camera on a tripod, I accidentally introduced some camera shake when I pressed the shutter button, so I decided to move around the camera while my friend moved around her phone. I think it created a cool, blurred background effect that I wasn’t really planning on getting. However, the background was still too bright for my liking, so I tried to change the ISO again. The tricky part was that it couldn’t be too low because then the light wasn’t prominent or bright enough, but if it was too high, you could see the background.
Three
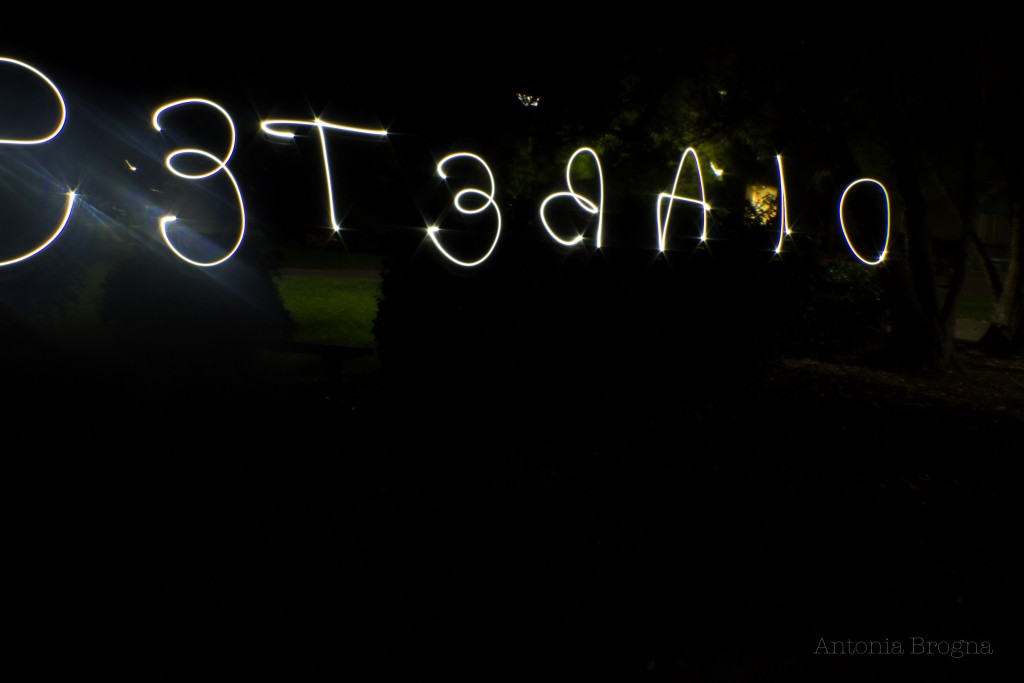
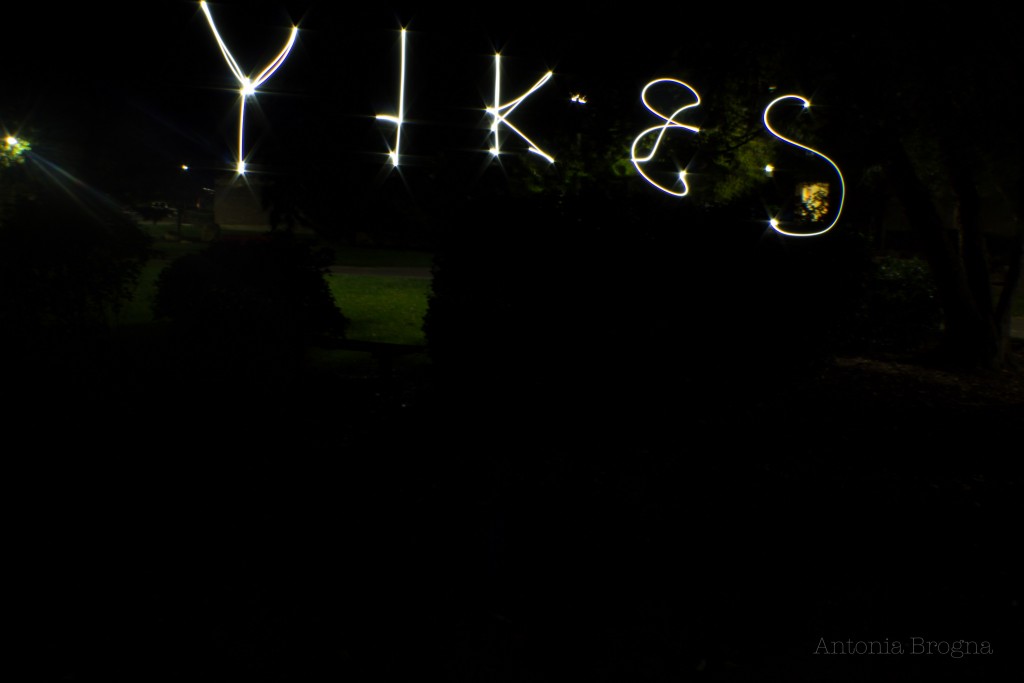
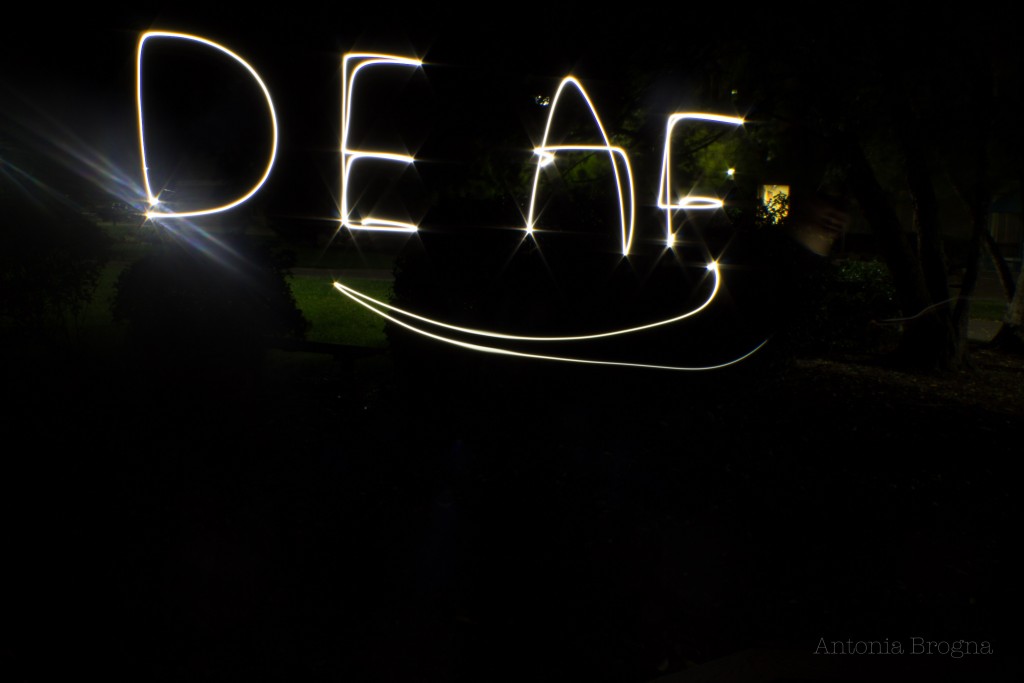
For the next series of photos, my friends wanted to write out words. They have pretty messed up senses of humor, though. Alyssa has diabetes, so that was the word she chose to write. The biggest struggle with her was getting her to stay in the frame and spell or write diabetes correctly (in her defense it was close to 1 AM.) My friend Mike suggested that we try a wide angle lens, so I added a wide angle attachment to my usual lens. I was then able to get Alyssa to stay in the scene, though it took her several tries to get her desired effect (though she couldn’t write it backward, so her word looks mirrored in the photograph.) My friend Marissa then wrote “Yikes” because that’s her catchphrase. Hers went a lot smoother. Then, Mike wrote “Deaf” because he is deaf in his left ear. With his, we learned that if you shined his phone flashlight in one spot for too long, it would create a type of sparkling effect. They all used their phone lights for this.
Four
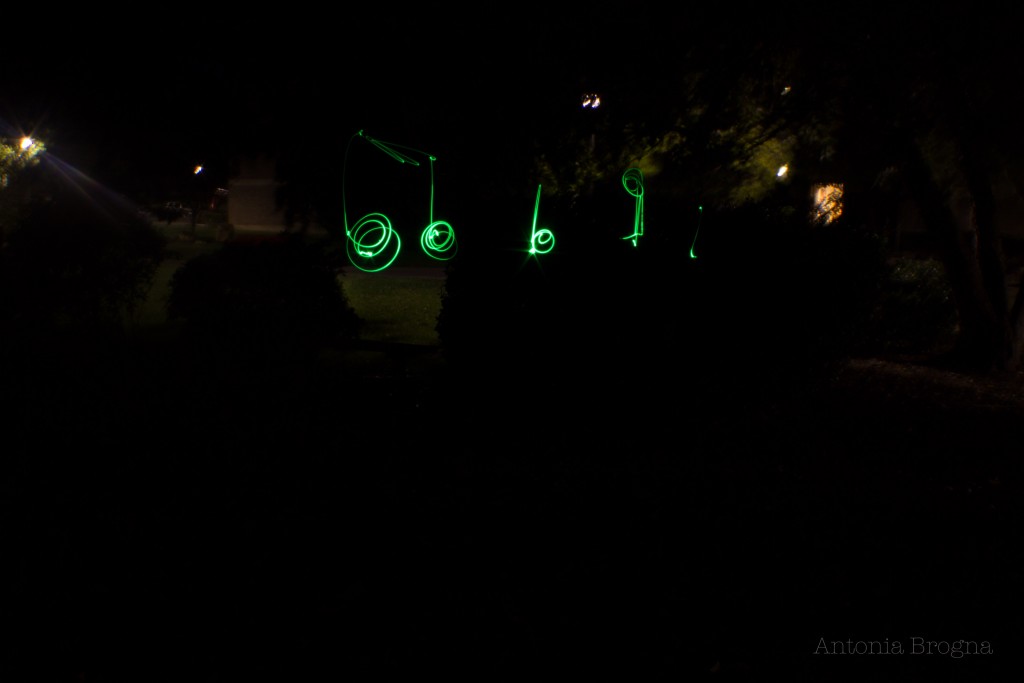
In this one shot, Mike used a small, green Hulk/Bruce Banner keychain flashlight to draw music notes. It’s not very clear because of the size and quality of the light, but it was the first time we played with color.
Five
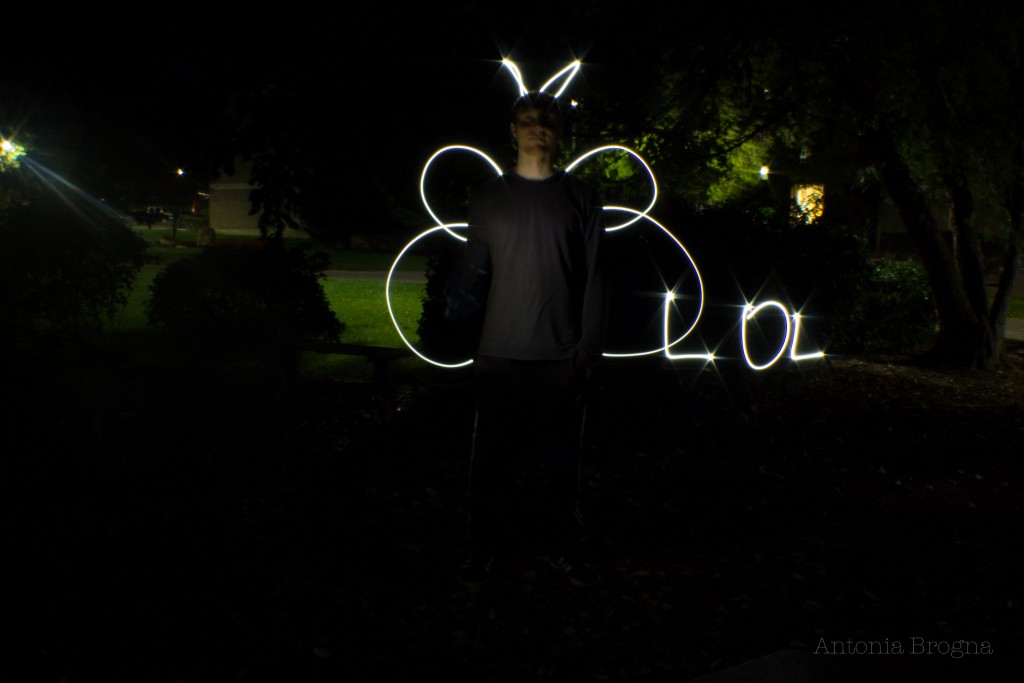
In the next series of photos, we played around a lot with lighting the subject and drawing behind or around them. We experimented with how far away you had to be to really light the person. We learned that with our camera flashes, it wasn’t enough to stand next to the camera and shine the light on the person, which is what we tried in the second picture. Instead, one person had to run up to the person and light them up before running out of the scene so another person could run in and draw something. I don’t think we ever really came up with the best lighting solution, though, because most of the subjects are unevenly lit.
Five
This shot happened accidentally because Alyssa exposed her phone screen to the camera, but it created a cool, faded, colored look.
Six
We decided to keep experimenting with color, so I told Marissa to hold one of my camera filters over the flash of her phone while drawing a thought bubble coming out of Alyssa’s head. Alyssa is also super awkwardly lit in this, thanks to Mike.
Seven
For this shot, we decided to draw a crown over Alyssa’s head. The initial problem was that no one could seem to draw a proportional crown in the right spot. Once that was mostly resolved, the second problem became that Alyssa could not stand still or keep a straight face long enough, so if you look closely, you’ll see her face looks kinda demented.
Eight
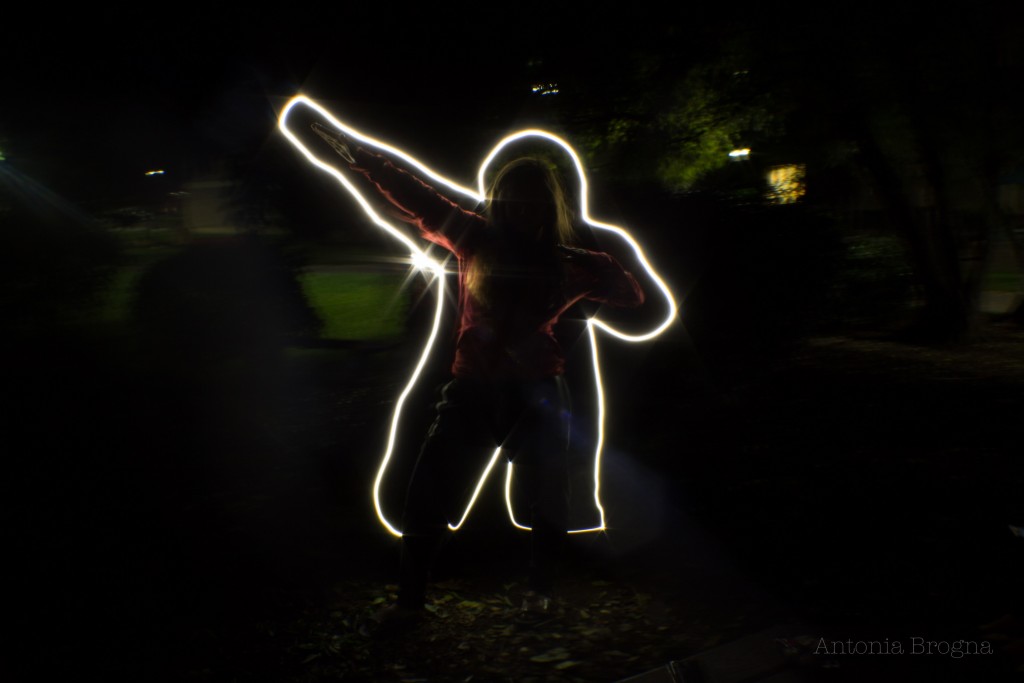
Our last method was the silhouette. Mike used his phone flashlight, which was the brightest of all of ours, to trace Alyssa’s stance. According to Alyssa, it looks like she has fireworks shooting out of her armpit because Mike held his light in one spot for slightly longer than the rest.

