Final Project: ISOLATE


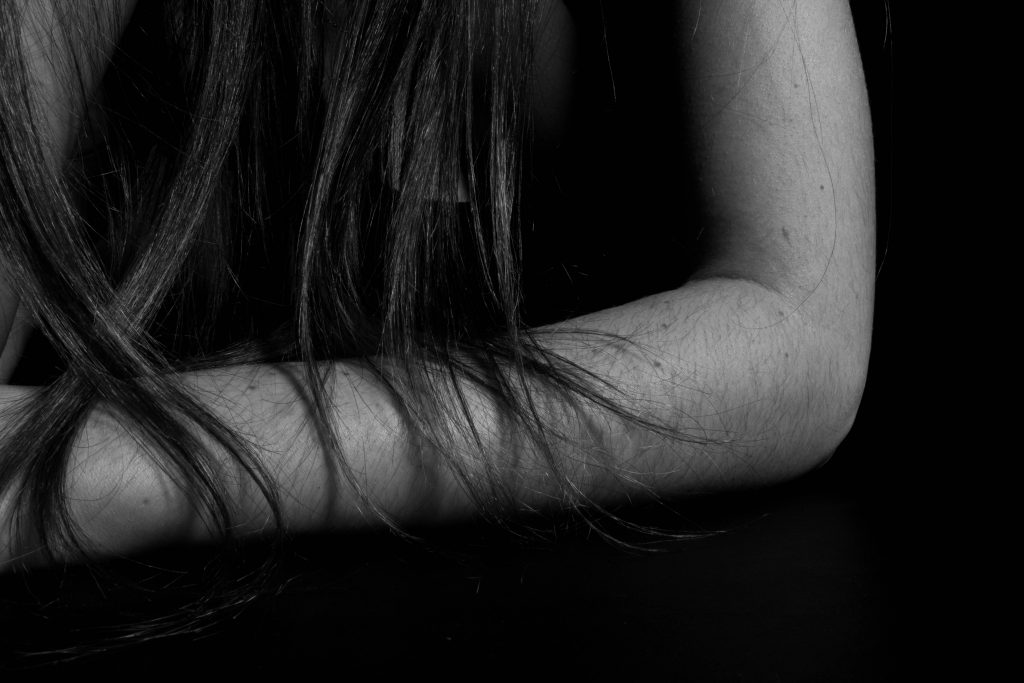
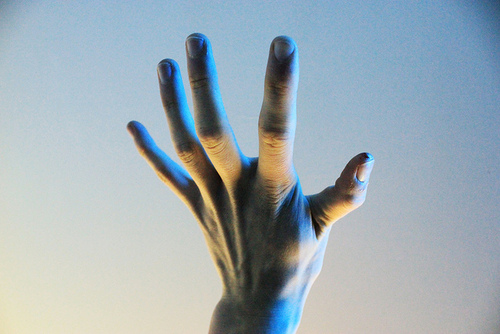
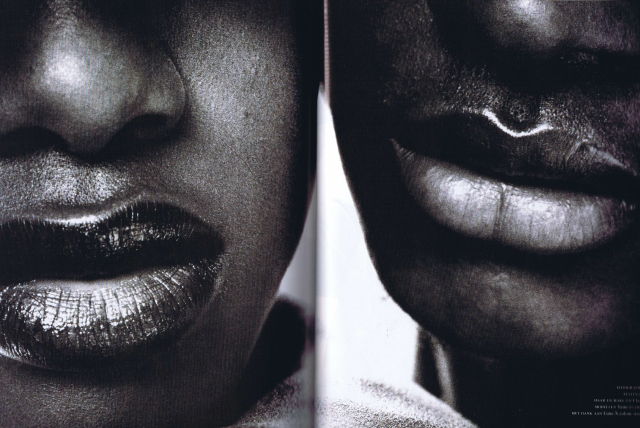
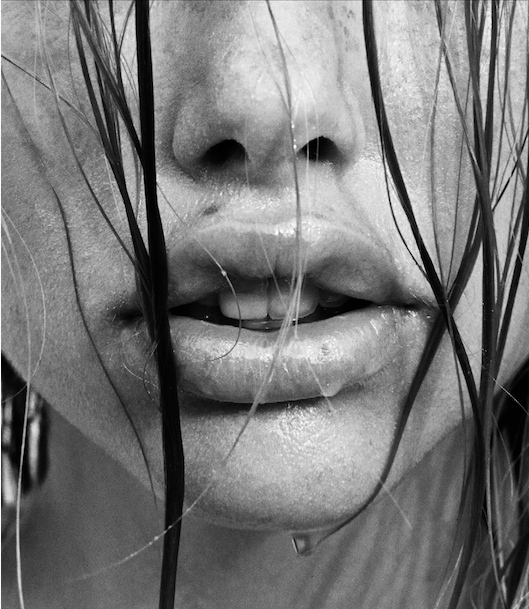
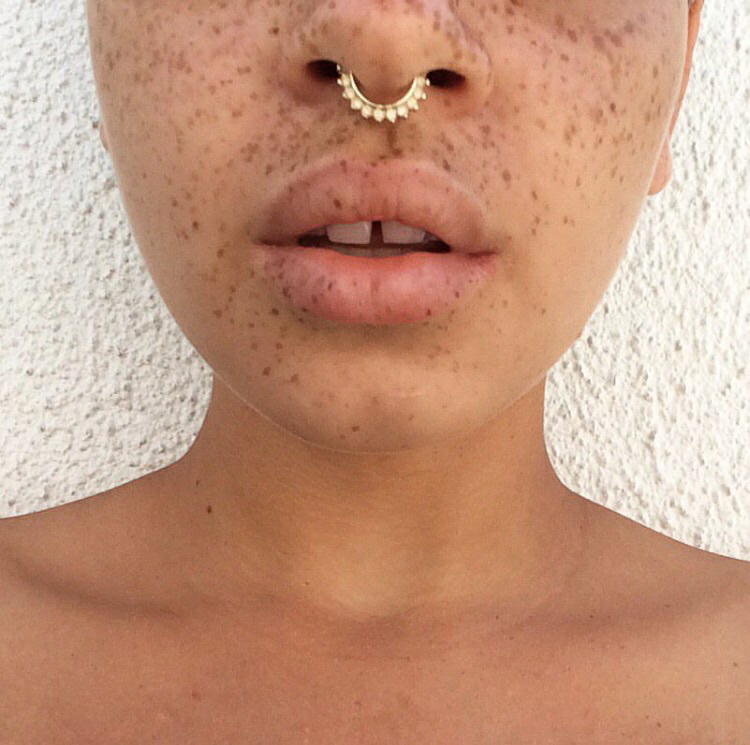
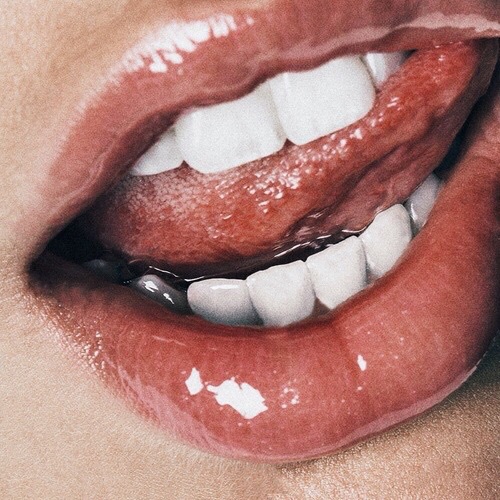
ARTIST STATEMENT: 206 bones. 640 muscles. A million ways to move the human body, all thanks to those individual body parts. Yet, we focus on what the body on a whole can do, not what the individual bones and muscles can accomplish on their own. Much like jazz dancers with their body isolations, ISOLATE focuses on specific body parts and regions and how they interact within themselves to create minute forms, movements, motions and shapes. These images capture what makes these body parts individually vital to the human being, instead of outlining the entire human form as a whole.

ARTIST BIO: Antonia Brogna is a sophomore journalism major and business management minor at Stony Brook University in New York. She hopes to use her impending degree to someday reach, motivate and inspire teenagers and young adults through the power of the written word. Though it is words that run through her brain, it is art that runs through her heart. She has recently started chasing her longtime love of photography through formal education. Her exploration focuses especially on high-contrast, eye-catching images and bold colors. She is also interested in exploring the realm of photojournalism in order to combine both of her passions. When she is not writing or photographing, she is usually deep in thought about nothing in particular, just waiting for inspiration to strike.


Project 3: XROMA

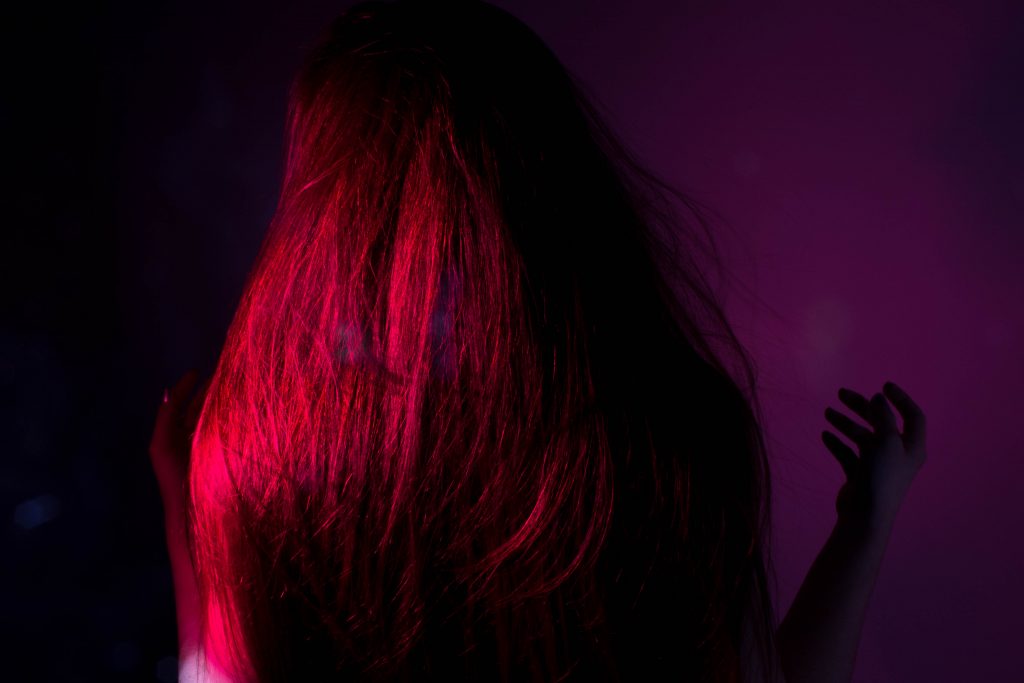
For this project, I knew I wanted to use color gels to cast color onto my model, but I also chose to use the pink seamless in the studio to see how the two colors would interact with and play off each other. I also layered two color gels over each other to create a richer, deeper reddish-purple shade. The most successful images, in my opinion, were the ones where the seamless reflects multiple shades of colors. I really like the high contrast between the shadows and highlights as well.

Project 1: Nostalgia?

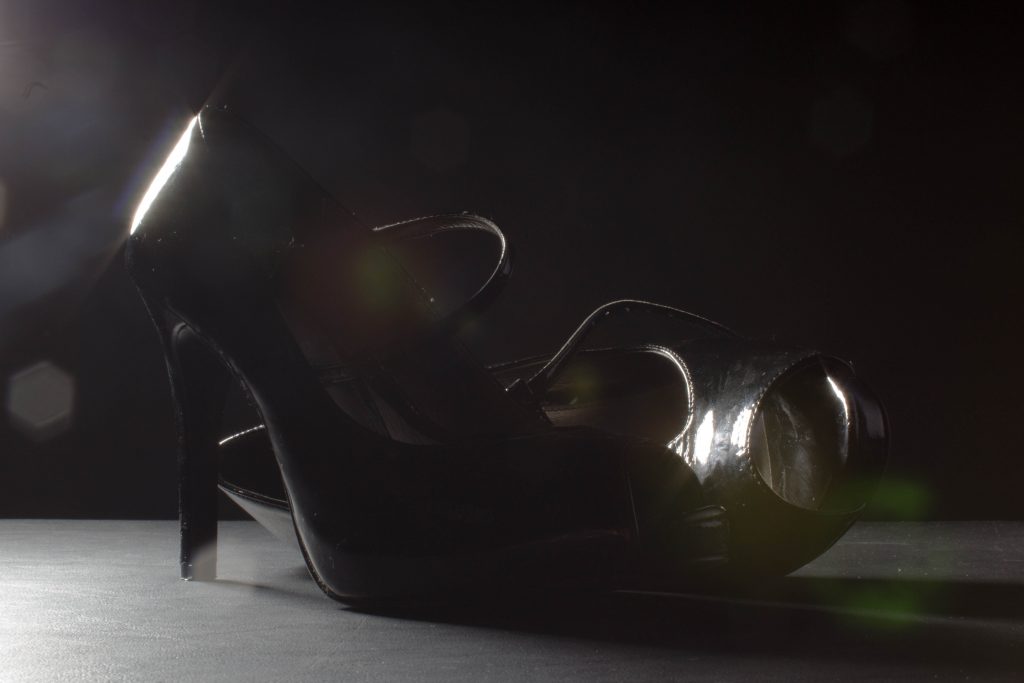
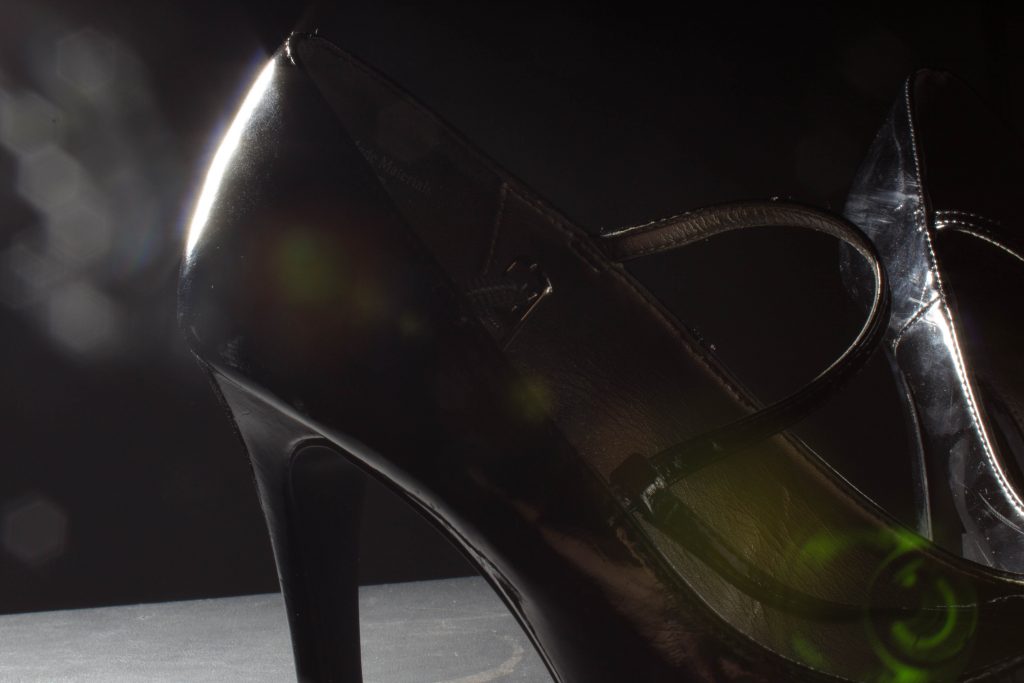
For this project, I wanted to make a statement about how an object can start off as something nostalgic, but over time, begins to lose its meaning. I photographed a pair of shoes, the shoes that I wore to junior prom. I tried to photograph them in a way that made them appear precious, almost like a product ad, but if you look closely, you can see the scuffs and dirt marks on the shoes that have come from carelessness.

Task 3: Lighting Ratios

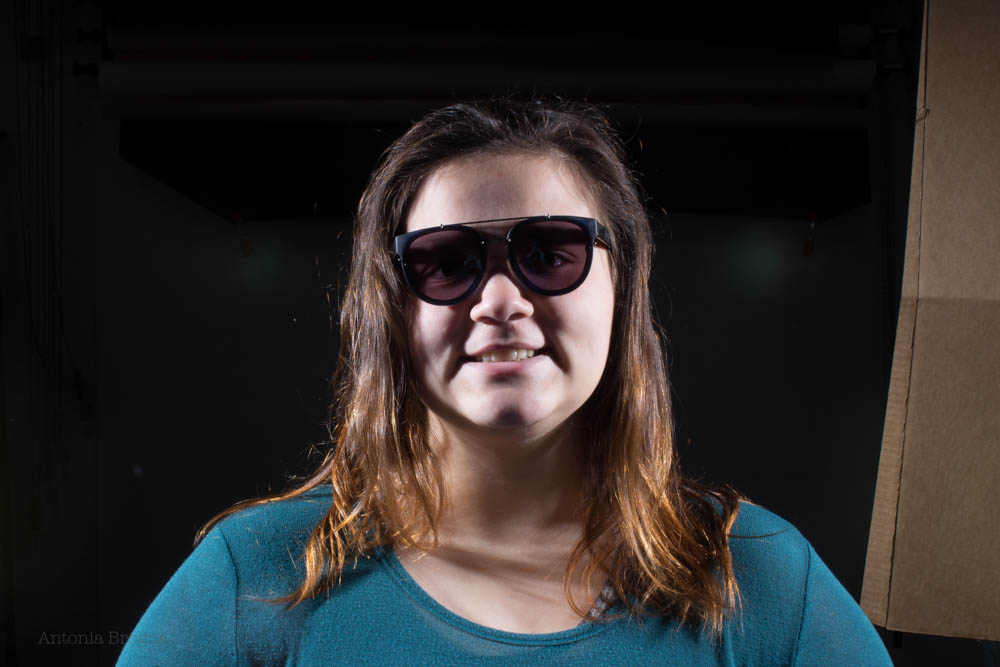
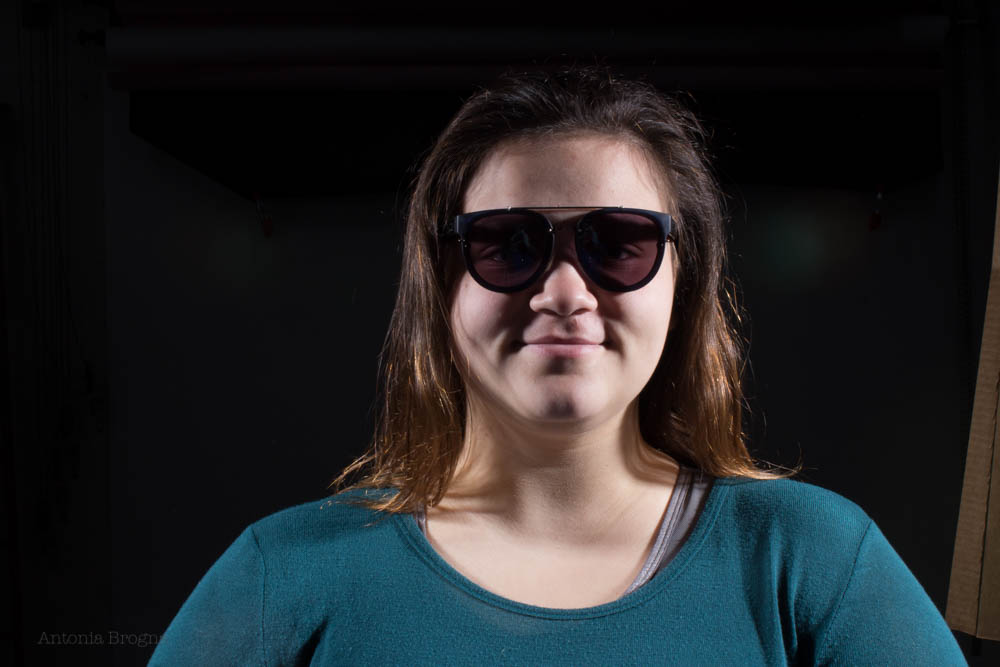
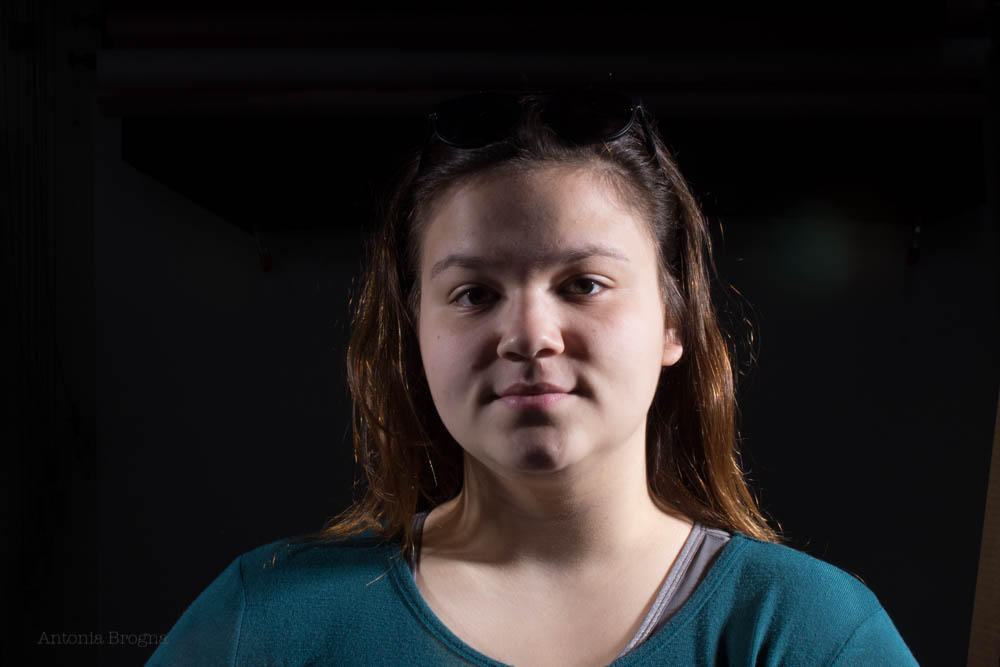
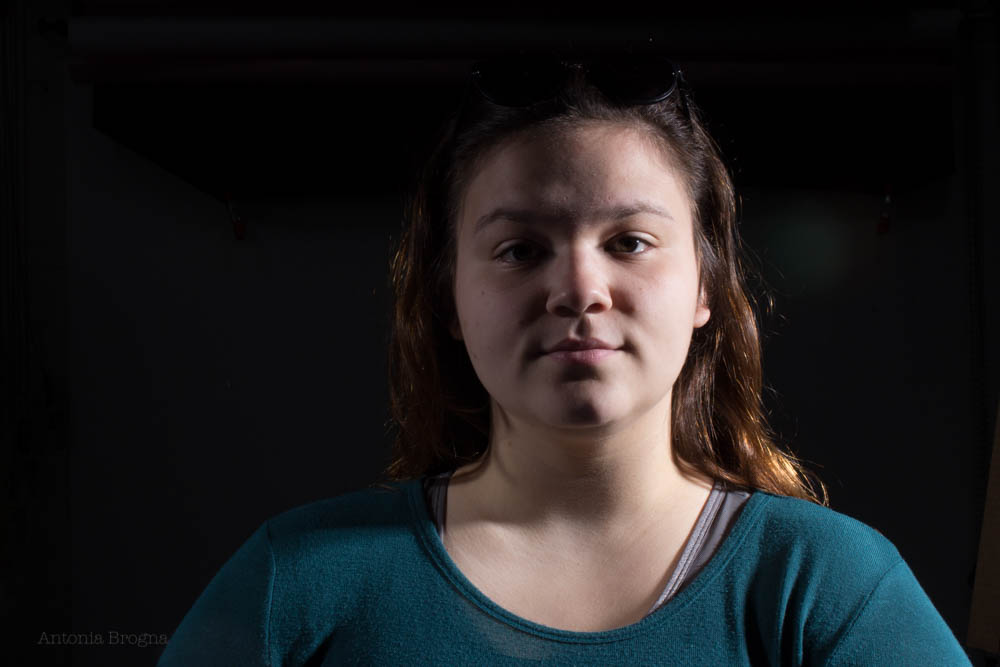
For this task, we set up two lights shining onto the model. One light (the fill light) was kept at a steady reading of 4, while the other was (the key light) decreased in between shots to create the ratios.

This photo had a 1:1 ratio, with each light set at 4.

For this photo, the key light was decreased to 3 while the fill light stayed at 4. 

For this photo, the key light was decreased to 2 while the fill light stayed at 4.

For this photo, the key light was decreased to 1 while the fill light stayed at 4.

For this photo, the fill light stayed at 4, but the key light was completely off.

Task 4: Final Project Proposal

Semester and Year: Fall 2016

Course: ARS281

Student Name: Antonia Brogna

Date: November 22, 2016


PROJECT TITLE (Project 6: Final Projects Series): Arrow


PROJECT DESCRIPTION:

(250 word description of the project you are proposing)

Describe the theme and subject of your project in depth. Describe what your project will be about.

You may give some insight into the background of your work in relation to this proposed project.

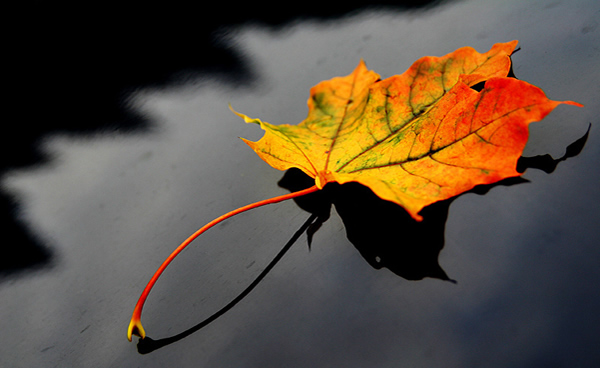
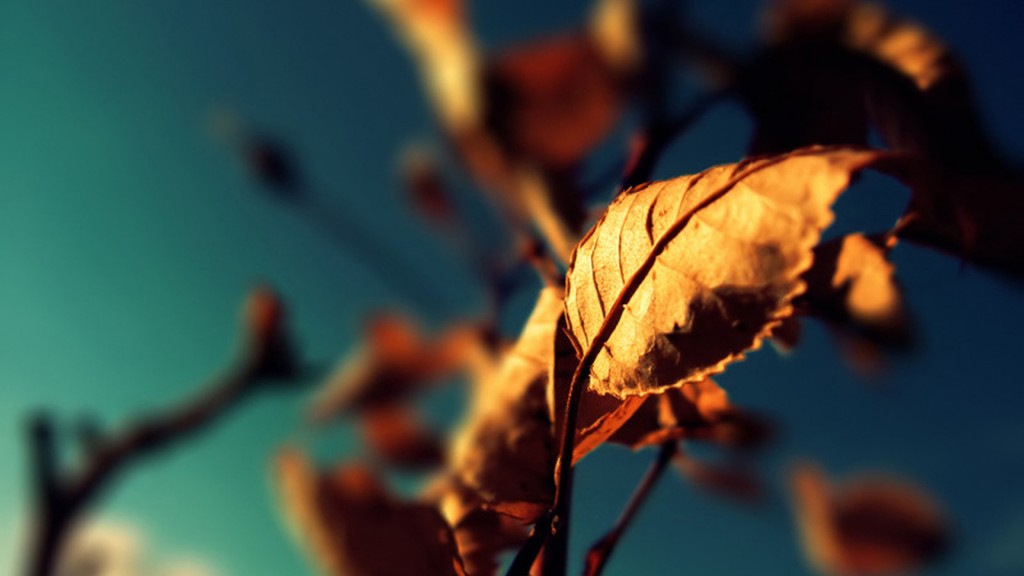
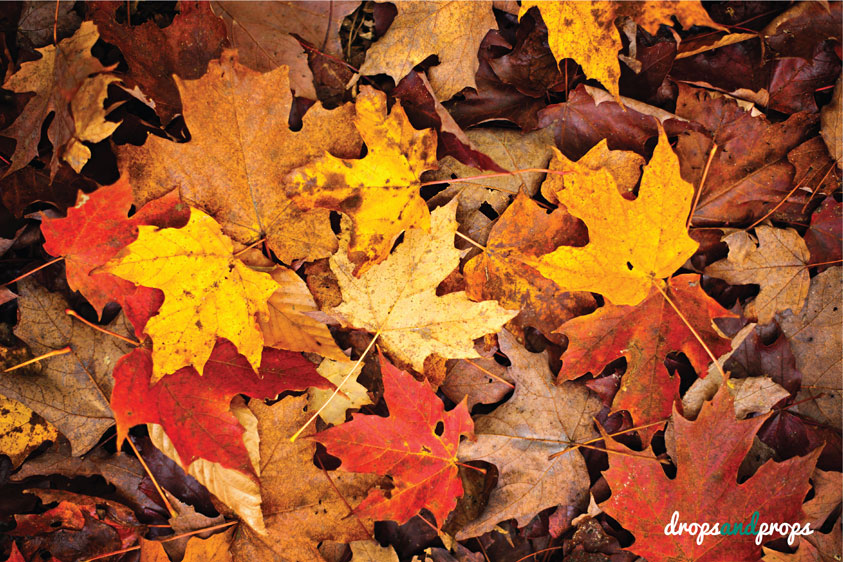
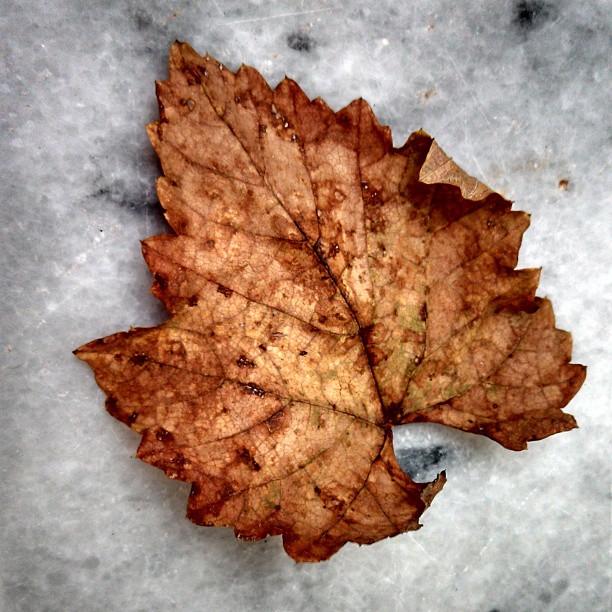
Some of my favorite photographs to take are up-close, zoomed in shots. For this project, I would like to focus on zoom shots of leaves and nature as they are undergoing the transition from season to season. I find this transition to be fascinating, as the human race tends to find changing leaves so beautiful even though they are technically dying. The colors and textures can be extremely rich, and it can be visually interesting when most of an area is dead but one bright, living thing has survived. The idea behind this project is to explore the idea of transition, and how it does not always occur all at once or in the same manner for everything. Transition can manifest itself in different ways, and I’d like to demonstrate this using close-up images of various leaves, branches, flowers and other flora as they are going through the transition process.I plan on focusing especially on light, texture and color in relation to the subject, as well as keeping the subject in their natural position to accurately portray the transition.

OUTCOMES:

What are the practical outcomes; produced artifacts? (bullet points, or listed items)

Describe exactly what you will produce; what are the physical outcomes to your work? Be concrete and literal. How many images? How big? Where?

  • about 20 (maybe more) photographs professionally printed on photo paper, to be displayed on the wall — want the leaves/flora to look life-sized
  • about 20 (maybe more) photographs printed on computer paper and crumpled, displayed on floor or on water to mimic what leaves look like when they fall off of trees
  • or maybe just some real leaves instead


METHODS AND MATERIALS:

Identify and describe the production methods, media, materials and the process involved in making your project; specify special equipment, printing, lighting and relevant tools. (bullet points, or listed items)

  • camera with zoom lens
  • water somewhere, maybe
  • computer paper
  • photo paper


REFERENCES:

Identify and list the relevant study references for your research: artists, artworks, exhibitions; art historical precedence and contemporary works; books, essays and publications.

  • autumn_leaves_07
  • 6979457-autumn-leaves-photography
  • fall-leaves_sample
  • autumn-fall-leaf-nature-orange-photography-favim-com-105094
  • fall-leaf-photography


RESEARCH JOURNAL AND SUPPORTING MATERIAL

To accompany this form and your practical work: a journal of research, including documentation of your work process, such as the references above, sketches, ideas, documentation, notes, samples etc. to be posted on your Research Journal Blog Website.


Project Three: Composite Image

anastacia-edit

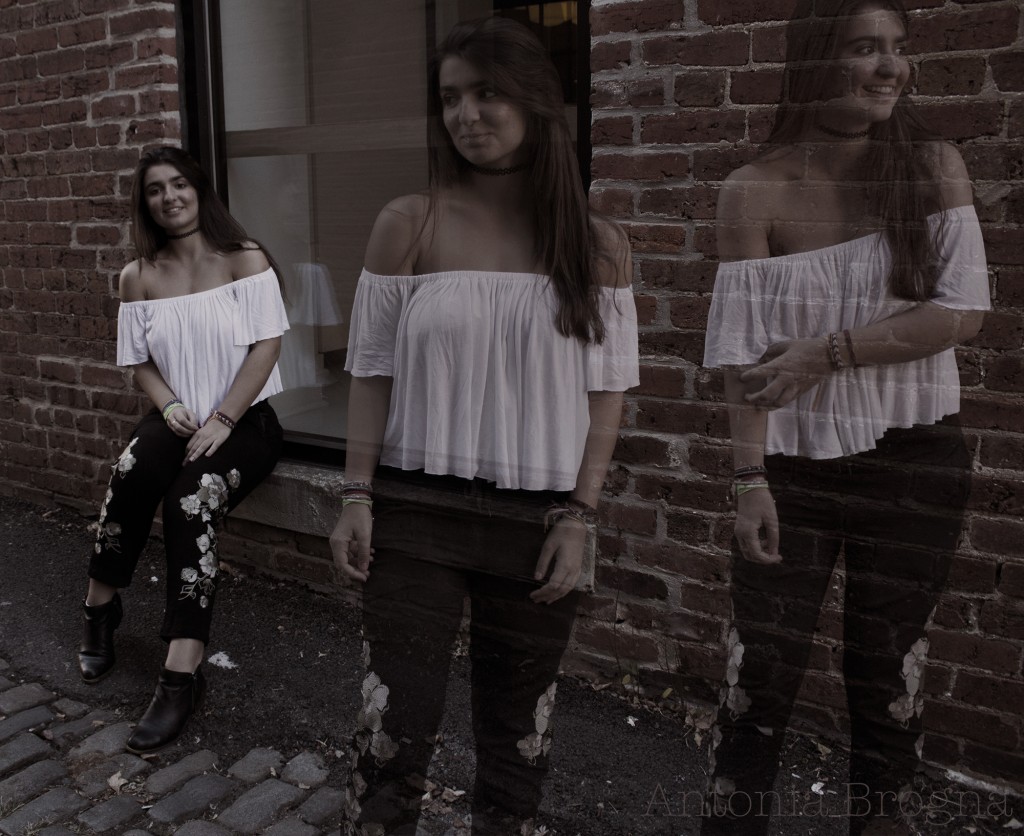
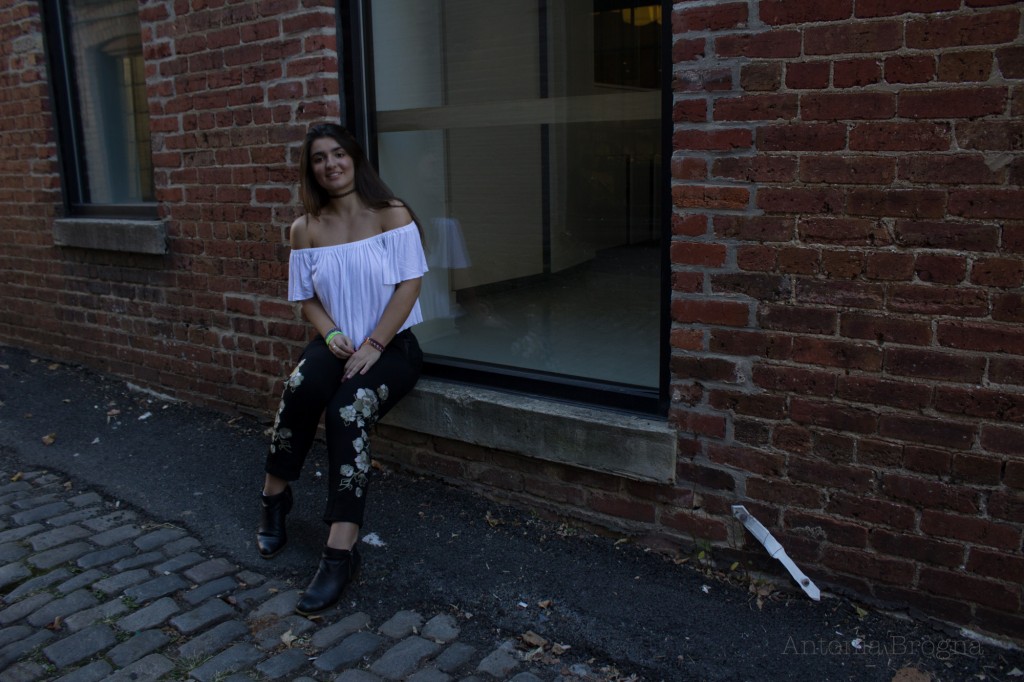
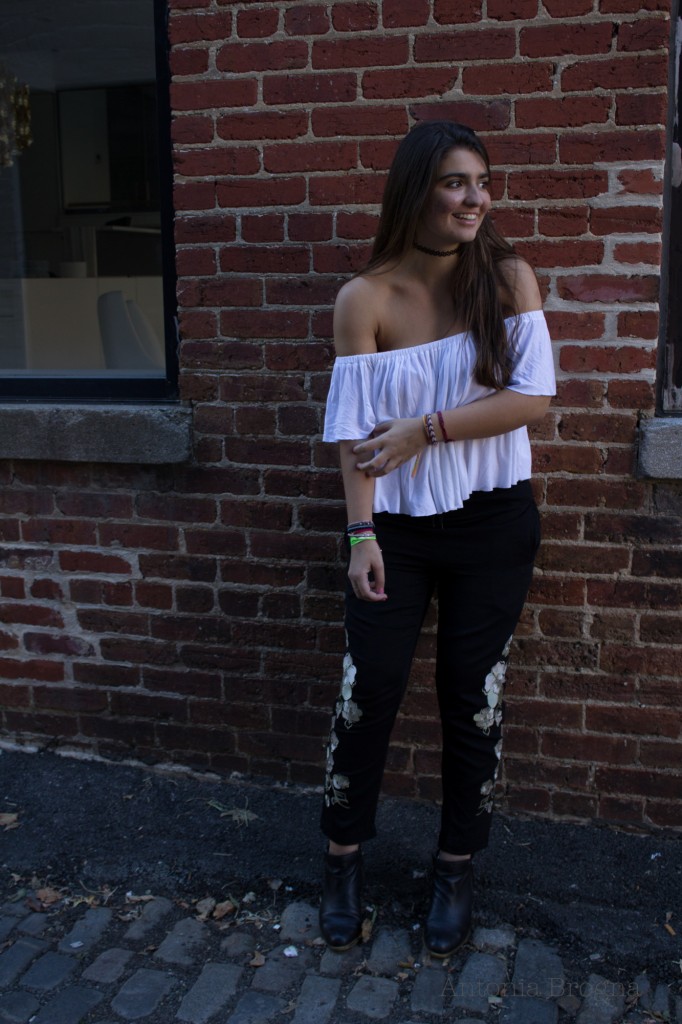
I just got back from a trip to Washington, D.C. so I decided to use photos from an impromptu photoshoot with my friends in Georgetown for this composite image. I combined three photos of my friend Anastacia to make this image.

washington-3

This photo served as the base of the image. I used Photoshop to get rid of that white thing (probably a painting accessory) in the bottom right hand corner so it wouldn’t be distracting. I also cropped it to remove most of the window on the left.

washington-1Next, I cut Anastacia out of this photo and moved the layer onto the original horizontal image. I decreased her opacity to make her look kind of ghostly, something like a memory of where she had been previously. I was going to add only this image, but then I decided that the canvas seemed to empty.

washington-2I repeated the same steps on this photo to move it onto the composite image. I changed the opacity on this one as well, though on the composite image, this one is slightly less see-through.

I ended up also using Photoshop to add filters to the image to make it appear more sepia-toned and grungy. There is some noise in the photo, but I feel like it adds to the memory symbolism of the photo. The composite image also goes in reverse order to represent where Anastacia started in our shoot and ended. The image on the right hand side was one of the first pictures I took of her, and the one where she is seated is one of the last. This is why the image on the right is the faintest, the one of the left is at full opacity, and the one in the middle is at a median opacity.

Project 2: Monochrome vs. Color

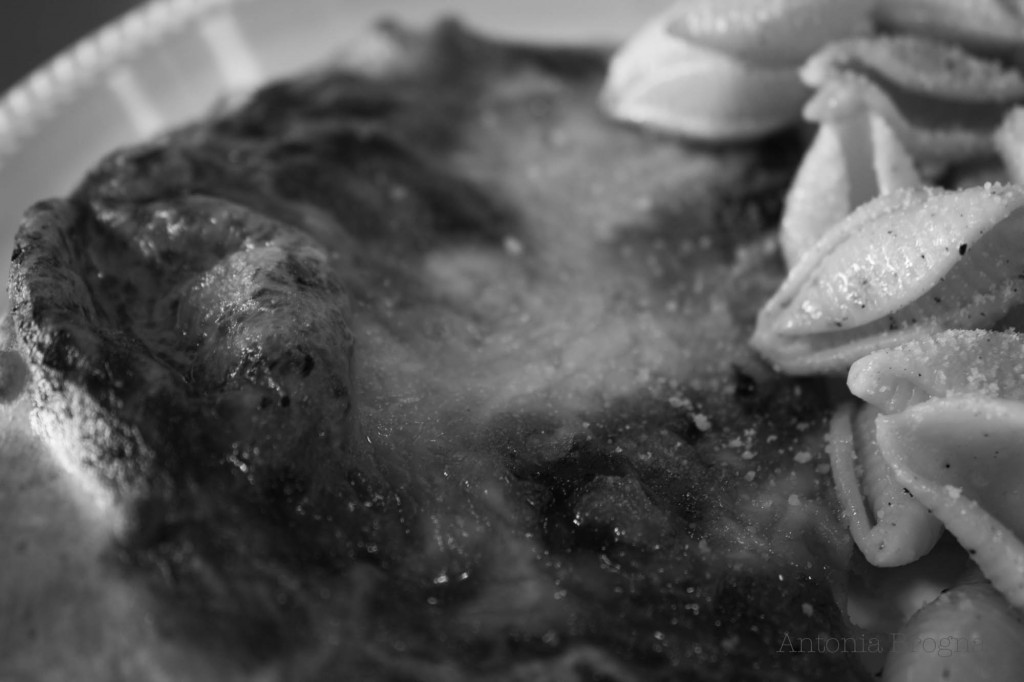
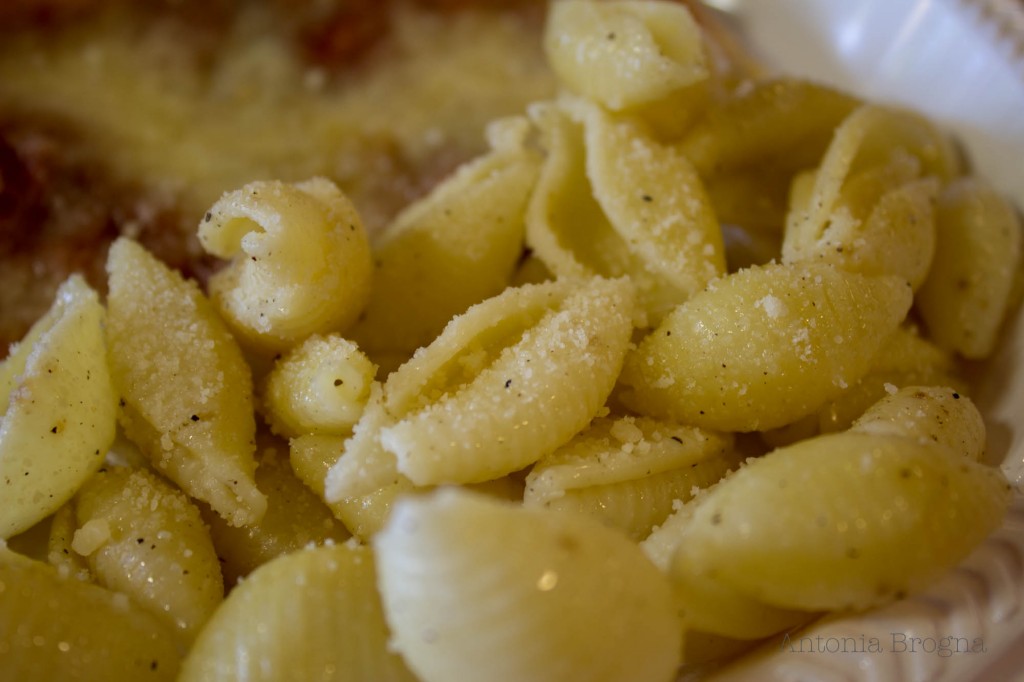
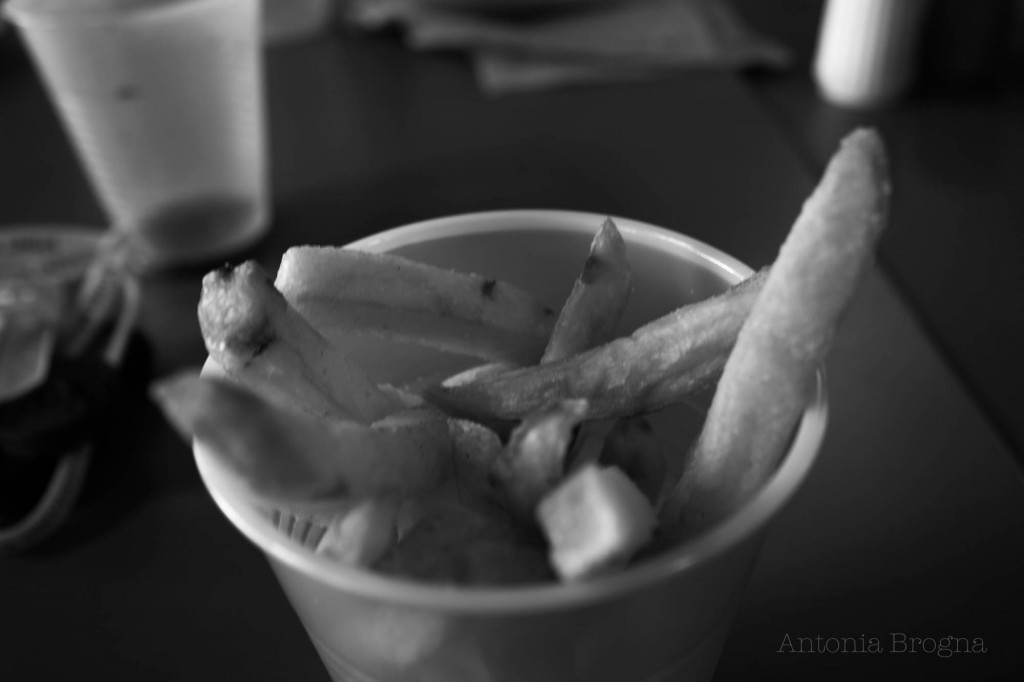
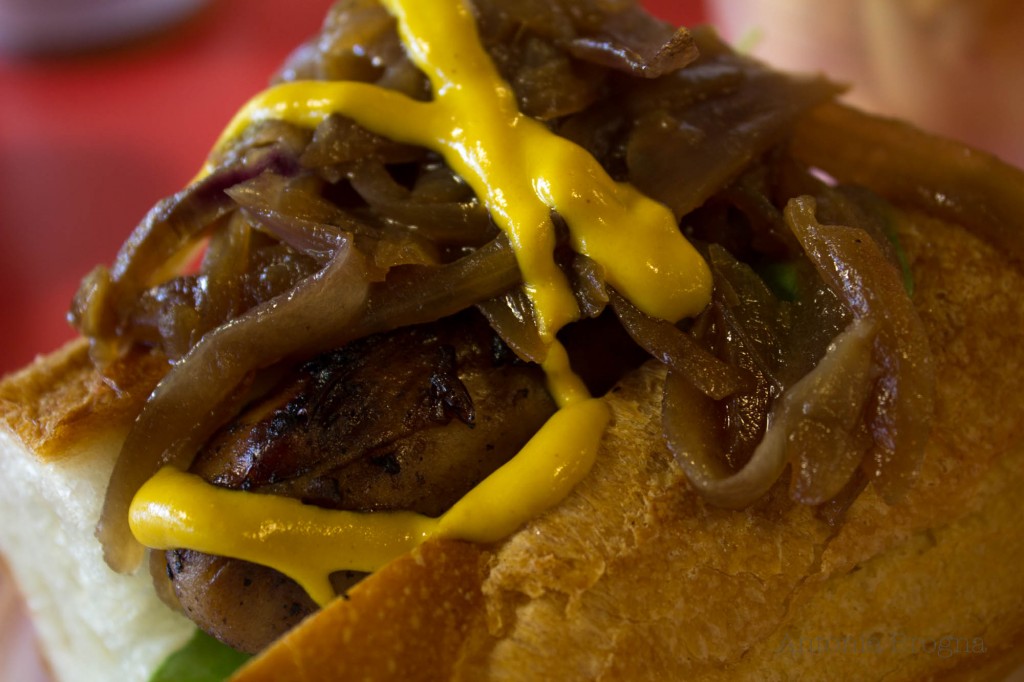
For this project, we explored the differences in taking color and black and white photos. I decided to focus on food, because it can often be very colorful and textured, and gave me some different things to play with.

food-5

F-stop: f/4.5; Shutter speed: 1/6 sec.; ISO: 100; Focal length: 30mm

food-4

F-stop: f/4.5; Shutter speed: 1/8 sec.; ISO: 100; Focal length: 33mm


food-3

F-stop: f/4.5; Shutter speed: 1/8 sec.; ISO: 100; Focal length: 23mm

food-2

F-stop: f/4.5; Shutter speed: 1/10 sec.; ISO: 200; Focal length: 36mm


food-6

F-stop: f/4.5; Shutter speed: 1/6 sec.; ISO: 100; Focal length: 27mm

food-1

F-stop: f/4.5; Shutter speed: 1/6 sec.; ISO: 400; Focal length: 34mm


Task 3: Light Painting

Some more photographic experiments, this time with friends~

We were supposed to give light painting a try. There are so many different ways to go about doing this, so here are some methods I attempted:

One

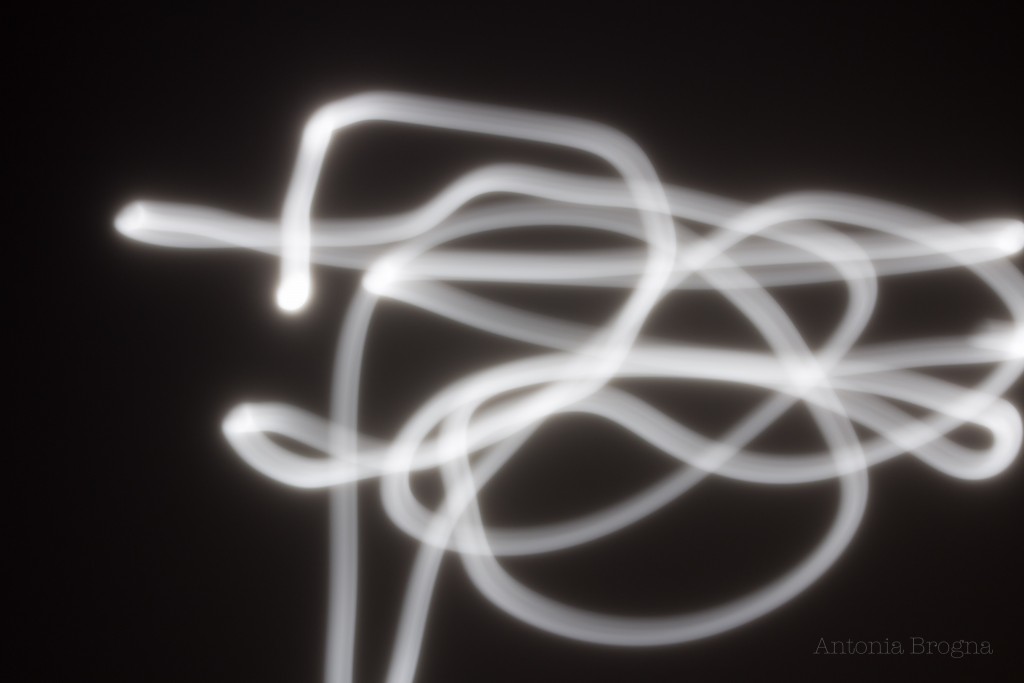
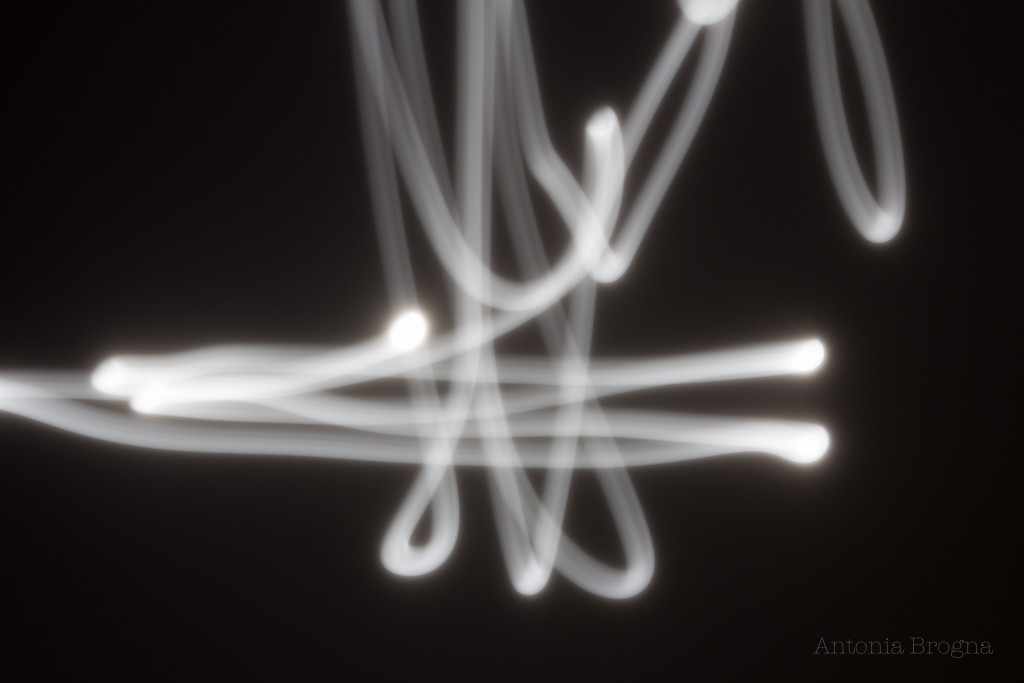
For these takes, I used the moon as my light source because it was so bright. Since the moon was stationary, I moved the camera around to make designs. The moon was so bright that I had to use a very low ISO. Luckily, it didn’t pick up any extraneous lights.
light-painting-1

F-stop: f/4.5; Shutter speed: 6 sec.; ISO: 100; Focal length: 75mm
light-painting-2

F-stop: f/4.5; Shutter speed: 6 sec.; ISO: 100; Focal length: 75mm

Two

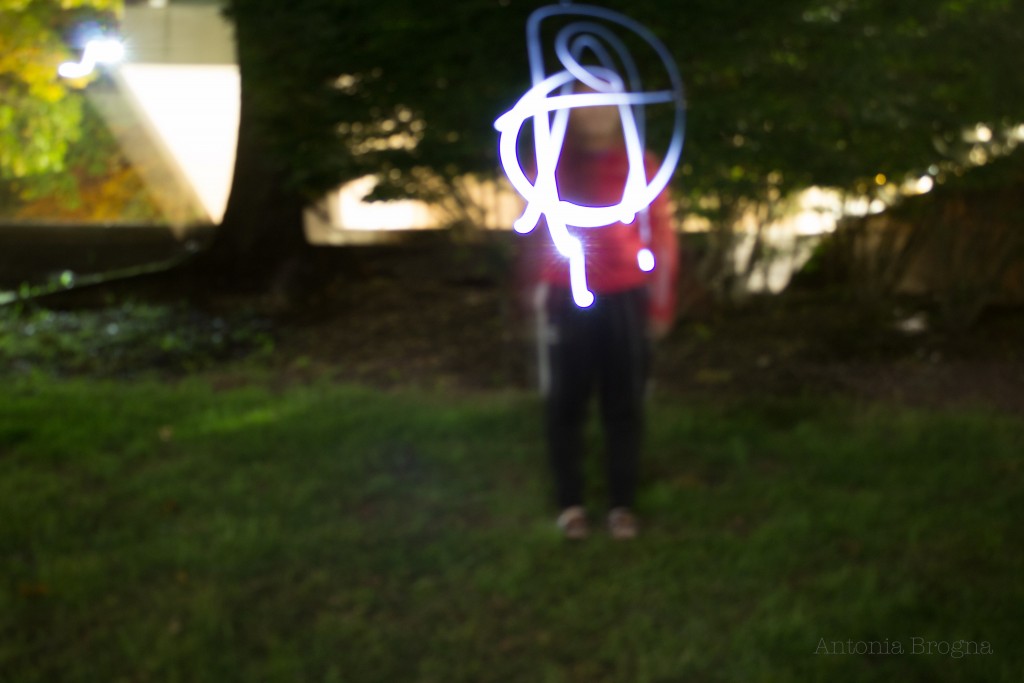
In these shots, I introduced a person. I had my friend Alyssa stand still but move just her arm, which held her phone. The background, however, was too illuminated. For the second photo, even though I had my camera on a tripod, I accidentally introduced some camera shake when I pressed the shutter button, so I decided to move around the camera while my friend moved around her phone. I think it created a cool, blurred background effect that I wasn’t really planning on getting. However, the background was still too bright for my liking, so I tried to change the ISO again. The tricky part was that it couldn’t be too low because then the light wasn’t prominent or bright enough, but if it was too high, you could see the background.
light-painting-3

F-stop: f/4.5; Shutter speed: 20 sec.; ISO: 400; Focal length: 33mm
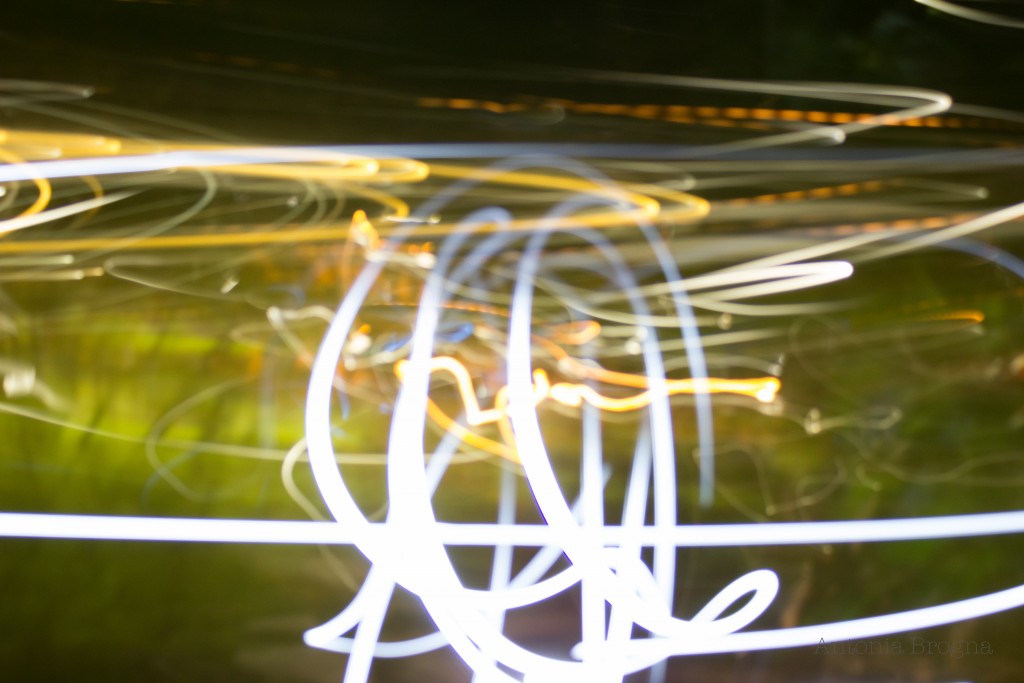
light-painting-4

F-stop: f/4.5; Shutter speed: 20 sec.; ISO: 400; Focal length: 33mm

Three

For the next series of photos, my friends wanted to write out words. They have pretty messed up senses of humor, though. Alyssa has diabetes, so that was the word she chose to write. The biggest struggle with her was getting her to stay in the frame and spell or write diabetes correctly (in her defense it was close to 1 AM.) My friend Mike suggested that we try a wide angle lens, so I added a wide angle attachment to my usual lens. I was then able to get Alyssa to stay in the scene, though it took her several tries to get her desired effect (though she couldn’t write it backward, so her word looks mirrored in the photograph.) My friend Marissa then wrote “Yikes” because that’s her catchphrase. Hers went a lot smoother. Then, Mike wrote “Deaf” because he is deaf in his left ear. With his, we learned that if you shined his phone flashlight in one spot for too long, it would create a type of sparkling effect. They all used their phone lights for this.

light-painting-5

F-stop: f/25; Shutter speed: 20 sec.; ISO: 200; Focal length: 24mm
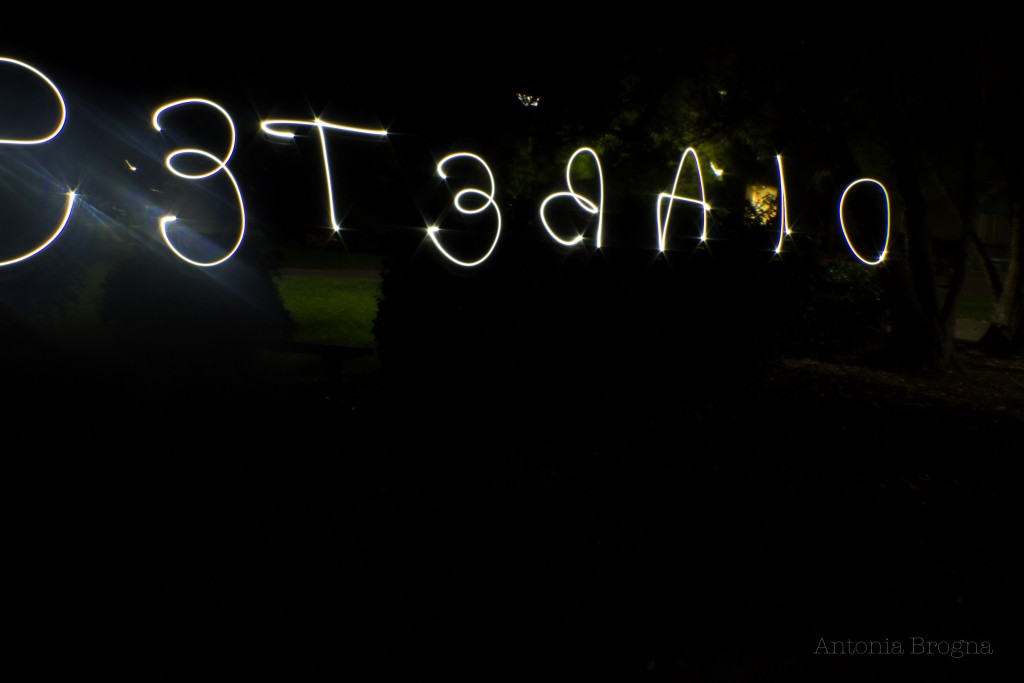
light-painting-8

F-stop: f/25; Shutter speed: 30 sec.; ISO: 100; Focal length: 24mm
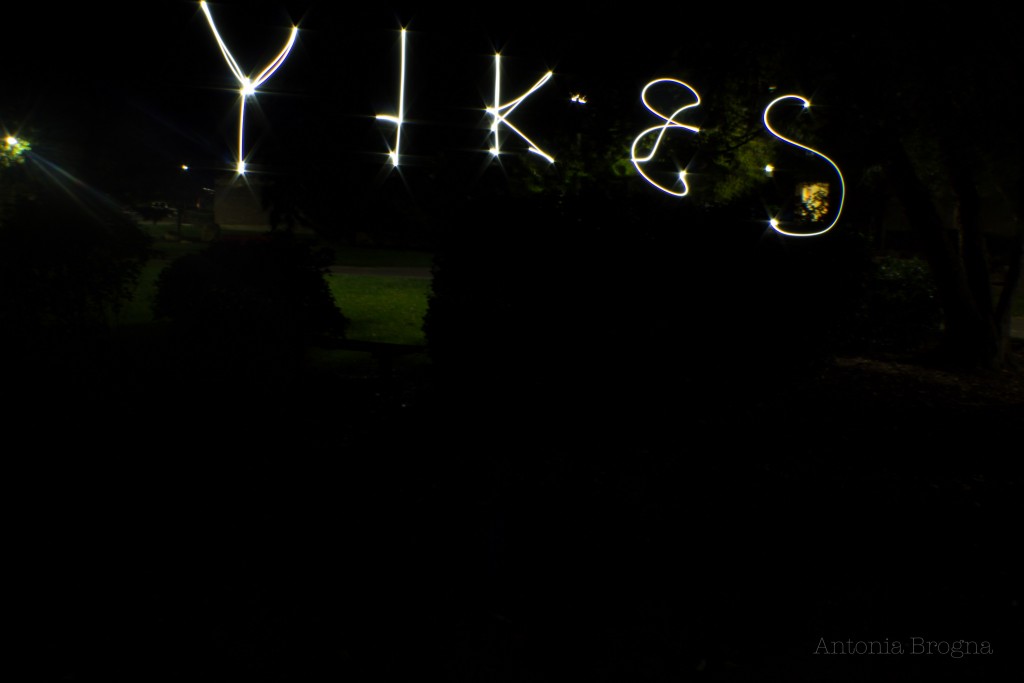
light-painting-9

F-stop: f/25: Shutter speed: 30 sec.; ISO: 100; Focal length: 24mm
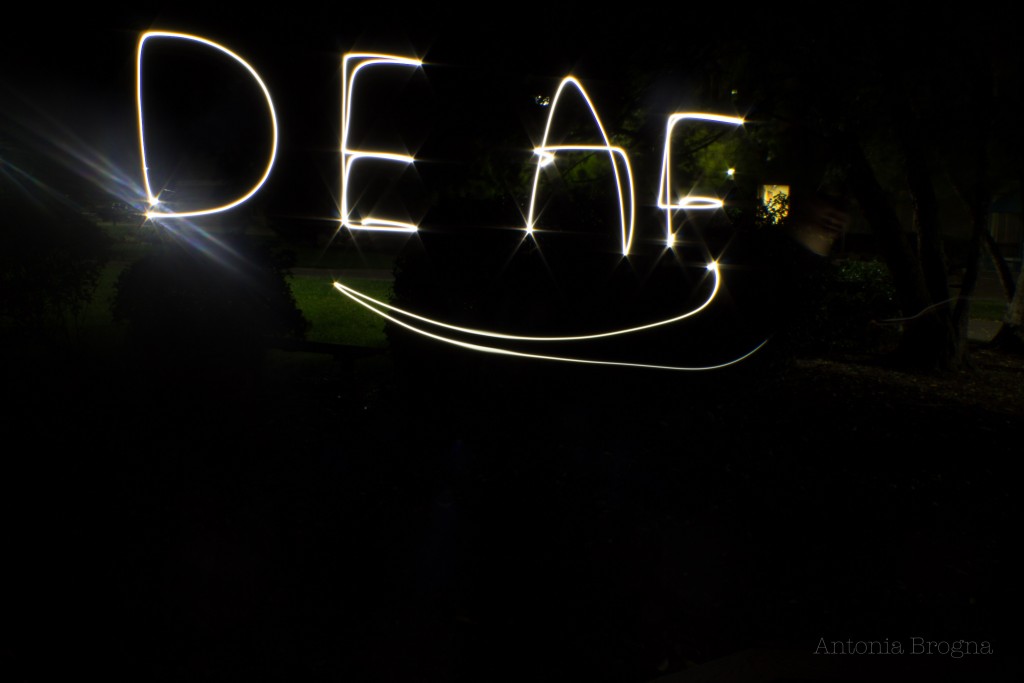
light-painting-11

F-stop: f/25; Shutter speed: 30 sec.; ISO: 100; Focal length: 24mm

Four

In this one shot, Mike used a small, green Hulk/Bruce Banner keychain flashlight to draw music notes. It’s not very clear because of the size and quality of the light, but it was the first time we played with color.
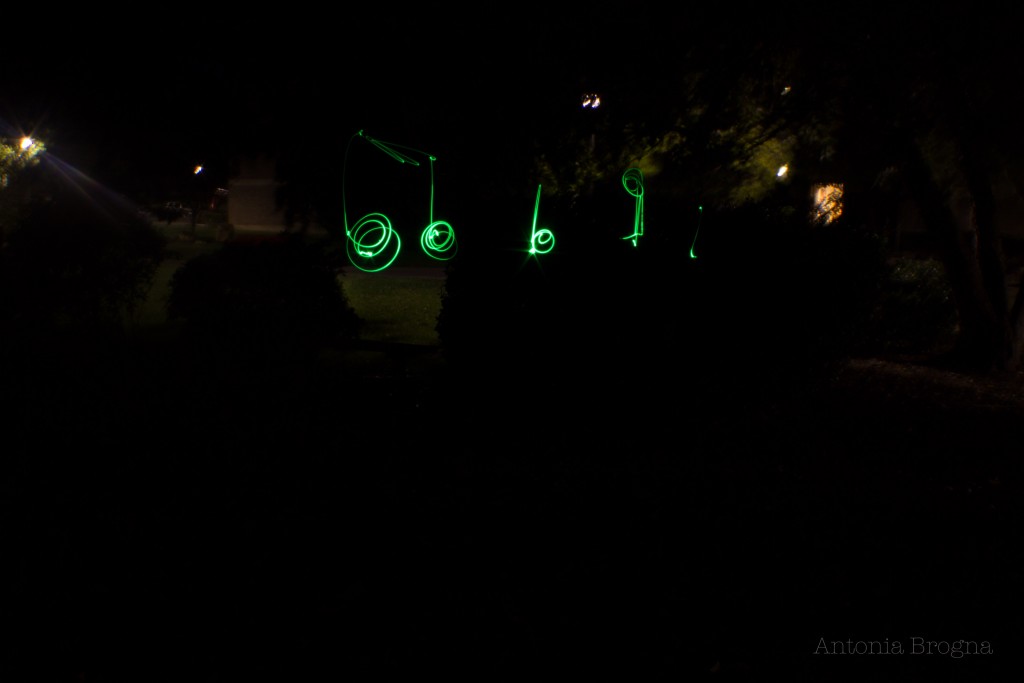
light-painting-10

F-stop: f/25; Shutter speed: 30 sec.; ISO: 100; Focal length: 24mm

Five

In the next series of photos, we played around a lot with lighting the subject and drawing behind or around them. We experimented with how far away you had to be to really light the person. We learned that with our camera flashes, it wasn’t enough to stand next to the camera and shine the light on the person, which is what we tried in the second picture. Instead, one person had to run up to the person and light them up before running out of the scene so another person could run in and draw something. I don’t think we ever really came up with the best lighting solution, though, because most of the subjects are unevenly lit.
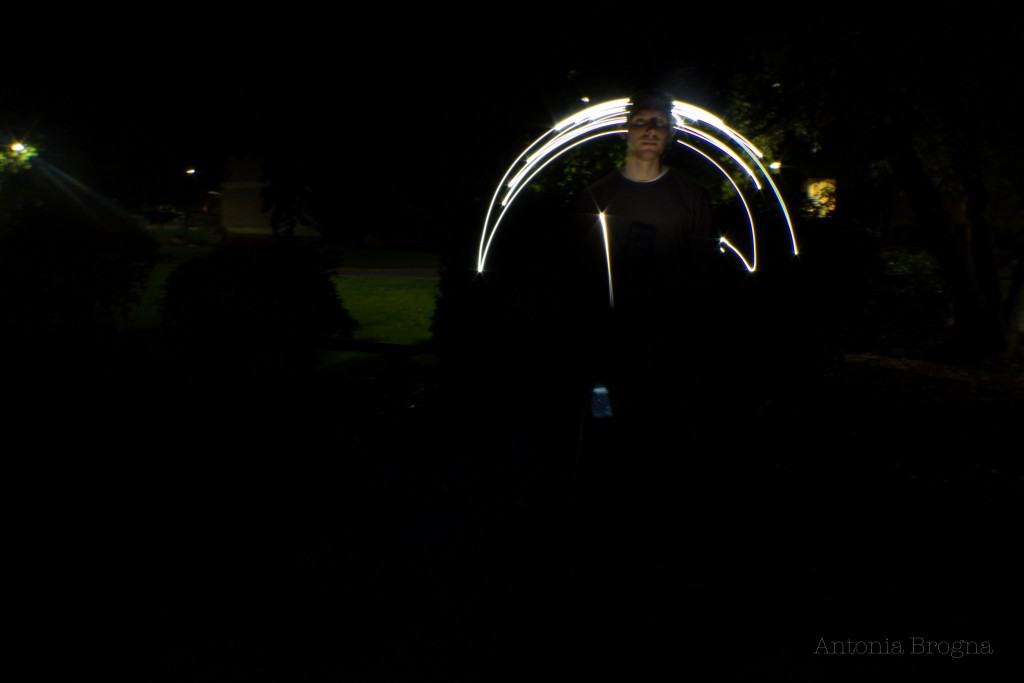
light-painting-12

F-stop: f/25; Shutter speed: 25 sec.; ISO: 100; Focal length: 24mm
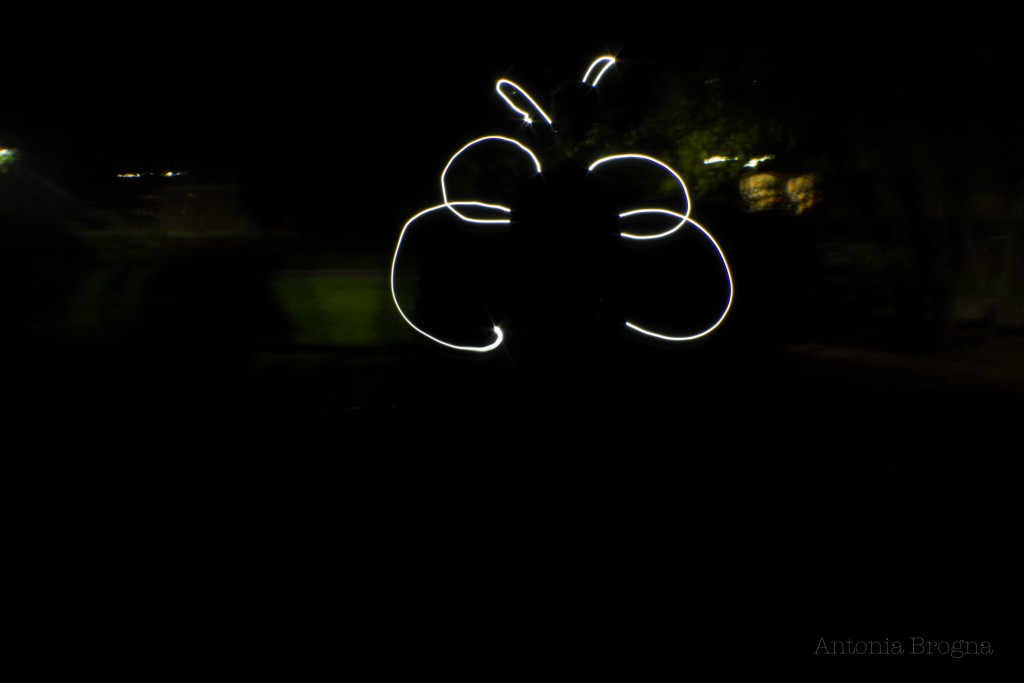
light-painting-13

F-stop: f/25; Shutter speed: 30 sec.; ISO: 100; Focal length: 24mm
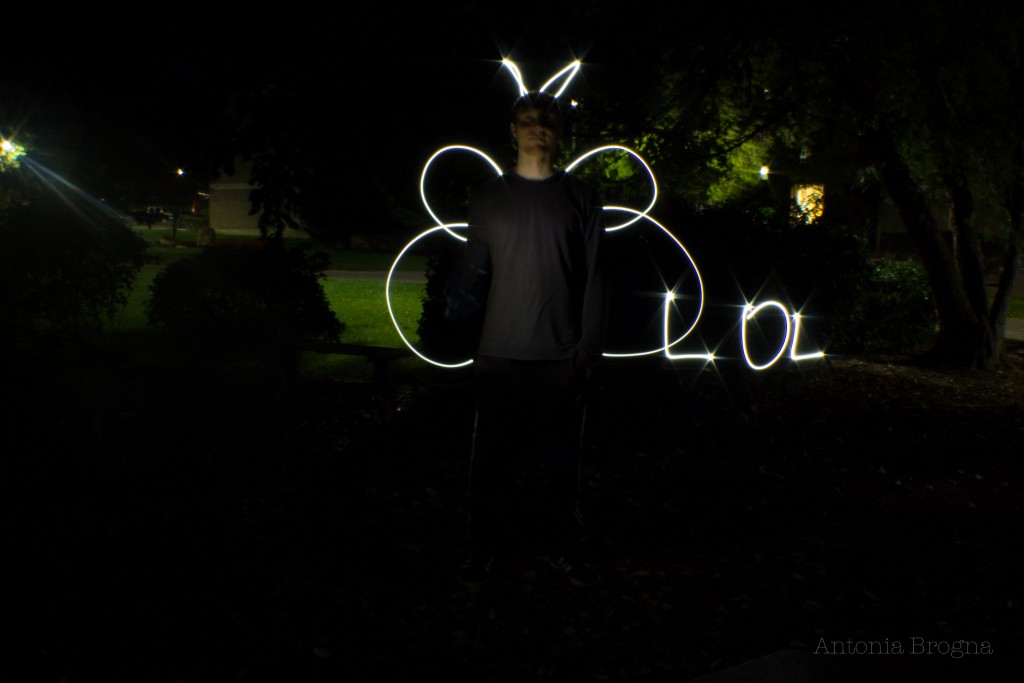
light-painting-14

F-stop: f/25; Shutter speed: 30 sec.; ISO: 200; Focal length: 24mm

Five

This shot happened accidentally because Alyssa exposed her phone screen to the camera, but it created a cool, faded, colored look.

light-painting-15

F-stop: f/25; Shutter speed: 30 sec.; ISO: 200; Focal length: 24mm

 Six

We decided to keep experimenting with color, so I told Marissa to hold one of my camera filters over the flash of her phone while drawing a thought bubble coming out of Alyssa’s head. Alyssa is also super awkwardly lit in this, thanks to Mike.

light-painting-16

F-stop: f/25; Shutter speed: 27 sec.; ISO: 200; Focal length: 24mm

Seven

For this shot, we decided to draw a crown over Alyssa’s head. The initial problem was that no one could seem to draw a proportional crown in the right spot. Once that was mostly resolved, the second problem became that Alyssa could not stand still or keep a straight face long enough, so if you look closely, you’ll see her face looks kinda demented.

light-painting-17

F-stop: f/25; Shutter speed: 34 sec.; ISO: 200; Focal length: 24mm

Eight

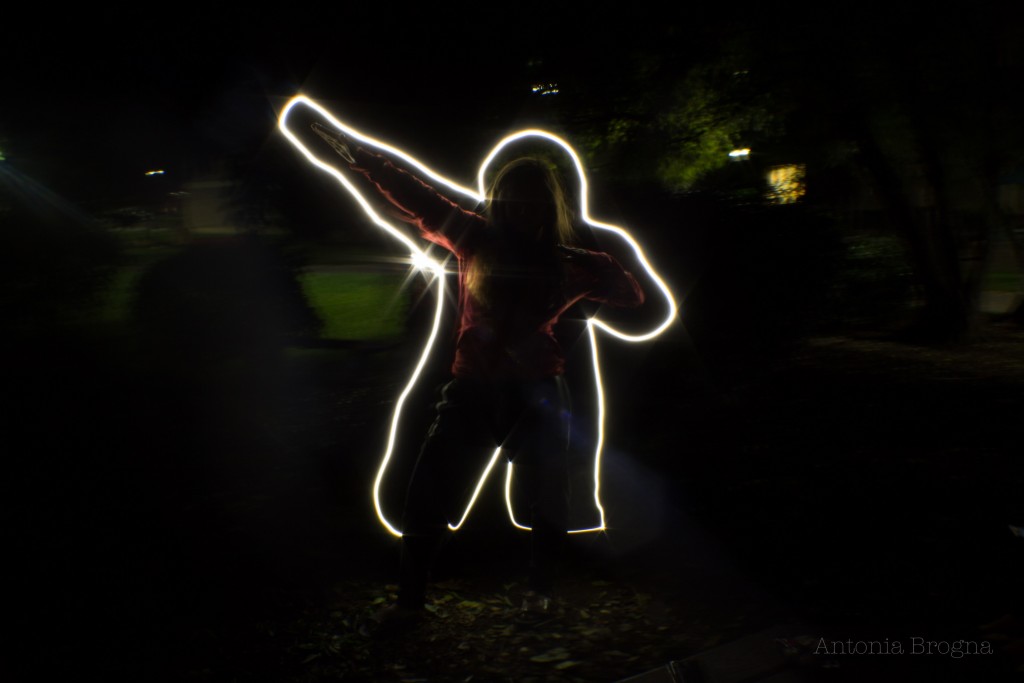
Our last method was the silhouette. Mike used his phone flashlight, which was the brightest of all of ours, to trace Alyssa’s stance. According to Alyssa, it looks like she has fireworks shooting out of her armpit because Mike held his light in one spot for slightly longer than the rest.
light-painting-18

F-stop: f/25; Shutter speed: 19 sec.; ISO: 200; Focal length: 24mm