echo360 has added so many features to its cloud based platform, that it starts to resemble a light learning management system (LMS). Today, I want to show you how to organize your files inside of echo360.
The original usage for echo360 at SBU was for classroom based capture. Essentially we would schedule room recordings that would grab the video from a camera in the room, the video as was projected on the screen by the instructor in the room, and the audio from the room. This would typically produce a list of videos, that grew as the semester went on. Not a lot to organize there.
Now however, every user gets a library in the cloud. This is where your learning documents will go, in addition to any room based captures you may have. It takes the following files:

Mainly, videos, pdfs, audio, and power points.
To get content there, select UPLOAD CONTENT

It allows you to grab these files from a few different locations… or just drag and drop them.

If you have selected a file it likes, it will process the file and eventually it will be listed and happy in your Library.
Assuming you now want to have them show up for your students, keep following along here.
Next you will click on the file in your Library and you will see the file in the top part of the window and three sections in the lower part, labeled INFO, PUBLISHING and SHARING.

Click on PUBLISHING and then the blue button “PUBLISH”
Select To a course – Use the pull down menu to pick a course and the second pull down to select the section

and when you select New Class the ability to name the file comes up as seen below

BREAK — terminology alert! in echo360 speak, a “class” is sorta the same as a lesson – or in this case, stand alone document. The existing class option, will bind the file to an existing recording for a particular day. Likewise, “Class name” should just be a descriptive name of the file.
ok. Now that the file has been published to the correct course, we can organize this further for your students (and possibly your own personal sanity.)
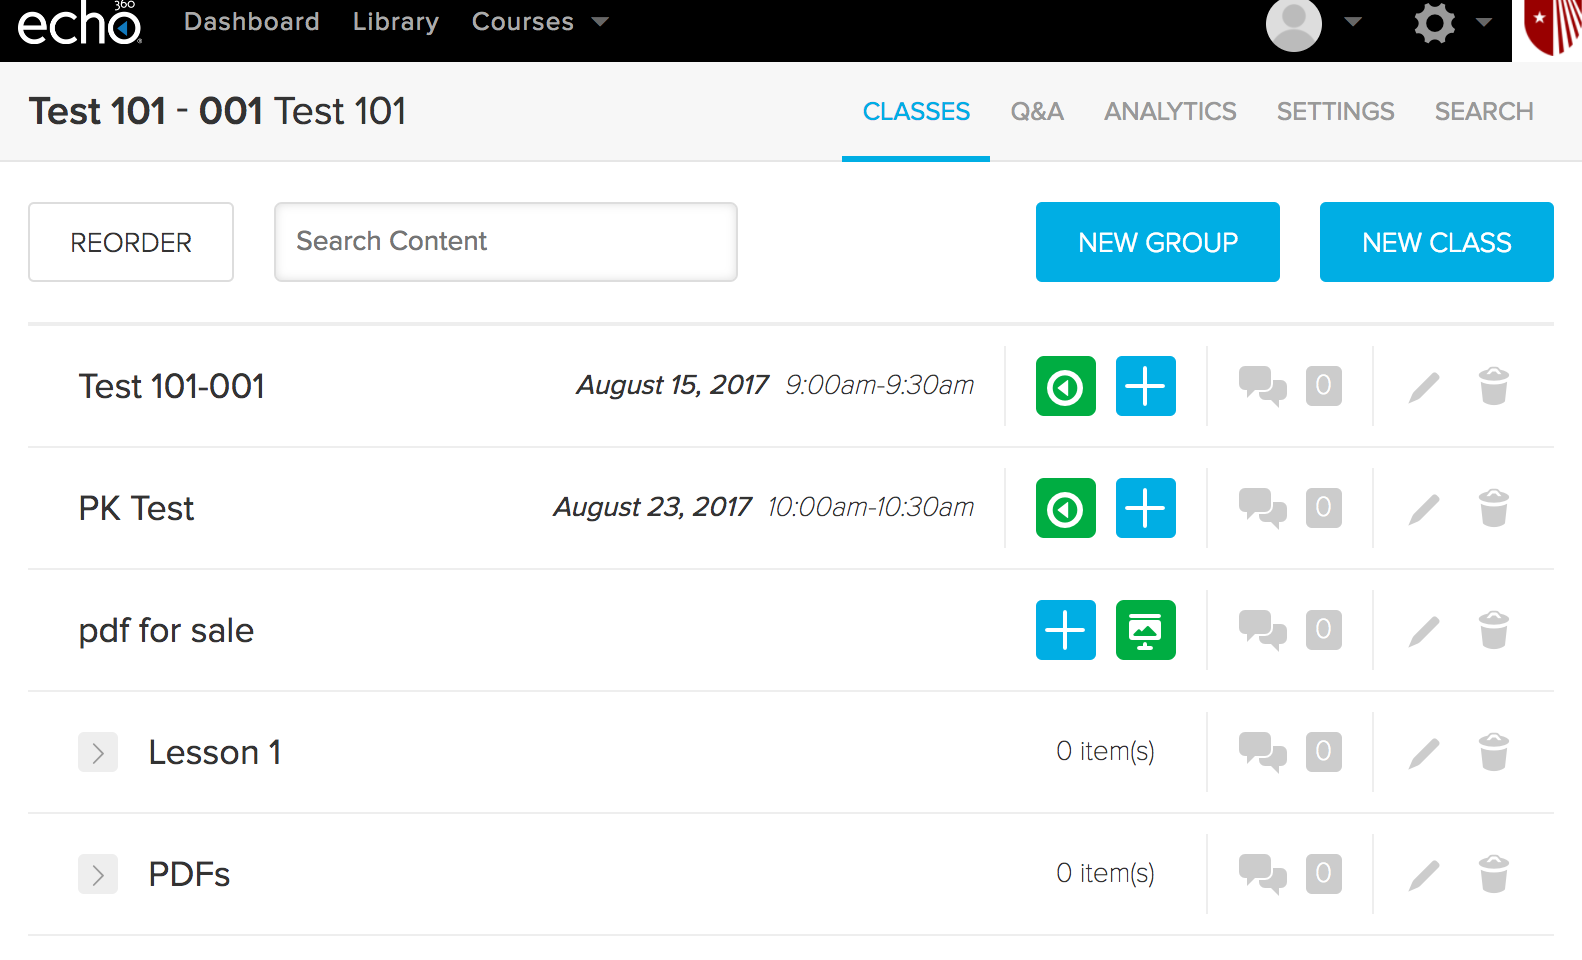
Here is what my list of files looks like in the test course. It’s fine, there aren’t a lot of them, so it isn’t very messy.

Oh – wait, here is another terminology alert! NEW GROUP… equals “New Folder”. It comes with a functionality alert… if you delete a folder filled with stuff…. the stuff just gets unsorted and shows up in the main list again.
So I will pretend I want to make a Lesson 1 folder and a PDFs folder. I click on NEW GROUP

name the file… write a description if I want, and click OK. I’m doing this twice for the two new folders. Now my list includes those two new folders.

To put my files into those folders, I first click on REORDER

That puts blue dashed lines around all the items and they can be dragged around.

I’ve dragged them into the folders and now I have to click SAVE

This slightly terrifying warning pops up

Click OK
and now everything is neat and organized.

