If your course was not one of the courses that was automagically moved from Blackboard to Brightspace, you may be wondering how to move it yourself.
The first thing you should look for is whether ANY version of the course you want to export has already been brought to Brightspace. You may have more than one. For example you might have a Fall 2021 copy and an empty shell for Fall 2022. If what you want is in the Fall 2021 copy, you don’t need to export anything from Blackboard – it is already there.
If absolutely no version of the course you want to bring over exists in Brightspace (perhaps something you haven’t taught in a while AND you aren’t teaching it in the fall either), pause following these directions to make a ticket for a “Bb course copy shell in Brightspace” where you will include the Course Designator & Number (example: BIO 203). After you have some place to put your export, continue with these steps. If you only have the 2022 shell in Brightspace and you don’t want to move your old course directly into 2022 (very wise move!), also complete that same ticket.
The second thing that I want you to know is that Brightspace cannot import courses that are greater in size than 2 gigs. You may not know what the size of your Blackboard course is until you export it, so perhaps don’t worry about this right away, but if after exporting the course it turns out to be too big, just remember what I started with here. If it is too big, this will probably be due to large presentations or documents that you loaded directly into your blackboard course. You will need to remove these items and host them elsewhere.
For example:
- Videos can be moved to echo360 or youtube
- Documents can be moved to google drive
- etextbooks can be moved to google drive or check to see if they are available via the library
Exporting a course doesn’t work exactly like it used to work in Blackboard, so if you have done it in the past, read this anyway.
NOTE: For a far less verbose version of this post, please see this link.
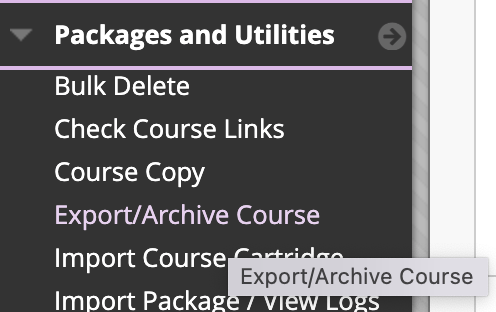
Go to your course that you want to bring into Brightspace. Go to Packages and Utilities under Course Management in the left menu. Under Packages and Utilities, select Export/Archive Course.
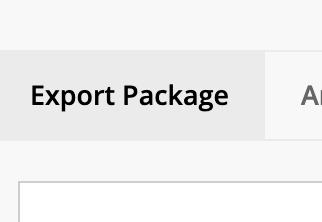
Select Export Package.
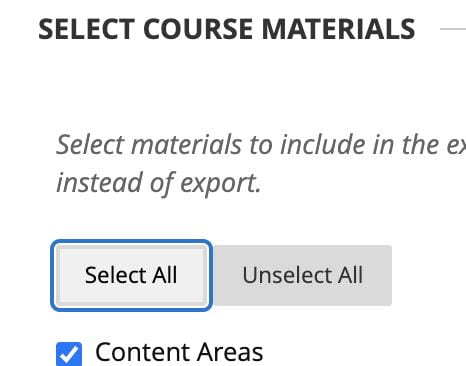
Under Select Course Materials, “select all”.
THEN UNSELECT SETTINGS — this is the new part that changed

Click Submit and wait.

Success: This action has been queued. An email will be sent when the process is complete.
When the export is finished it will show up on this page if you hit refresh.
You might, like me, think “download” would be in this pull down menu:
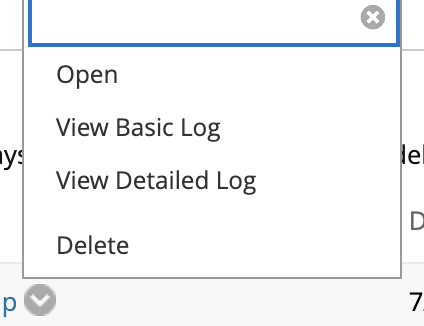
It isn’t though. Just click on the name of your export to download it to your computer.
Now go to Brightspace.
Enter the course you want to import the content into.
TIP: You can use your Fall 2021 course to bring in other semesters content too. That way you have one place for all versions of a particular course you have taught. Like a box of all things BIO 203 – regardless of what semester it came from.
Go to Course Admin
Find the Catagory “Site Resources”
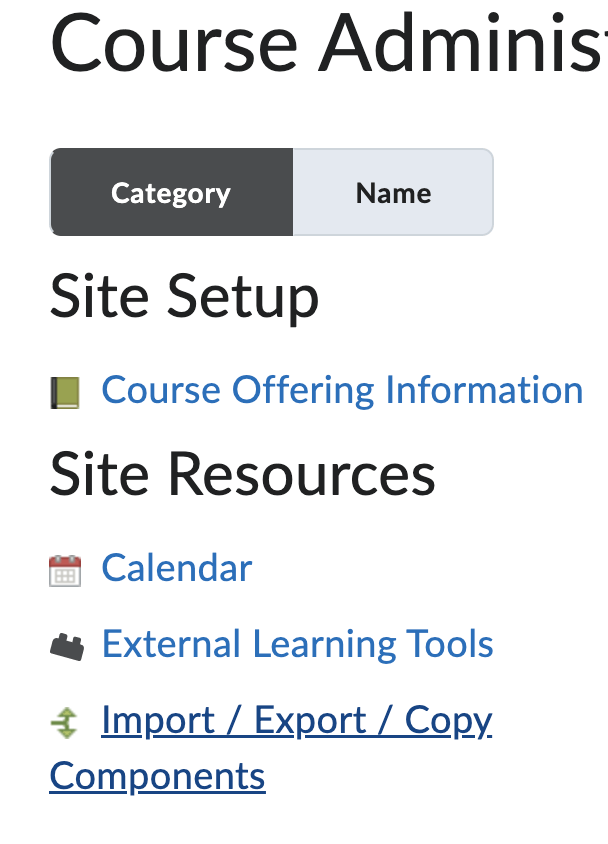
Click on Import/Export/Copy Components
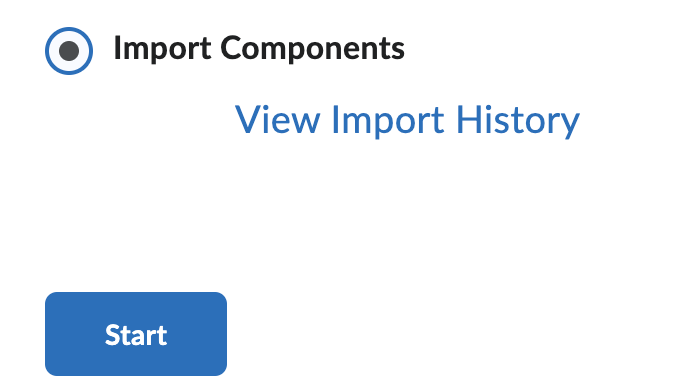
Select Import Components (at the bottom of the page) and click start.
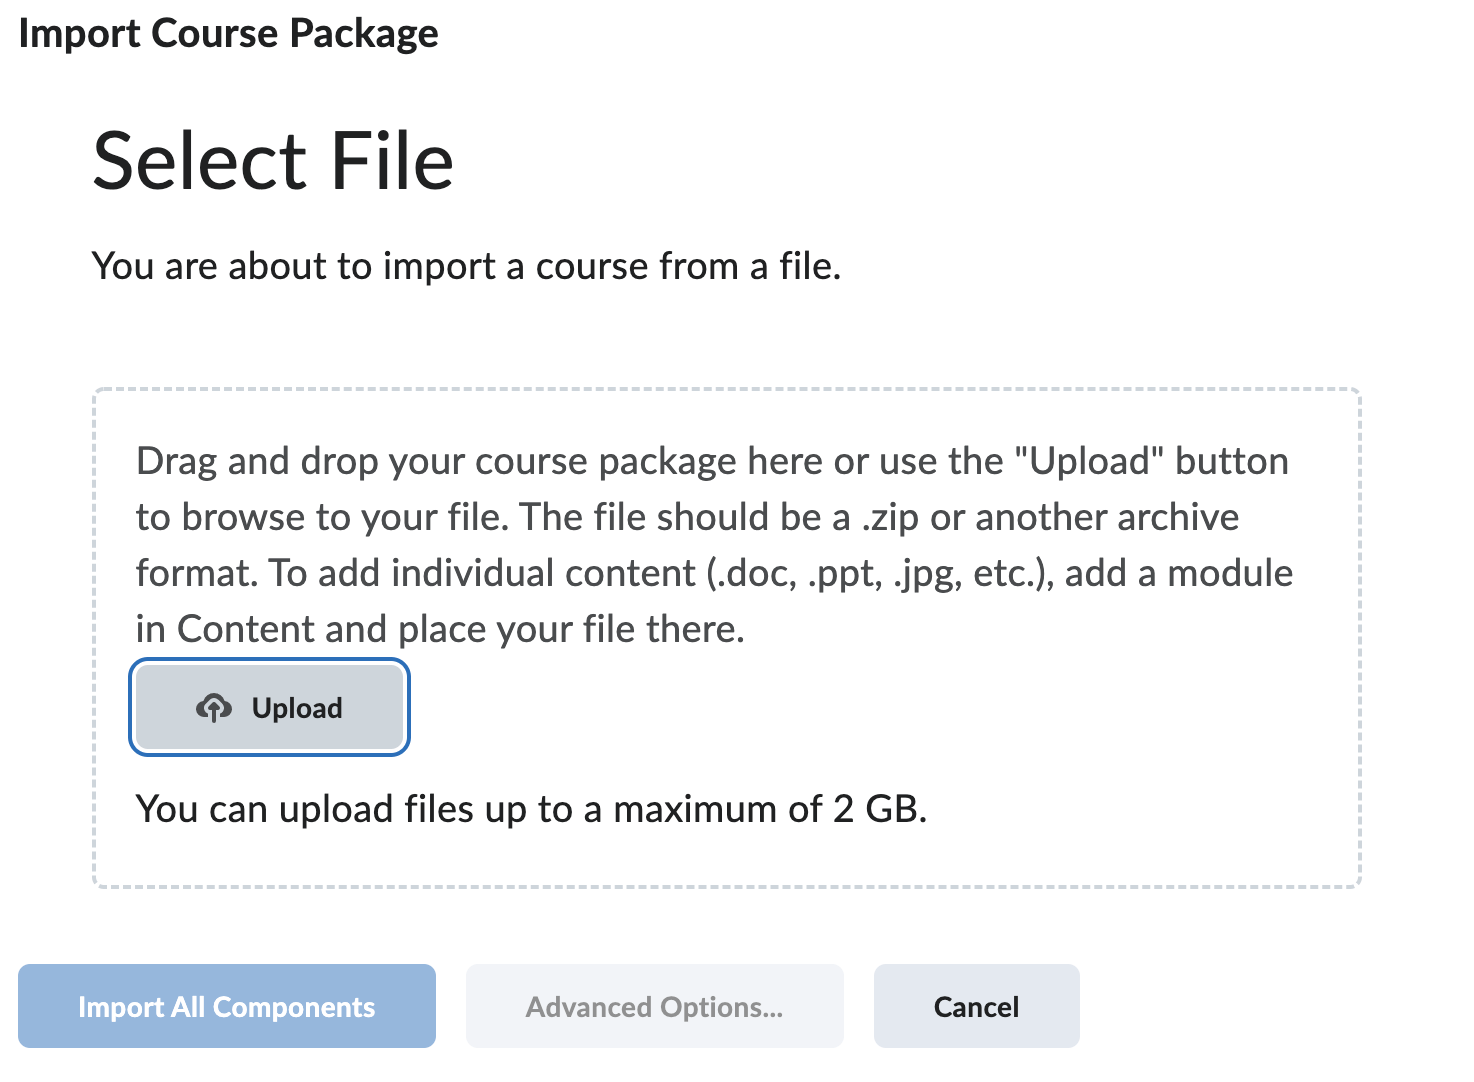
Click upload and select the zip export file you downloaded from Blackboard. If this is a big file, it will take a little time to upload and you won’t be able to select Import All Components until it has finished. If your export file was bigger than 2 gigs, see the “second thing” to know at the top of this blog post.
Assuming for a moment that you imported the content into a location that is not the “live” course you will be teaching from, go to the course that you will be teaching from and go back to the Course Admin -> Site Resources -> Import/Export/Copy Components area again, and this time select “Copy Components from another Org Unit”.

You will be able to search for the location you copied the course to, and select just the items you want to bring to the “live” course shell. This way you aren’t pulling years worth of unneeded items into the live course, just the pieces that you know you want.
TIP: Keep your non-live course storage organized by semester and year if you have the desire to bring many semesters worth of the same course over. Try to help your future self find what you would be looking for.
Don’t forget to do some housekeeping on any content you bring over to the “live” course. Check for correct dates, availability, exceptions, links, formatting, accessibility, etc.
Like this:
Like Loading...

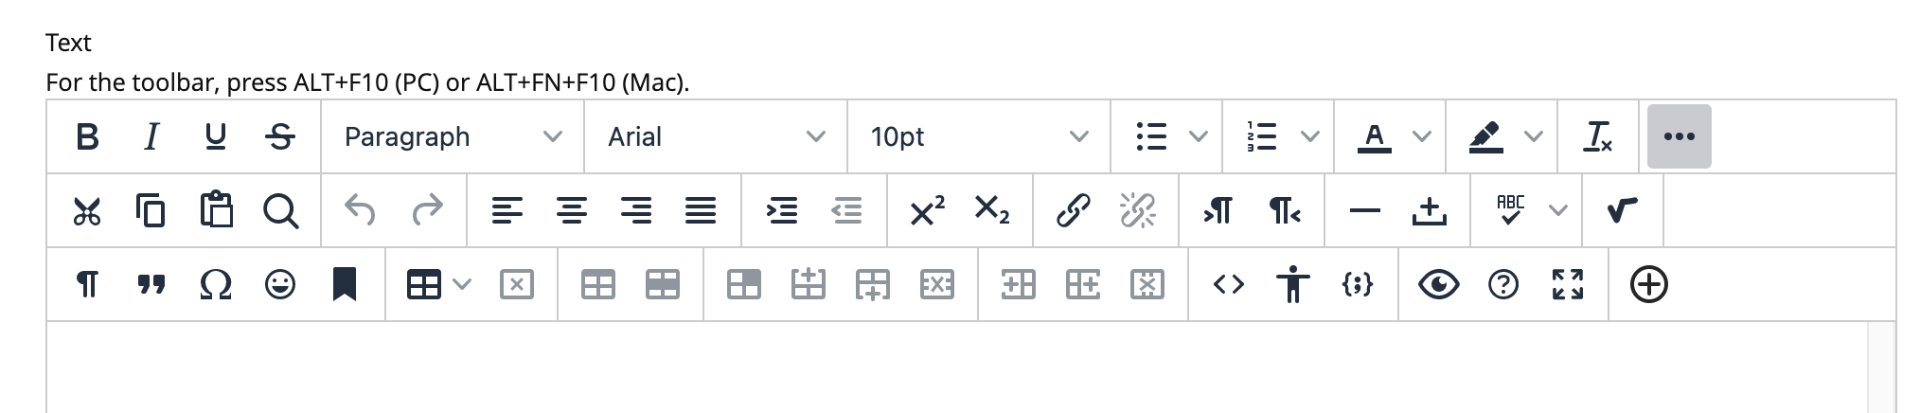
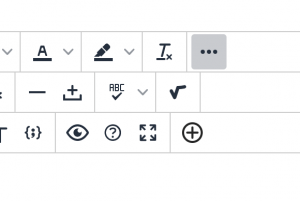
 The second way and previously feature sparse method (but this has been rapidly changing!), is to embed the echo360 content into any area of your site that gives you the ability to use the Bb text editor. You can embed content using the wysiwyg editor using the button : “Add Content -> Echo360 Video Library”. It looks like a plus sign in a circle and is the last button on the bottom right.