This is about using a echo360 mashup tool to accept video submissions inside of Blackboard and which instructor will be able to grade under Needs Grading in the Grade Center. This is an excellent alternative to high stakes grading via traditional exams.
First you will want to create an assignment. You will go to your Assignments area and go to Assessments -> Assignment.

Give it a name and add instructions for the students to follow.

Create a due date and points possible for the presentation.

Make the assignment available to the students.

Submit.
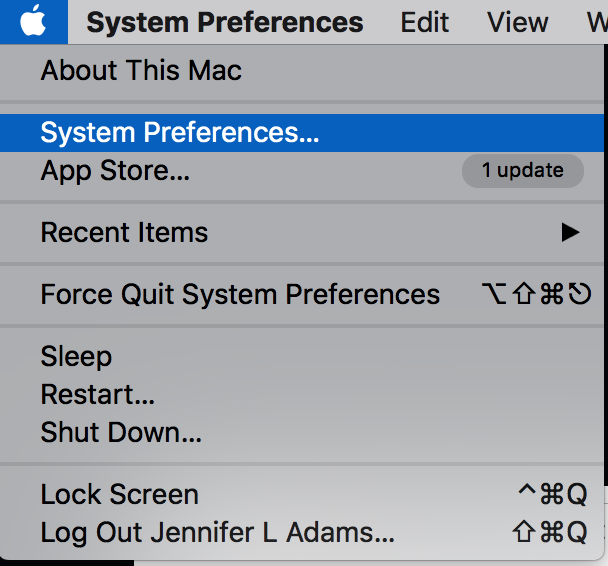
What the students see: (You can also see this yourself using the student preview mode, entered by clicking on this icon in the upper right part of the screen in blackboard: 
Under assignments, they locate your assignment and click in it’s name.

They see the points possible and the instructions that you wrote previously.

They need to click on Write Submission to get to the Blackboard WYSIWYG editor. They should type the name of their assignment into this text box and then select the Mashups button.
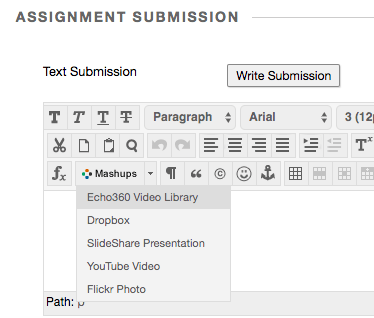
Then they click on Mashups -> Echo360 Video Library

This opens a new window for them where they have three choices. They can choose any video already in their echo360 video library. (That is Choose From My Home), they can create something new (Create New Media) or Upload a video they have on their computer. This is what the different options look like:
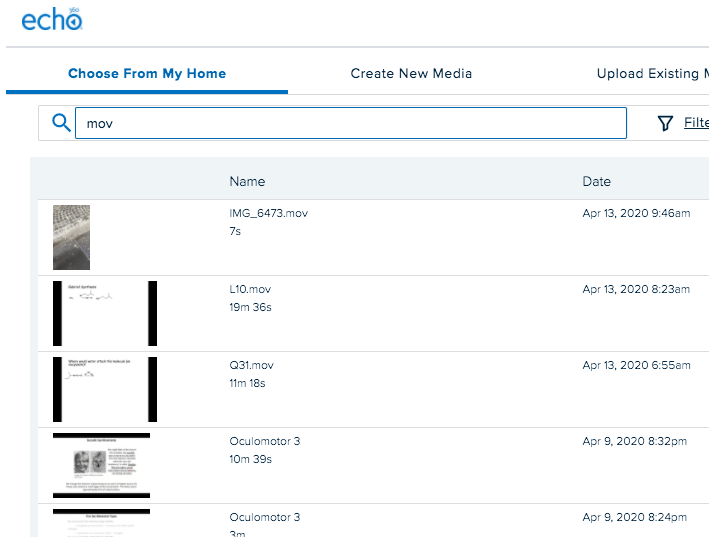
Choose from home allows the student to either browse or search for files in their echo360 library.
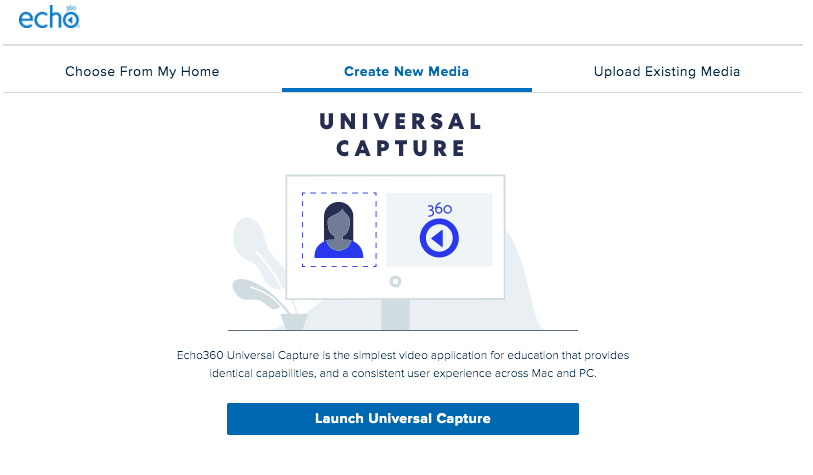
Create New Media will give them the option to Launch Universal Capture from their computer.


Where they can name the video and start recording from their webcam, desktop and audio.
and finally Upload Existing:

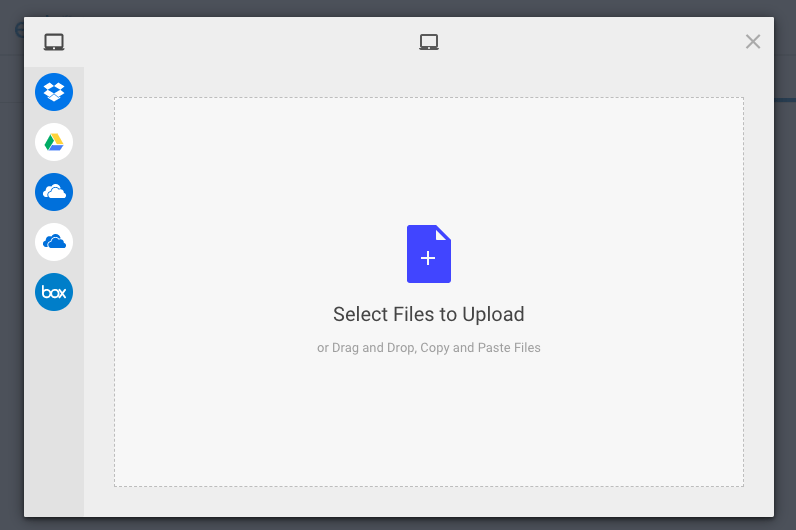
Here they can grab videos from their cloud storage locations or browse from their computer.
After they have typed the name of their presentation and selected the video, they will click submit.
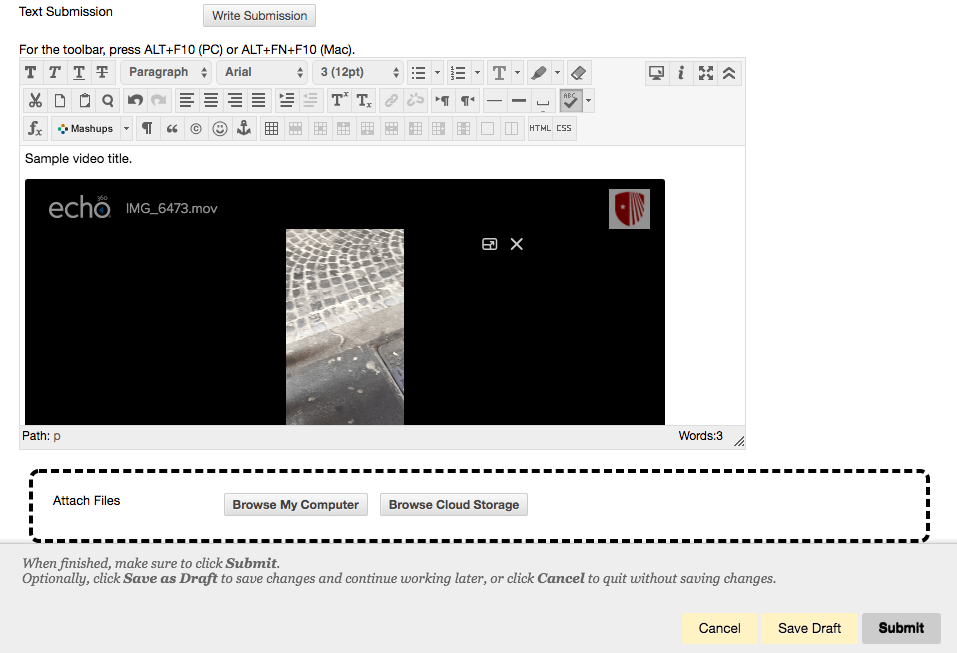
After submitting they will get a submission confirmation:

As the instructor, you can find the student submission under Needs Grading in the Grade Center:

…where I will see the list of submitted assignments and I can either chose Grade All or go through them one by one. Here is the assignment I submitted and you can view the presentation, grade it and leave feedback for the learner right here.


Like this:
Like Loading...


