Zoom has a lot of features.
A
Lot
Some of them are not by any means easy to locate. I mean, even not easy enough that I may have told you that apparently we didn’t have access to those features.
So here is the issue. You need to create the zoom meeting room through blackboard. That way it is tied to your course, and has all your students getting easy access. But after you save the room:
Leave Blackboard.
Go to stonybrook.zoom.us and login back in
To find the option for preassigning break out rooms:
and click on Meetings and find the meeting room you just made.
Click on it’s name and then go to the bottom and find Edit this Meeting.
Towards the bottom, in the Meeting Options section, you will see Breakout Room pre-assign. This lets you create the rooms manually, or with a CSV file.
ALSO FOUND HERE: What you need to stop ZoomBombs:
Anyone can share the link to the meeting. It can even be a student in the class that is signed in from another device doing the trolling. The only way to stop this is to enable the authentication profiles and force them to use a specific domain account. We have done just that so you can add it to any of your meetings. Simply go into the meeting options and check the “only authenticated users can join” option. Please be sure to leave the domain as stonybook.edu. I am including a screenshot below. This will force them to use a stonybrook.edu email address and they can no longer be anonymous in the session.
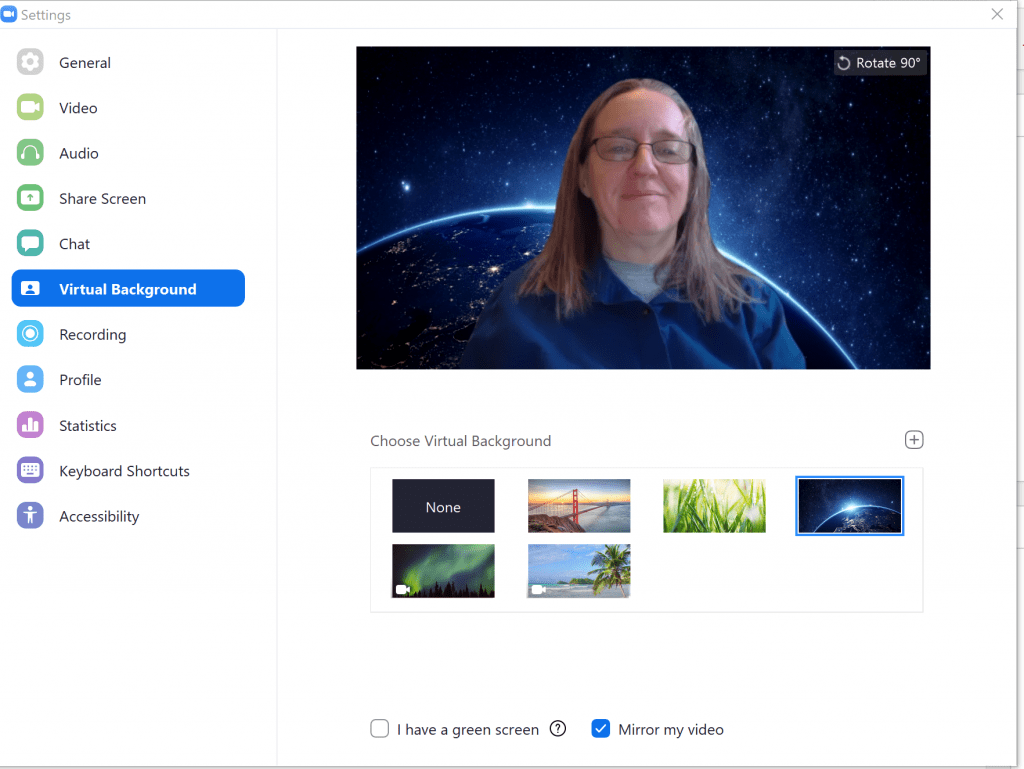
Set a Virtual Background, Controlling who can share screens, send invites to meetings in different languages, etc:
Go to Settings on the left menu and dig through this area. Note that some options are locked by “admin”.
Actually choose the Virtual Background:
This must be done in settings in the Zoom application. (Oiy!) It will download a virtual desktop package to your machine the first time.
Leave some comments below if you find more “hidden” features in zoom!
Like this:
Like Loading...