YouTube videos in Blackboard

Blackboard has this cute mashup feature where you can go into your course, go to the content folder of your choice, select Build Content and select YouTube Video.  You don’t even have  to know the URL of what you are looking for… it lets you search by keywords and select the video right there.

but  – the window is smallish and the ability to make it bigger seems non-existent.

So – if you need the video to be bigger…. here is what you can do:

Go to YouTube.com and search for the video you want there.  When you find the video, click on Share…

then embed…

now Show More…

and finally, pick the video size you would like to display in Blackboard:

Copy the code provided… it is the one that starts with  “<iFrame width” as seen above.

Now head back to Blackboard….

Go to your Documents folder (or whatever content folder you desire), Build Content -> Item:

Give it a Name, then click the chevrons in the upper right hand corner of the Text box.

Which reveals more wysiwyg tools:

click the HTML tool and paste in the code from your clipboard:

click update and click submit.

Now you will get this gorgeous and large video, right in your folder – just like this. (This is the same embed code as seen in WordPress.)


Personal Capture’s New Download location

As we have moved to echo360 in the cloud… the new place to find your personal capture software is now also in the cloud.

From the main page that you first see when you login – go here:

or go directly to this link:

https://echo360.org/downloads

Don’t forget to still let us know that you are using the software by filling out this form.


Amazon Prime Day?

Welcome Prime Citizen!

If you are like me and looking to take advantage of some Prime Day shopping… here are two tidbits.

This website: https://camelcamelcamel.com/  can check to see if something is really being sold at the best price.

Also… if you have an Alexa voice device… you get start shopping today — well now!  7pm!  I just got a wand.  Trying this out.


How echo360’s role structure when linked to blackboard cripples its functionality

Say you are an instructor.  You want to use Blackboard and echo360 active learning or capture platform.  You have TA’s or Course Builders in Blackboard.

So, you set up a schedule of captures through your support people for your course.  You do want to publish these captures to Blackboard, so you also create this link (or maybe the support people do it for you.)  Now you and your students can click on the link in Blackboard ( for us it is a video link in the Content Area of Blackboard course…) and see all the captures. The instructor also sees a dashboard of interesting analytics and has increased possible functionality.

But here is the crappy part: TA’s and Course Builders get Instructor roles in echo360.org.

So – that neat feature where Instructors would actually have a button in their account that allows them to add an ad hoc capture on their own?  That has to be turned off.  When you use this feature one can book a recording in any room that has an echo appliance… not just the one that you class actually occurs in. Can’t have students just recording content from any place they want.  Sometimes grand rounds even happen in these rooms.. whoops HIPAA violation!

I like to allow Instructors to delete their own content.  Nope.  Turn that off.

Let instructors make copies of their content?  Nope.

Well… maybe the primary instructor for a course could just go in a demote students that have instructor roles in echo360 back to students?  Nope, instructors can only add more instructors. (I actually tried this as an admin… and yes, I can demote an instructor – theoretically to student.  Only when you actually do this, it doesn’t make them a student at all… it removes them entirely.  Don’t worry though, as soon as that TA goes back into Blackboard again and clicks through to echo360, they will be back in the course again — AS AN INSTRUCTOR.)


Clicker Version Alert

Right now – SBU is using Turning Point Cloud for clickers in our classrooms.  As of tomorrow (May 31st), Turning Technologies will be releasing a new version of the software called Turning Point 8.  It will show up as a download from your instructor user account through Turning Technologies:


Turning Point 8 is NOT backwards compatible.  Any assessment and quizzes made with Turning Point 8 will NOT work in our classrooms and lecture halls.  (See above in the screen shot where it says “Before you download, please check with your institution…”)

The new version also will not be compatible with loading grades into blackboard until we decide to switch to the new version… so even if you only teach with your own laptop, you will not want to use anything but Turning Point Cloud at this time.


So you want to record your Skype for Business session from a Mac…

From a Windows machine… if you want to record your Skype for Business session, you can do that…

But that option isn’t available on a Mac version of the software.  Fortunately, you have Quicktime.

Quicktime has the ability to record from your screen.

It even has lovely cropping options to setup the shot:


However…   the audio is an issue.  I’ve seen some tutorials that suggest that you set Quicktime to record from the internal mic and the computer to send audio through it’s speakers.  There is a reason that we suggest that one uses headphones during video conferencing… it’s so the audio from the speakers doesn’t loop through from the speakers and then back into the mic (if the sound is going directly into your ears via the headphones, it doesn’t go to the mic.)  So, the solution may work for some – but I don’t like it.

Now what?

Go to this website:  https://github.com/mattingalls/Soundflower/releases and download Soundflower.  It is a dmg file on the page.  Install the app.  (You may need to journey to your security preferences to allow it to be opened.)

Open Audio MIDI Setup on your computer.    It looks like this:

Click the plus sign in the lower left and select “Create Multi-Output Device”.

Keep Built-in Output checked, and check Soundflower (2ch).

Also, create an “Aggregate Device”, selecting your built-in Microphone and Soundflower (2ch).

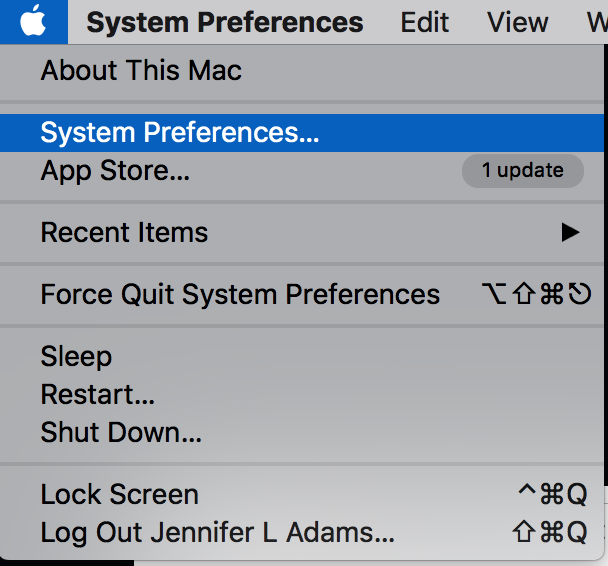
Now go to your system preferences and select Sound -> Output and set it to your Multi-Output Device.

and set the input to the Aggregate Device.

Now, when you you record from Quicktime, the audio will go both to your headphones and also be recorded in the screen capture.

Try it out and let me know what you think!


Emerging Tech for a Changing Edu

Skip to toolbar